Destiny 2 Gjallarhorn Catalyst Guide: How To Power Up The Exotic Rocket Launcher
Once you've earned your Gjallarhorn, you'll need to descend back into the Grasp of Avarice dungeon to unlock its Exotic catalyst.
Gjallarhorn is one of the most storied guns in the Destiny franchise, and its return to Destiny 2 has come with some fanfare--you'll have to complete the new dungeon, Grasp of Avarice, as part of the game's new Bungie 30th Anniversary celebration DLC. It's worth doing, though, because Gjallarhorn is just as powerful as Destiny 1 Guardians will remember. And once you have the Exotic rocket launcher (use our Gjallarhorn guide if you want to know how to snag it), you'll want to unlock its Exotic catalyst to increase its power even more.
To find the catalyst, you'll need to do some specific things in the Grasp of Avarice dungeon. The good news is, you can complete these steps on either dungeon difficulty, which makes the catalyst pretty easy to nab if you know what you're looking for. Here's everything you need to do to earn the Gjallarhorn Exotic catalyst.
Three Chests In The Grasp Of Avarice
Like many other Exotic catalysts for special weapons like Gjallarhorn, you'll have to solve some puzzles within the Grasp of Avarice dungeon in order to get this catalyst. This is a much easier process than with guns such as Vex Mythoclast or Whisper of the Worm, however. In Grasp of Avarice, you need to seek out three special treasure chests, which you'll have to unlock by fighting three specific enemies.
Those enemies are powerful Fallen Vandals, known as Reaver Vandals. Each of these elite-level enemies (which means they have a yellow health bar) wields a Scorch Cannon and spawns near the chest you're trying to open. The good news is, you don't need to kill these Reaver Vandals to get what you want. In fact, it's better to leave them alive. When you attack and damage a Reaver Vandal, it'll drop a yellow engram like those you use to first enter the Loot Cave at the start of the Grasp of Avarice. Pick up an engram and you gain the Burdened By Riches debuff. You'll then have 30 seconds to open up the corresponding treasure chest before the debuff's timer runs out. If it hits zero, you'll die, so make sure you know where you're going to reach the chest and can get there quickly before picking up any engrams.
If you're doing Grasp of Avarice with three players--the easiest way--note that each of your teammates will need to open each chest; one player opening a chest doesn't count for the whole team.
Once you've gotten all three chests unlocked, you'll gain the Gjallarhorn catalyst, which means you don't need to complete Grasp of Avarice to earn it. Currently, the dungeon is bugged so that you can only get its armor and weapon drops once per character, so if you don't have alternates to run it on, you might want to bail after grabbing the catalyst but before facing down the final boss.
Here's where you can find each of the chests in Grasp of Avarice and its corresponding Reaver Vandal, and how to unlock them all.
Chest No. 1: The Loot Cave
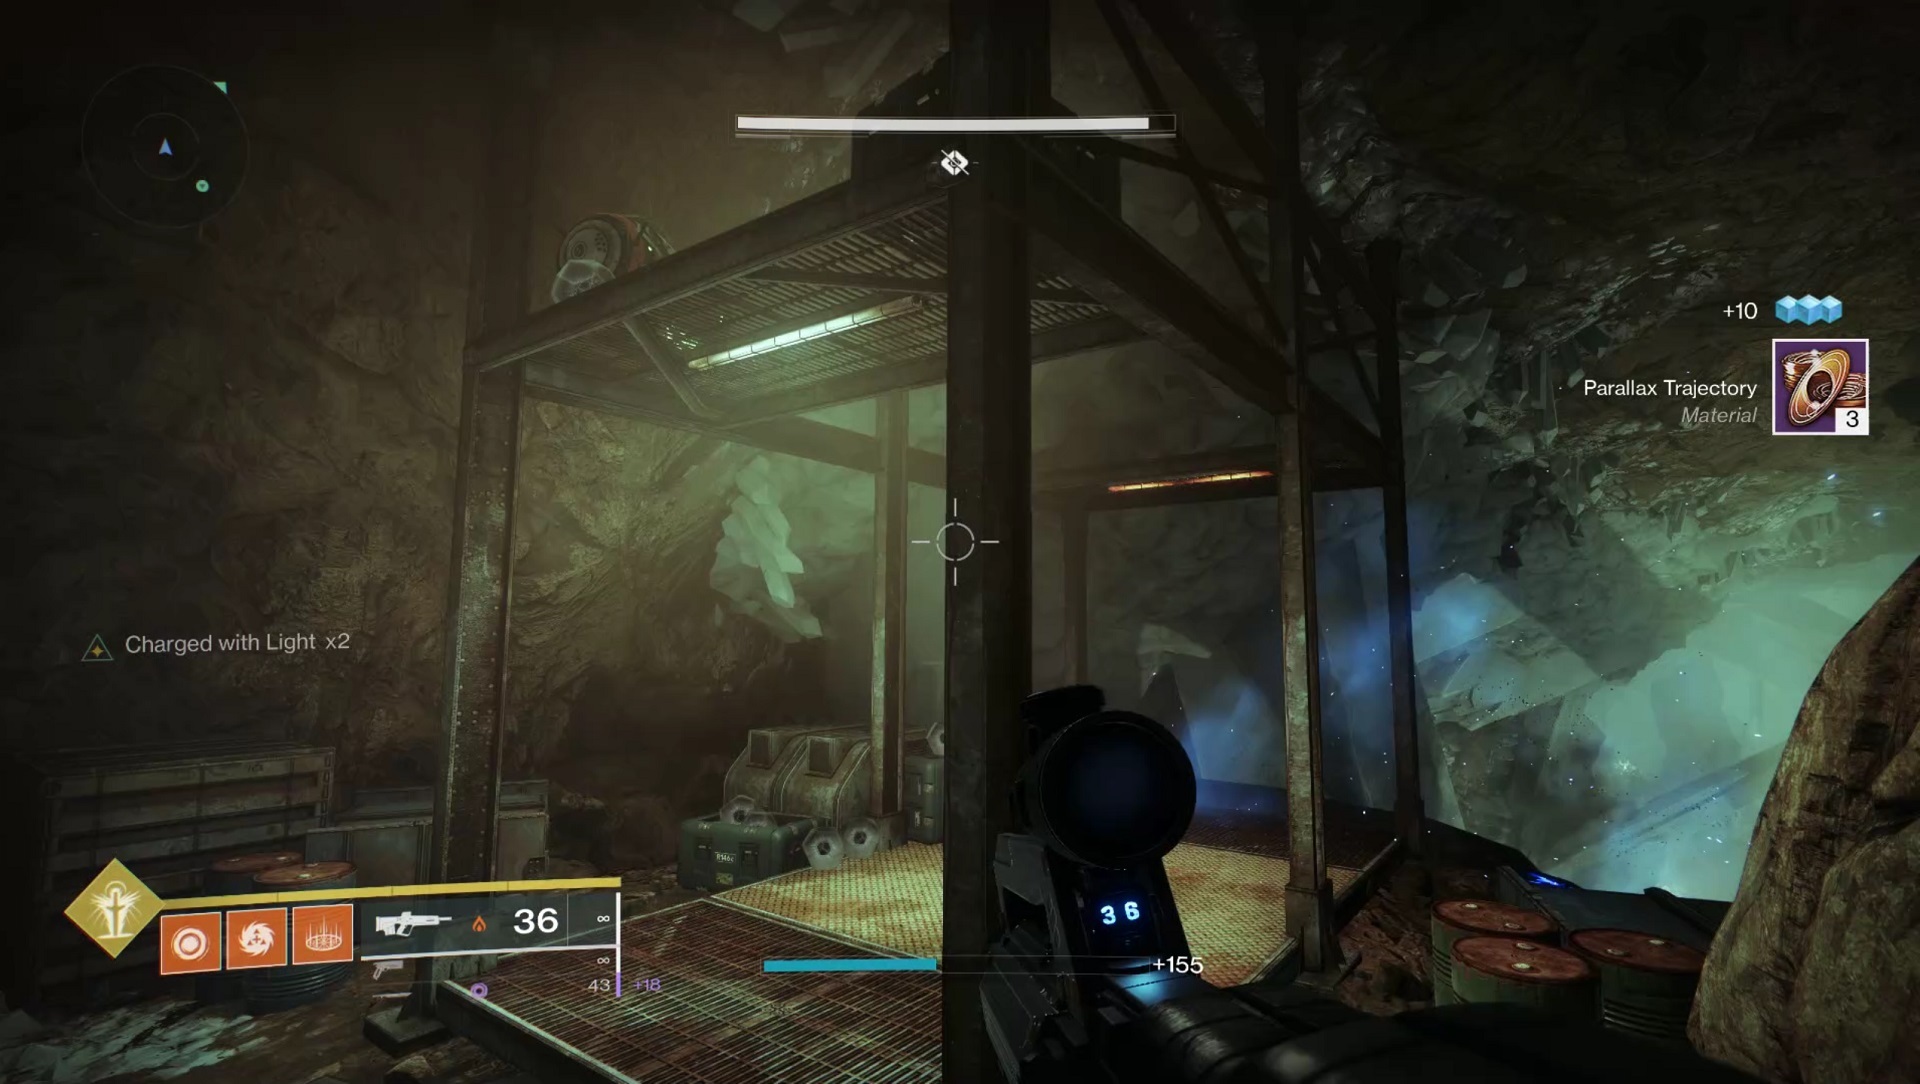
The first chest is the easiest to find. When you enter the Loot Cave by dropping down through the hole that opens at the first crystal you encounter, you'll come into a large cavern filled with enemies. You'll be on the left side of the room with some girders above you; ahead will be some Hive enemies, and across the water from them (and you) will be the Reaver Vandal and a pair of orange-bar Dreg bodyguards.
First, look up where you first enter the room, where the rusted steel beams are. You can cross under this structure to advance, but just above you will be another platform with the chest on it.
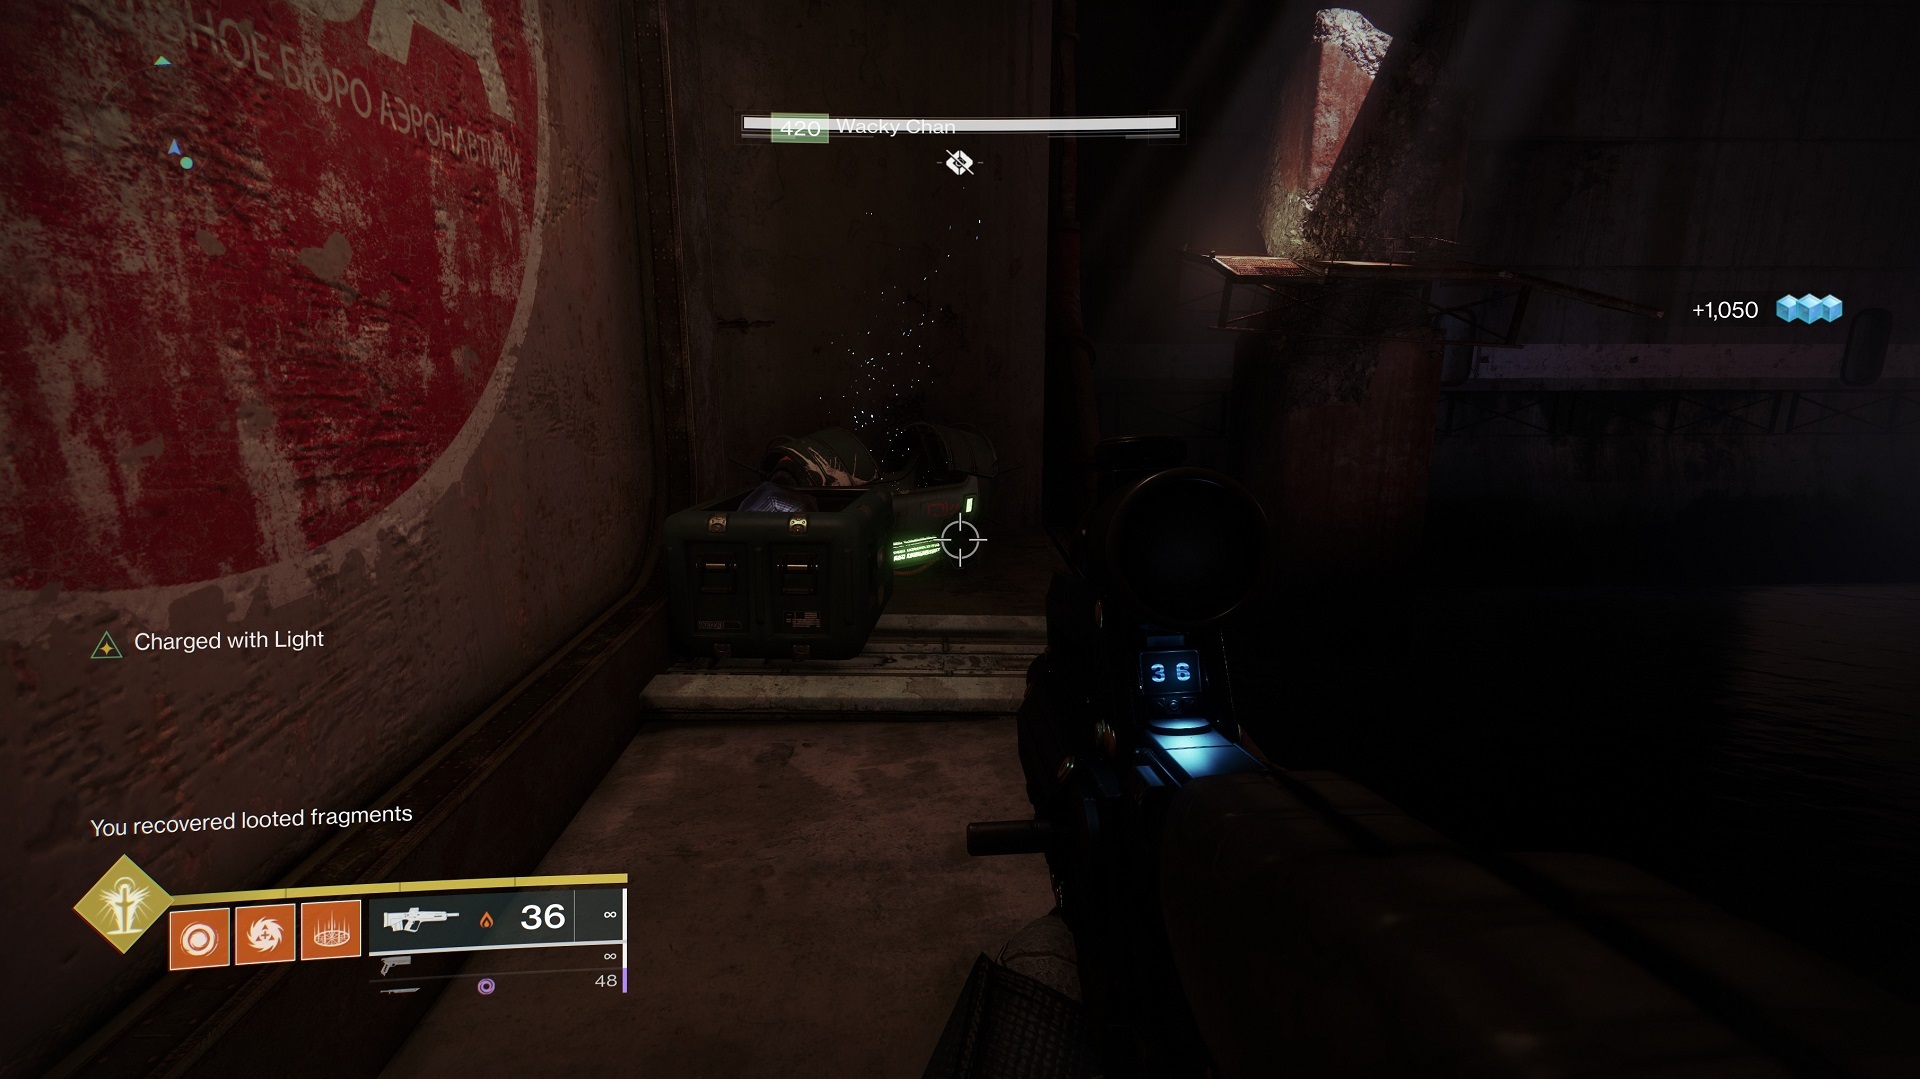
So your goal here is to attack the Reaver Vandal, grab an engram, then jump back across the gap and open the chest. It's a pretty simple process, and as mentioned, you don't need to completely kill the Vandal to get it to drop engrams. A handy way to take care of this is to bring your team over to the Vandal when you've cleared out the other enemies and attack it with swords for quick damage. Grab your engrams and jump back to the chest to get your first third of the catalyst--you'll know it worked if you receive a message in the left corner of your screen that says "You recovered looted fragments."
Chest No. 2: The Stairs Deathtrap
As you advance through the first portion of the dungeon, you'll eventually hit a cylindrical room with four closed rolling steel doors. Here, the game teaches you about the Scorch Cannon mechanic used throughout the rest of the dungeon. After you open and unlock all four doors, you'll be able to leave the room up a flight of stairs. You'll likely remember getting crushed by a giant steamroller-type barrel your first time through this area.
Dodge the barrel (or get squashed by it) then ascend the stairs to the top, where you'll enter a large room that looks like a flooded, ruined garage. The Reaver Vandal is waiting for you here, and you can't miss him--in fact, you'll probably need to run past him to continue. To leave this room, climb some boxes to enter an open vent overhead.
Attack the Vandal and grab your engram, then enter the vent above. Follow it to its end, where you'll drop into another flooded room, near a collapsed column with a catwalk surrounding it. Turn to your right and face the back wall of this area, where you should see a depression that you can jump to. Your second treasure chest is here, as well as your second helping of "looted fragments."
Chest No. 3: The Sunken Lair

You won't get to the last chest until just before the dungeon's final boss. After the sparrow portion of Grasp of Avarice, you'll enter a(nother) big underground cave, this one with some waterfalls and several Fallen outposts. In the center is a big round structure, and each outpost has launchers to send you flying from one to the other.
You can't find the chest in this room, or the Reaver Vandal to open it, until you've destroyed the Fallen Shield and completed the encounter. If you've been through here once, you know what you need to do to kill the Servitors and destroy the shield generators above you.
With that out of the way, you're free to hunt down both the chest and the Reaver Vandal to open it. This is the only one of the chests that's actually kind of hard to open, and that 30-second timer is going to be a problem. You'll want to make sure you're fully prepared to get back to the chest before you pick up an engram, and it's easiest to do this with another player or two who can help out, with each of you dealing with it one at a time.
First, the chest: It's on the central island, on top of the building in the middle of it. You can climb up on top to find the chest next to some open boxes of blank engrams. Pay attention to where you're headed, because you're going to need to get to this chest as fast as you can.

Next, the Reaver Vandal: He's in the outpost in the back corner of the cave, up and to the right of the central island if your back is to where you entered this cave. To get there, you can use the launcher on the central island to shoot yourself. It's the cliffs with the waterfalls. Look for the Vandal on the bridge leading to the building closest to the back wall of the cave, surrounded by water.
To get back to the chest, align the launcher found at this outpost to shoot you to the central island. If you can use something like Titan's Thundercrash or top-tree Dawnblade as a Warlock to get yourself there faster, that's a good idea. But for Hunters in particular, you're going to need to launch yourself and climb the building as fast as possible.
The best way my team found to do this was to leave one person near the launcher with a Scorch Cannon, while the person opening the chest went to collect their engram. That way, the Scorch-wielder could launch the engram-runner as soon as they were ready. That helped shave off a second or two--launching yourself is kind of a pain--but expect to be down to the wire getting back to that central island.

Open that third chest and you'll finally assemble the Gjallarhorn catalyst. You'll now need to rack up a whole bunch of kills with the launcher in order to finally unlock the benefits of the catalyst. Expect to earn 400 rocket launcher kills, but the benefits of doing so, including Orbs of Power generation, the mega missile generated by scoring kills, and faster reload, should help to make Gjallarhorn one of the most reliable damage-dealing weapons in the game--great for boss fights.
There's a whole lot going on in Destiny 2 right now as part of the 30th Anniversary DLC. Check out our guides on how to get Halo weapons in Destiny 2 and how to unlock the Forerunner Exotic sidearm (which is a version of Halo's pistol). Destiny 2 also got a massive patch with Update 3.4.0.
Got a news tip or want to contact us directly? Email news@gamespot.com
Join the conversation