Metal Gear Solid Peace Walker Walkthrough
Naked Snake is on a mission through Costa Rica, recruiting soldiers and building a military force. Our Metal Gear Solid Peace Walker Walkthrough will lead you through tricky missions and battle tough bosses.
Journey through Naked Snake's final mission as he ascends to the name of Big Boss and forms Outer Heaven. Stuck on a boss fight, looking for a powerful weapon, or just lost in the jungle? Our Metal Gear Solid Peace Walker Game Guide will help you sneak and battle through the coast of Central America.
Here's what you'll find inside:
- Walkthrough: A full walkthrough to help you through the game's story ops and interactive cutscenes.
- Boss fights: Find tips to help you beat AI Gears and capture enemy vehicles.
- Secrets: Learn about hidden items, recruits, and ops.
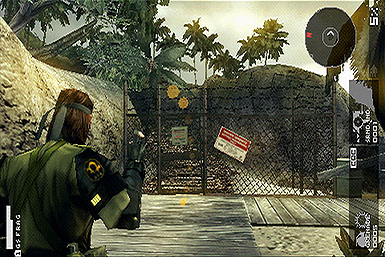
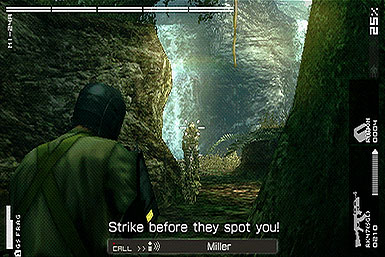
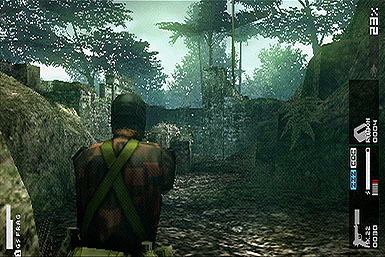
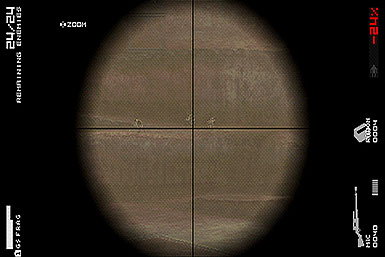
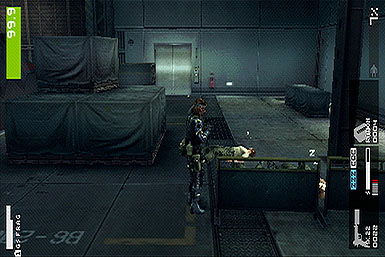
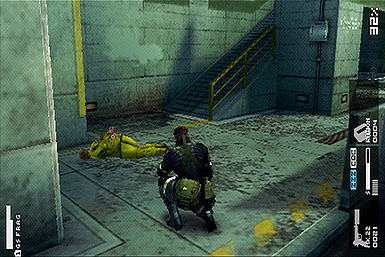
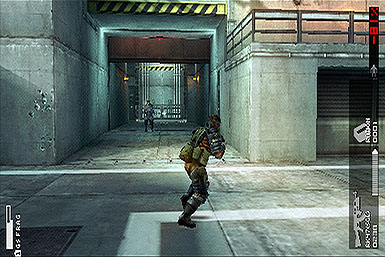
Investigate the Supply Facility
Training Ground
You'll start this mission on the sandy beach training area. You can practice firing your weapons at the nearby training dummy. When ready to continue, use a grenade to destroy the fence ahead and move into the next area.
Bosque del Alba
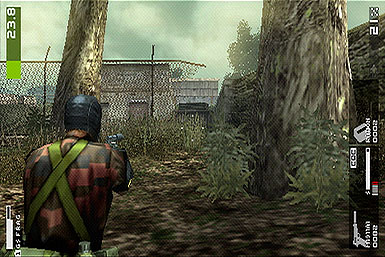
The jungle is filled with many enemy soldiers. However, most of them are separated from the rest of their unit, making them easy pickings. Try to conserve ammo for now and sneak up to each one. Grab the guards in a CQC lock and throw them twice to knock them out. There are spare rations and a few grenades in the area, so be sure to grab them to resupply your stock. When ready, make your way to the marker to approach the base.
Puerto del Alba
The supply base is filled with more soldiers than the jungle. This is a good time to make use of the MK.22 tranquilizer pistol. As it is silenced, it can put enemies to sleep without arousing suspicion. One good shot to the head, or three to the body will put any of the guards to sleep. When it is safe, head up the stairs and into the door on the right side.
You'll be treated to your first interactive cutscene. Carefully watch and press the on screen prompts to finish the mission.
Contact the Sandinista Comandante
El Cenagal
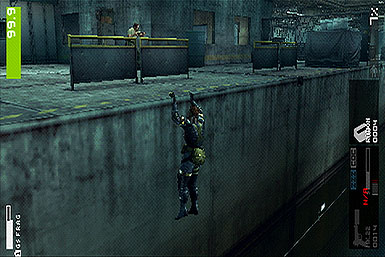
From the start, there are only two guards on patrol facing away from you. Quietly sneak up to both and CQC them. Move forward and you'll arrive at a swamp with three more guards. It's best to first take out the one on the right with a headshot from your MK.22. The other two can easily be ignored, but as a safety precaution, dispose of both of them via CQC, too.
Rio del Jade
The Sandinista's hideout has unfortunately been overrun with enemies. The safest way to deal with the many enemies is to headshot each with your MK.22 Pistol. However, because this is the last area of the mission, you may opt for a more violent approach. You can make use of any more deadly weapons you may have—grenades or rifles—and there is even a mounted turret in the boat house.
When all of the guards are dead or knocked out, you'll enter another interactive cutscene leading to the mission's conclusion.
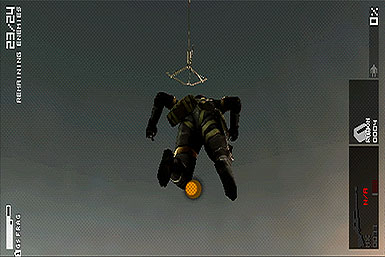
Pursue Amanda
Rio del Jade
You'll start at the boathouse from the last mission as guards begin to swarm in. Since there are two exits from the area, you can simply head south to avoid them altogether. Alternatively, sneak to the left and make your way to the northern exit.
El Cenagal
There are only a few guards patrolling the jungle, making them easy targets for a CQC grab or throw. However, there is a narrow bridge ahead, and a soldier that will pace across it. When his back is turned, climb over the railing and shimmy across to the other side and make your way to the factory.
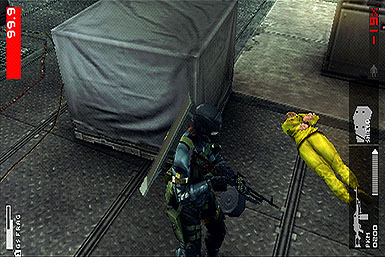
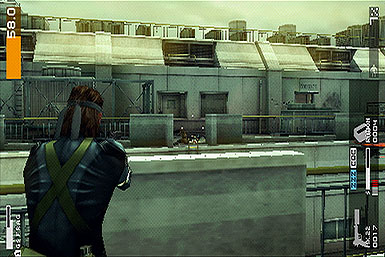
Bananal Fruta De Oro
The area is crawling with soldiers, so it's best to make use of your tranquillizer gun. This is also a good time to make use of the Fulton and kidnap fallen soldiers into your army. There are also POWs hidden in the area that can be saved via Fulton recovery. To finish the mission, take the back alley way to the north-west, backtrack to the east, and make your way to the exit in the north.
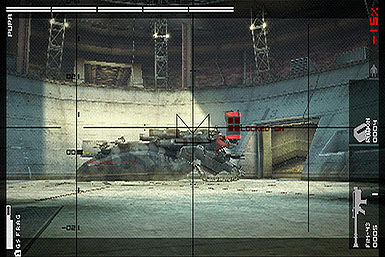
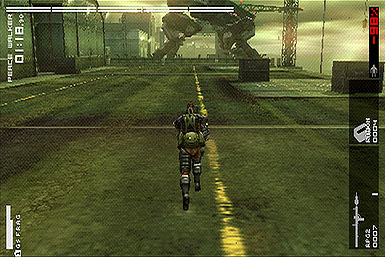
Armored Vehicle Battle: LAV-Type G
If you haven't already, take the time to outfit your R&D and Intel teams. With qualified staff, they can develop helpful weapons and items as you complete missions. For this upcoming battle, you'll want to create the LAW rocket launcher, supply markers, and any extra available foodstuffs (Soda, Chips, Curry).
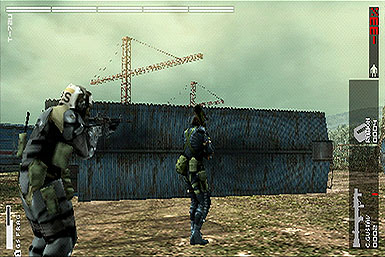
When battling vehicles, you can destroy them to complete the mission. However, an alternate method is to kill the enemy guards and capture the vehicle for your own collection. For this particular fight, the LAV will be escorted by four guards, and will release reinforcements every so often.
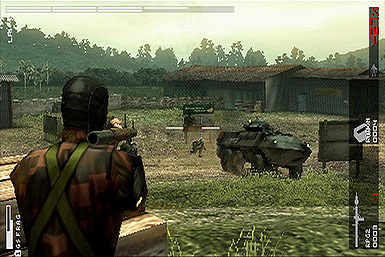
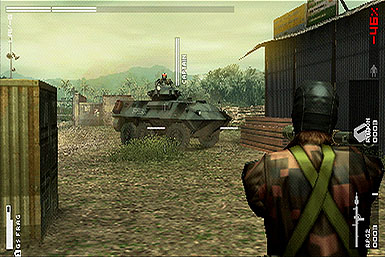
Eliminate the foot soldiers with a few timed grenades, or with a M16A1 rifle. After the vehicle stops distributing enemies, damage it directly with your rocket launcher. After taking down the machine to around 75% health, the Captain will emerge from its cockpit. One good hit from your LAW will instantly kill him, granting you the LAV-Type G and end the mission.
Rescue Chico
Camino De Lava
You'll need to be careful in the dense jungle, as snipers and other enemies lurk. If you don't have a sniper rifle from your R&D team, you can still make precision headshots with your MK.22 and put the opposing campers to sleep. The others in the zone are easily taken out with CQC. When it's safe, head north to the next area.
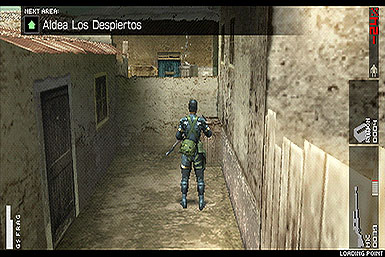
Aldea Los Despiertos
Chico is being held in one of the houses, however which one is randomly generated. You'll have to avoid the enemies and use the action button to look inside each house. If guards do spot you, you'll need to hide and remove even caution status. A good place to hide is behind the truck in the north, or the alleyways in the far south end. Once Chico is found, the mission will end.
Pursue the Jungle Train
Cafetal Aroma Encantado
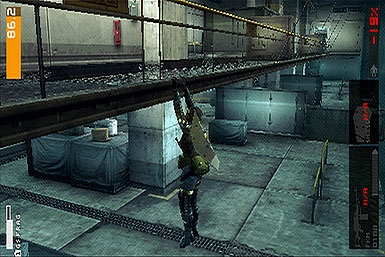
While you start in the prison area of the last mission, you'll want to backtrack north east to the Cafetal Aroma Encantado. This facility is heavily guarded and you'll need to sleep every enemy with your MK.22. As you move further into the area, you'll ascend a flight of stairs and into a warehouse. There are more soldiers here, and the narrow movement space make it a good section to use CQC to conserve ammo. When ready, exit through the north ot arrive at a train yard.
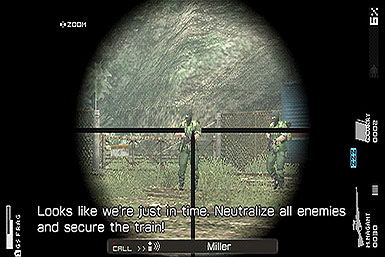
El Cadalso
The train yard is being patrolled by around five soldiers. It doesn't matter if you knock them out or outright kill them. As long as the enemies are incapacitated the mission will end.
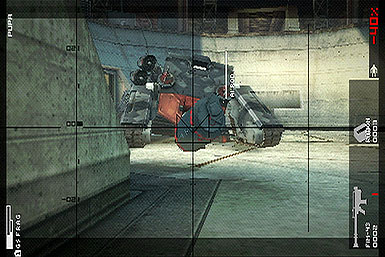
Tank Battle: T-72U
As with the LAV-Type G battle, you can capture the T-72U by killing the human soldiers, instead of destroying the tank. Since your R&D may have advanced, they will be able to make more advanced equipment and items. Arm up with the RPG-2 and a few Supply Markers.
The blue train cars aren't stable at the start of the battle, but will remain steady after being blasted by the tank's cannon. You can manipulate the situation by purposely drawing enemy fire to the train cars, and then use them as great cover.
As with the other vehicle battles, use your rifle to peck off the soldiers until no more reinforcements remain. Next, damage the tank enough until the Captain emerges from inside. One more rocket or headshot should kill him, giving you the T-72U and complete the mission.
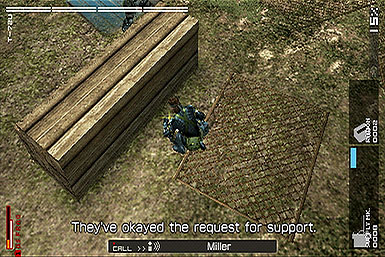
Destroy the Barricade
A very simple mission. Make sure your R&D team has made C4, or you'll be unable to complete your goal. When ready, move from the Cafetal Aroma Encantado back to Aldea Los Despiertos. Taking the west exit will lead to a one-way shortcut back to the prison.
Head to the yellow gate in the west and plant some C4. Move away and detonate the explosives, destroying the wall. While this will alert the guards in the area, it's very easy to charge through the open barricade, concluding the mission.
Infiltrate the Crater Base
Los Cantos
You'll have to cross a broken bridge, with the majority of the top section broken. Locate the nearby stairs and descend to the lower level. This area is swarmed with enemies, so you'll need to CQC or tranq them one by one. When ready proceed to the second stair case and up to the next part of Los Cantos.
You'll be at a rock face ridge, and the enemies here will have helmets. This gear advantage will protect them from a single headshot, forcing you to waste double the ammo from your MK.22. A beter option is to CQC them and proceed to the next zone.
Fuerte La Ladera
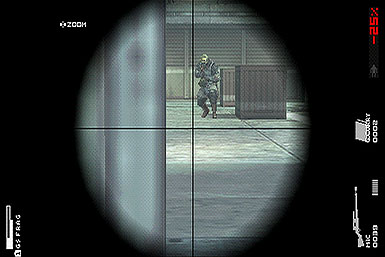
You'll finally arrive at a real fortress with not only guards, but turrets as well. If you've constructed a sniper rifle, now is the time to make use of it. If however your R&D was unable to develop one, you can wait for each of the soldiers to descend to lower terrain and CQC them each individually. When all of the enemies are dealt with, move north west to enter an interactive cutscene.
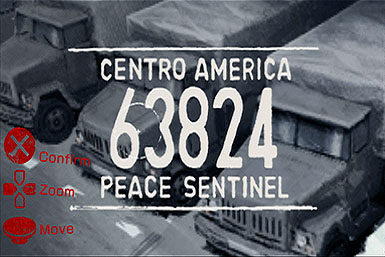
While your objective is to locate the truck with license plate 64779, if you take the time to examine the other trucks, you'll be able to spot some amusing cameos. Looking inside truck 63824 will even reveal Hideo Kojima, the game's creator, who will in turn join your army.
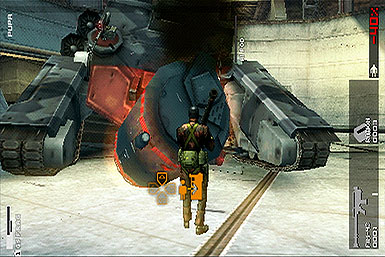
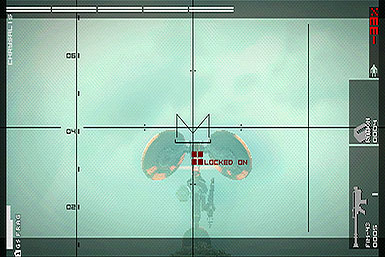
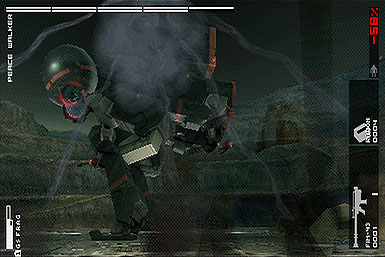
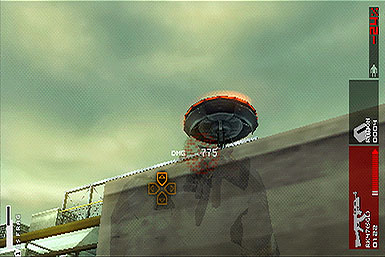
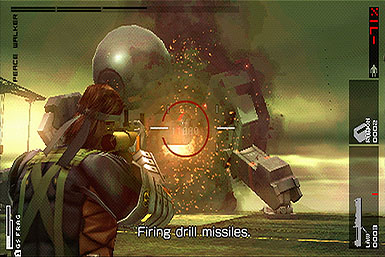
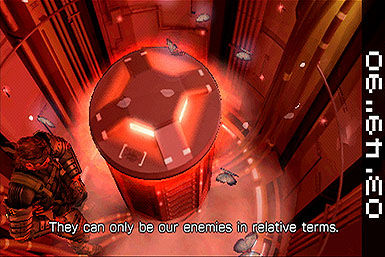
Pupa Battle
This is your first battle with an AI boss, and it's a familiar battle style you'll soon be used to. The AI's have a visually noticeable weak point: the red and grey cylinder core. You'll want to arm up with a RPG-2 and Supply Markers. Aim at the core and let loose with your rockets; when you run out of ammo call in a supply drop to restore your supply.
Some of the Pupa's attacks to watch out for are a charge that can be avoided by laying down, machine gun fire that can be dodged by moving, and volts of electricity that have a limited range.
Once the Pupa takes enough damage, you'll need to land a few more shots directly to its core. Failing to finish it in time will cause the boss to restore 3/8ths of its health. When the enemy is defeated, use the action button to enter inside. Here, you'll have around one minute to collect the Pupa's circuit boards, which will come in handy later in the game.
Travel to the Cloud Forest
Selva De La Leche

The enemies here are better concealed than any others you've encountered. You'll need to crouch and move slowly to get a clean shot without them noticing you. One of the soldiers will even be hiding behind a tree. Instead of moving along your current path, climb the rocks of the right and sneak up to the soldier from behind.

Many of the enemies in the next area take their concealment further and lay waiting with rifles. Be sure to take the right side bend to get the jump on them. Additionally, these soldiers know their own brand of CQC and can lock you in a brutal grapple. Move the thumbstick in the correct direction to break free quickly. When ready, move to the next area, completing the mission.
Attack Chopper Battle: MI-24A
Just as with the other vehicle battles, you can steal the Chopper for your collection by killing the soldiers instead of gunning down the helicopter. Because the waves of soldiers stay in a pack, a single shot from a rocket launcher or timed grenade toss can kill all of them in one blow.
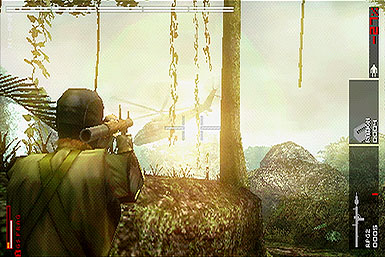
To avoid the Mi-24A's missiles, hide behind the rock formation next to you during the start of the fight. After the ground team is finished, fire a single rocket at the Captain to gain the mi-24A for yourself.
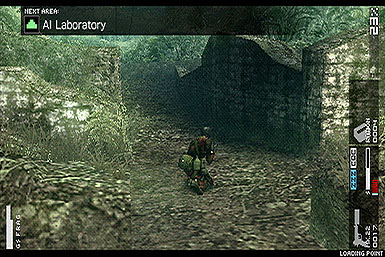
Head For The Lab
Selva De La Muerte
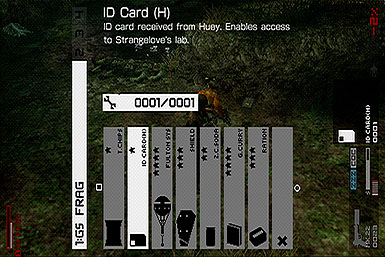
To start this mission, you'll need to place Huey's ID card into your inventory.
The enemies are even more cleverly disguised. They are literally wearing grass to appear as bushes. Even nastier, most of them are equipped with high powered sniper rifles. They however appear in a mid-tone green, standing out from the bright and dark crass that fills the area. Aim carefully, and you can headshot them with your MK.22 or other weapon. Proceed to the east to arrive at the ruins.
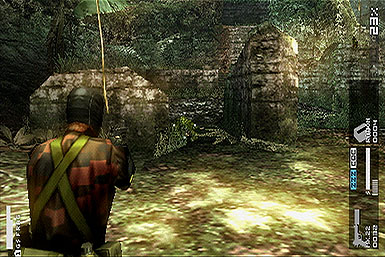
Ruina De Xochiquetzal
The ruins are guarded by three enemies. One is very close, so you'll need to put them to sleep as soon as possible. The others can be avoided by taking the path way to the gith, looping around, and moving north. Approach the lab to end the mission.
Locate the ID Card
Catarata De La Muerte
You'll start at Ruina De Xochiquetzal, but will need to backtrack first into Selva De La Muerte, and into the new eastern path to Catarata De La Muerte
There is a lone soldier in an orange coat in this area. You need to subdue him and steal an item from him via the action button. He'll drop an ID card that is needed to enter the lab. If your items are full, drop a consumable, such as spare food. With the new ID card, return to the Ruins.
Before the mission ends, you'll have a short chance to collect a few more AI circuit boards, much like the Pupa battle.
Chrysalis Battle
Being another AI, the Chrysalis fights much in the same way as the Pupa. Some of the items you'll want for this battle include the FIM-43 and some Chaff Grenades. The FIM-43 can lock on to the boss, allowing you to score deadly shots without much fuss. Chaff Grenades are also great, as they will stun the Chrysalis, preventing attacks and giving you a clean shot from other weapons.
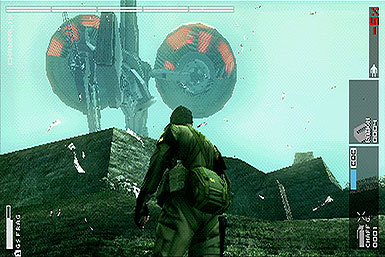
The AI has a powerful railgun that can do a lot of damage, a standard machinegun, and can even attempt to kidnap you with a grappling hook. If this happens, quickly rock the thumbstick to break free.
After enough damage, the Chrysalis will fall, allowing you to enter the core and nab more circuits. A note about this battle: You'll need to complete this mission with a S rank, otherwise you'll be unable to play certain secret missions later in the game.
Travel to the Mine Base
This is among the shortest storyline missions in the game. While the mining town is patrolled by a handful of guards, you can simply move ahead to complete the mission. To be thorough, eliminate them one by one. This is also a great place to use your Fulton to kidnap more characters for your military.
Eliminate the Guards
For this battle, you'll want to arm yourself with both an assault rifle and a sniper rifle. You'll need to kill off a whooping 24 soldiers, and a constant wave of kidnapper robots.
The first few waves of soldiers will use sniper rifles of their own, forcing you into a camping battle to score instant headshots. To complicate things, the enemy machines will attempt to capture you. If this happens, shack the thumbstick to break free. The next few waves of soldiers include ones wielding assault rifles and rocket launchers. The rocket foes should still be dealt with your sniper rifle. For the closer combat enemies, your assault rifle should service.
Cocoon Battle
Cocoon may seem intimidating, but it's still the same battle as Pupa and Chrysalis. Arm yourself with a FIM-43, C.Gustav, Caff Grenades, Supply Markers, and as many healing items as possible. While Huey might suggest destroying the weapons via your codec, it's easy enough to ignore this advice. Instead pelt the AI core pod with your onslaught of rockets. The Chaff grenades are also great for confusing its weapon systems.
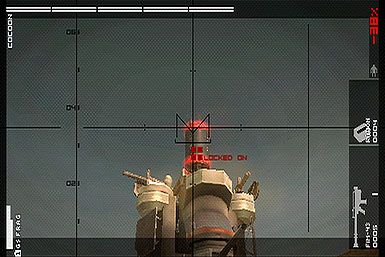
After the Cocoon loses enough health, it will drop a ladder giving you a better shot at the pod. However, keep in mind that you need to be on the ground to lay down a Supply Marker, so be carful when climbing up your foe's frame.
After the fight you can gain even more circuit boards to add to your collection.
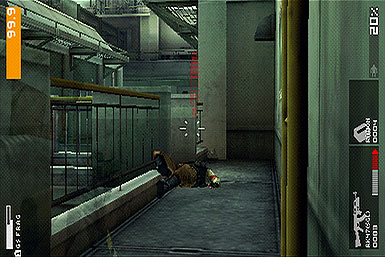
Infiltrate the Underground Base
The enemies will already know you're inside the base, keeping them in constant caution status. Be sure to not elevate that level by keeping your MK.22 and other silenced weapons handy. Tranq the first groupf of guards to the right and enter the elevator to emerge in the underground passage.
You can shimmy across the ledges to avoid detection for the patrolling enemies. The passage leading out of the area is guarded by shield wielding soldiers. While they are deadly during frontal assaults, they are still hopeless to CQC attacks from behind.
When the zone is safe, make your way to the east and open the shutter door with repeated taps of the action button.
Torture Chamber Escape
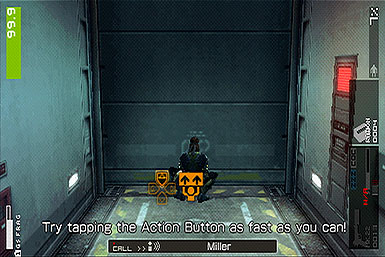
The mission starts with a long interactive cutscene. Strangelove will zap you with electricity, and you'll need to slam the triangle button to stay alive. This will repeat two more times, each with increased damage. Unlike other interactive cutscenes, you will not simply get a second chance, you will outright die and will need to reload.

Once successfully surviving the torture, break out of your cell by examining the mirror with the action button. Next open your cage by tapping on the shoulder buttons. Move to the souther path of the jail to complete the mission.
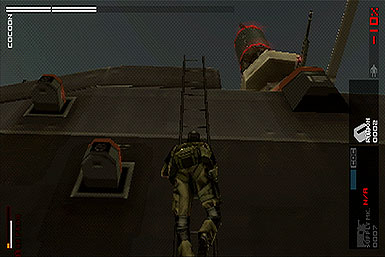
Head for Peace Walker's Hangar
This is a rehash of the Infiltrate the Underground Base mission, including your starting location and goal. However, while the gurds won't be in caution status, they will have increased their ranks. Additionally, more POWs will be around the area to be recovered with your Fulton.
Once again, you can shimmy across the rails to keep clear from the soldiers. Many of the later enemies are armed with shields, so you'll need to sneak up behind them, as a straight up firefight is to your disadvantage. Make your way through the shutter door and to the mining area to end the mission.
Peace Walker Battle
Finally, the battle with the title enemy. Unfortunately, it's just another standard AI battle. This time, Peace Walker has two AI core pods to aim at. The mian one is tightly guarded in its head, while the second is fully exposed on its rear. Your target as always should be to slam the AI pod with your rocket launcher, especially the FIM-43.
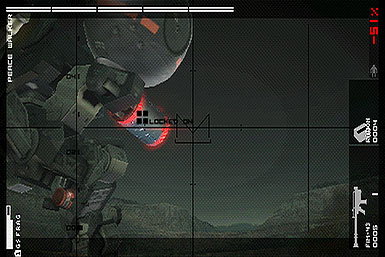
Additionally, make use of Chaff Grenades to completely take the AI out of commission and susceptible to other rockets, such s the C.Gustav. After enough damage, you'll have another chance to grab a few circuit boards.
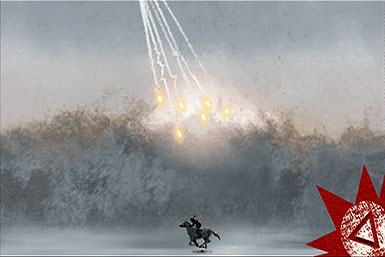
The mission will conclude with a chase interactive cutscene. Tap the triangle button to move your horse to avoid rockets and the d-pad to dodged falling trees.
Infiltrate the U.S. Missile Base
The enemt soldiers in this are are heavily armored with helmets and body plating, making quick headshots almost impossible. Along with flying robots, this level has some serious hazards. You'll want to make use of your heavy weapons, ushc as shotguns and machine guns to quickly terminate the opposing forces.
You'll need to relieve any alert status to use the freight elevator and descend to the next area. Be sure to rescue any POWs and continue up the steps to rooftops.
There are two more soldiers on the opposite roof and a robot searching through the sky. Take them all out with a strong rifle and move into the building to finish the mission.
Head to the Control Tower
You'll finally receive the battle armor, and it will defiantly come in handy during this fight. With it, you can equip three main weapons instead of the standard two. You'll want at least both a good rifle and a rocket launcher. A sniper rifle also works well. As the enemies will already be aware of your presence, there is no need to be sneaky.
Start by defeating all enemies on the roof and continuing down to the zone below. Instead of backtracking to the south, you'll instead need to move north. A large blast gate will start to drop, and you'll need to advance ahead before it closes. The following area is too heavily covered for air support, so you'll need to snipe the enemies with your trusty rifle. Be sure to aim for the gas containers and bridges to destroy the terrain and provide cover.
The final area is not only surrounded by soldiers and turrets, but a full helicopter with missile launchers. Its explosive barrage is brazen enough to even destroy most of the nearby cover, keeping you on your toes. It is imperative to destroy the flying menace with your own rockets and clean up the rest of the foes.
It's not finished yet, as once all of the initial threats are killed, a second wave of five more soldiers will emerge. Take cover, or better yet, man one of the turrets. When it's safe, move to the north and finally finish the mission.
Peace Walker Battle 2
You're approaching the final battles. You'll want at least two fast missile launchers, such as the LAW and RPG-2. You'll also need a strong assault rifle or machine gun, such as the M60. Right from the start you have a little over a minute to stop the Peace Walker's assault or face a mission failure. Use your rocket launcher to slam the AI POD with four to five hits, which will cause the Metal Gear to enter defensive mode.
Be warned, at any time Peace Walker can attempt to fire its nuke again, so you'll need to have at least three rockets to stop it. Even at the climax of the battle, the boss can quickly prompt a mission failure, so be on your toes. It even has a jammer, a red ring that emerges from its giant bulb. When this happens, it can send your rockets back at, you resulting in both damage and wasted ammo. During this time, switch to a machine gun and pummel the boss until it returns to standard defense mode.
Once it is near death, enter the AI Pod. While you need to remove all of its circuit boards, none of them will be added to your growing collection. Continue on for the final main storyline mission.
Peace Walker Battle 3
This can hardly be called a fight. Peace Walker cannot move or even attack you. You simply need to attack its AI Pod with repeated rocket fire. Eventually, it will suffer enough damage, prompting the main ending of Metal Gear Peace Walker
However, even after the credits and conclusion, the game isn't completely over.
Got a news tip or want to contact us directly? Email news@gamespot.com
Join the conversation