Pacific Drive - How To Repair Your Car
Repair your car in Pacific Drive so you can keep it in tip-top condition.
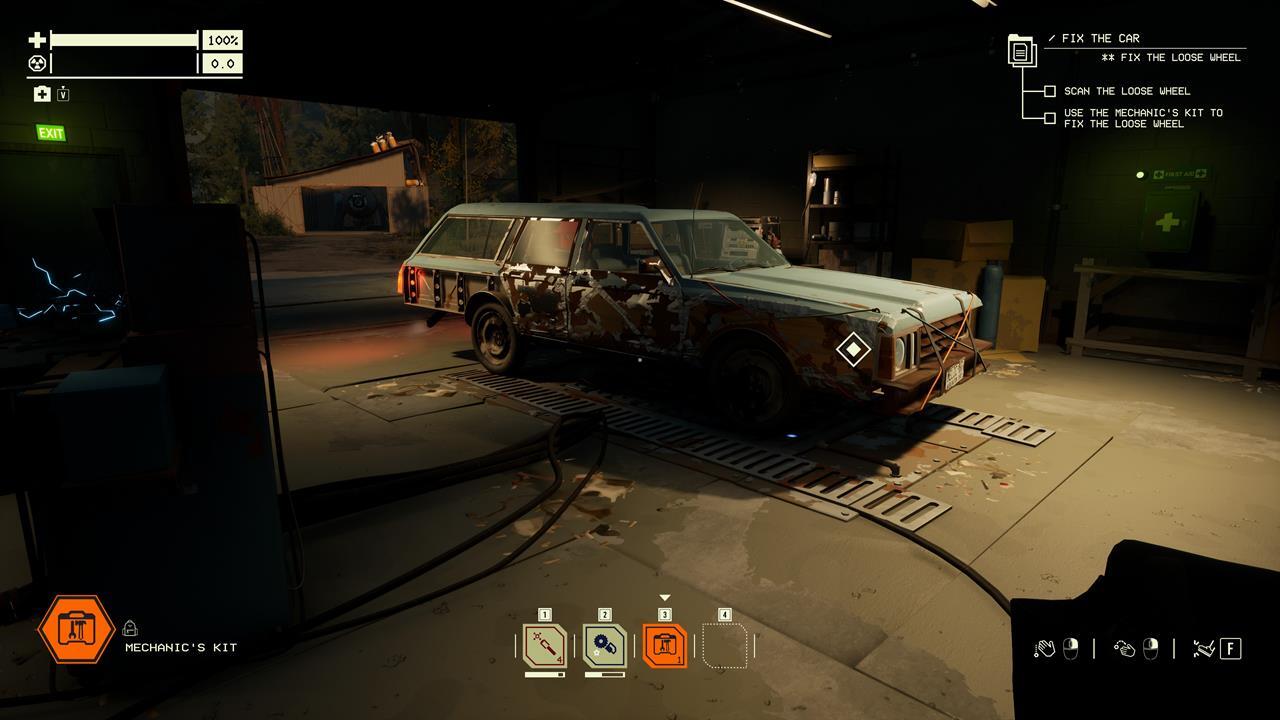
You'll spend most of your time on the road in Pacific Drive. The journey is perilous, and you'll likely find yourself facing numerous environmental hazards and anomalies. Naturally, you'll want to keep your vehicle running. Here's our guide on how to repair your car in Pacific Drive.
How to repair your car in Pacific Drive
You can repair your car by making use of craftable items, such as the Repair Putty, Sealant Kit, Mechanic's Kit, and Electrician's Kit. There are also methods, like the Friendly Dumpster and Matter Regenerator, that restore replacement parts. Moreover, certain tools can help you in this regard.
What are the parts of your vehicle
But, before we tackle each facet, let's talk about what comprises your vehicle in the first place. Your car in Pacific Drive has several parts:
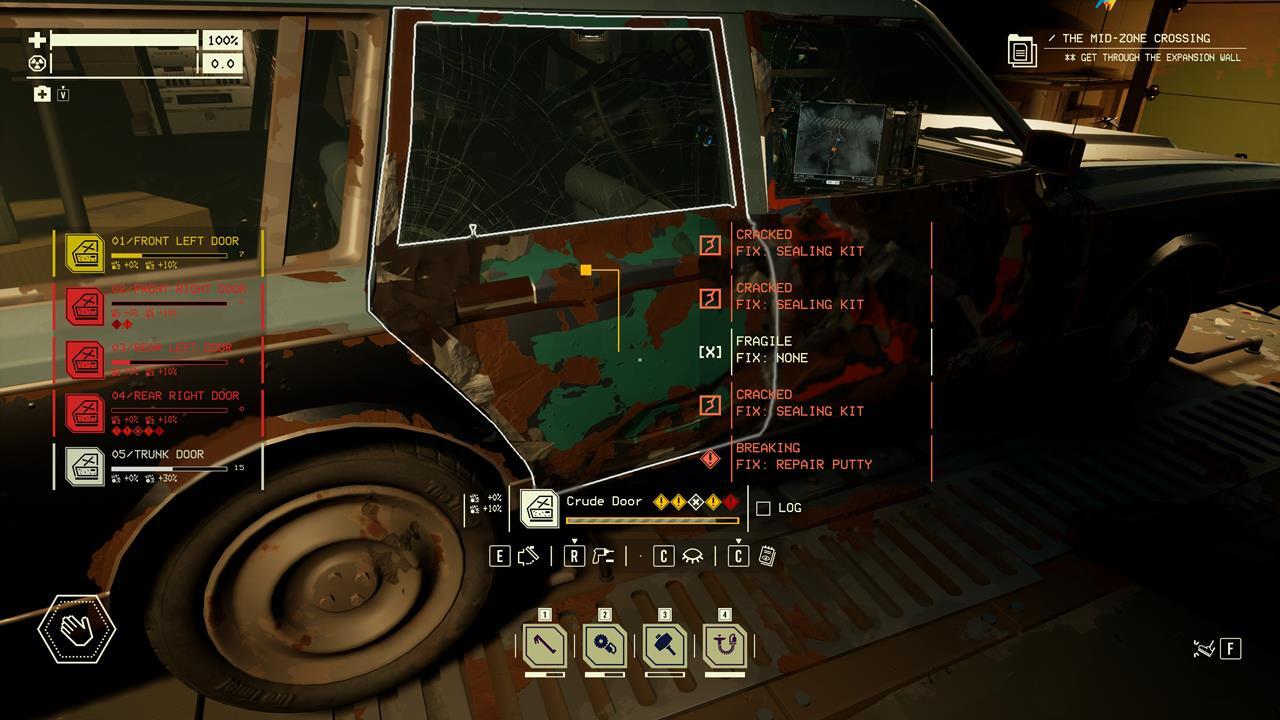
- Doors - Your vehicle has five doors--front-left (driver's side), front-right (passenger side), rear-left, rear-right, and the trunk.
- Panels - Your vehicle has five panels--front-left, front-right, rear-left, rear-right, and the hood.
- Wheels - Naturally, there are four wheels.
- Bumpers - You have the front bumper and the rear bumper.
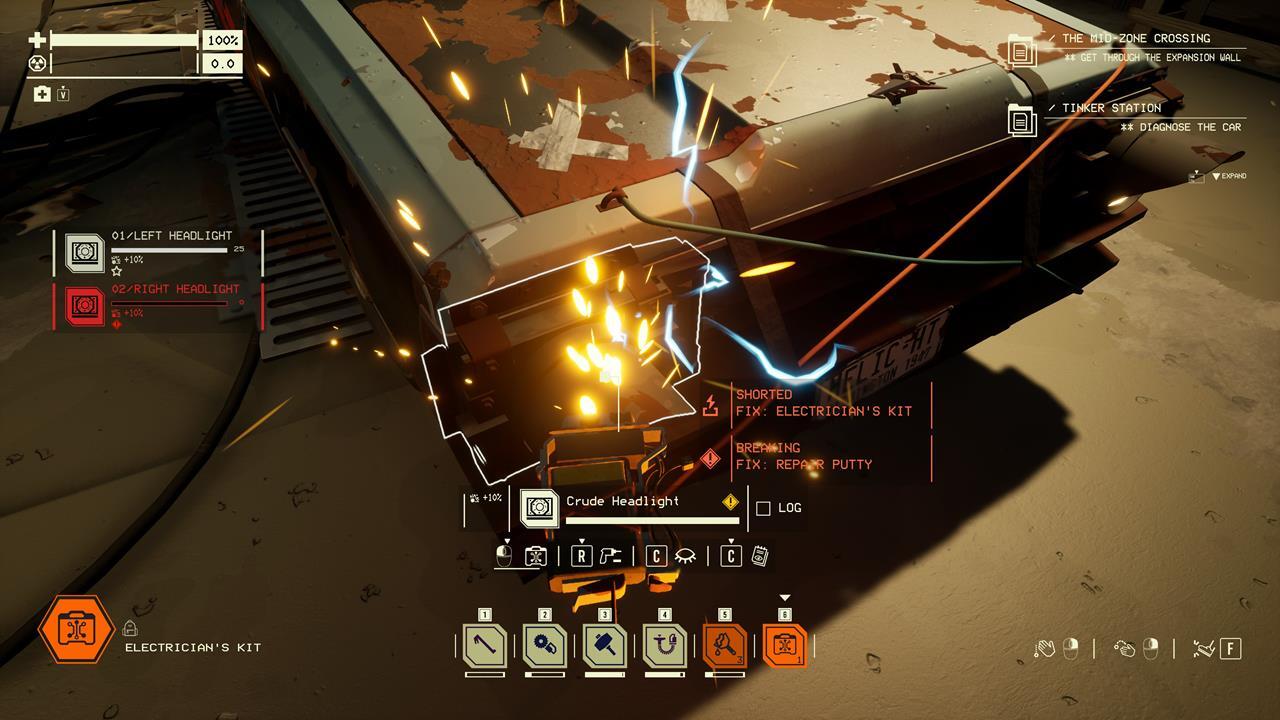
- Other important parts - You've got your engine and battery under the hood, two slots for headlights, and the windshield and other windows.
- Attachments - You may also build attachments, such as Side Racks, once you've unlocked the blueprint via the Fabrication Station.
Each part has its own HP and can take damage independently of others. For instance, if you're in a head-on collision with an obstacle, then the front bumper, headlights, and windshield will likely take damage. But if you encounter certain anomalies that can hit multiple sections of the vehicle, then several parts might get damaged in turn. You can attempt to repair these parts, or you can just craft replacements. It's entirely up to you depending on the resources you have on hand.
Note: If you obtain an item that has the "Peculiar" modifier, it means that it has better quality compared to its counterparts. Unfortunately, it can't be repaired, though it will last you as long as it still has some HP remaining.
Scan first to know the problem
Before you attempt to repair your car in Pacific Drive, you must first figure out what the problem is. To do this, simply scan a damaged part pressing and holding the "C" key. This will show you what type of item is needed to fix that section.
Note that there might be instances when a fix simply isn't available. That's because you still need to unlock a particular blueprint via the Fabrication Station.
Use crafted consumable items: Repair Kit, Mechanic's Kit, and more
Several consumable items allow you to repair your car in Pacific Drive. Some blueprints can be found in the Fabrication Station's Survival Tools tab, while others are available by default. Here are some examples:
- Repair Putty - Gradually repairs a part that's been damaged (i.e. it's almost like a "heal" in a way). For severe damage or when used on high-end alloys, you might have to slather on more putty to restore that part fully.
- Electrician's Kit - Fixes some circuits that have shorted out (i.e. headlights or engine).
- Sealing Kit - Patches holes, leaks, and cracks (i.e. tires and windshield).
- Battery Jumper - Can start your engine if it malfunctions.
- Mechanic's Kit - Also used for certain types of damage incurred by the engine, headlights, or wheels.
Note that these tools are crafted via the workbench, though they can also be found in containers in areas that you visit. Also, a majority are single-use only (i.e. they're gone and you have to craft/get a new one upon usage). The exception is the Repair Putty, which has multiple uses per item.

Restore replacement parts via the Friendly Dumpster or Matter Regenerator
Two notable features in the Auto Shop garage can make a difference if you want your vehicle to be in tip-top condition. The first is the Friendly Dumpster, which spits out semi-random materials and parts. However, these tend to be the items that you might need at that given time.
In our experience, we've tried removing severely damaged panels, which we fed to the Matter Deconstructor. Then, when we interacted with the Friendly Dumpster, it churned out new panels as replacements. You can interact with the Friendly Dumpster a few times whenever you're in the Auto Shop hub to try and get the parts that you require.
Another option is to unlock the Matter Regenerator blueprint via the Fabrication Station. Once you've built it in the Auto Shop, it can serve as a means of repairing certain car parts while you're out on a run.
For example: let's say a couple of doors were heavily damaged during your previous drive. Place both inside the Matter Regenerator, then craft new ones or try to see if the Friendly Dumpster spits out a couple. Next, go out for a drive and make your way back to the Auto Shop safely via a Gateway. When you recheck the Matter Regenerator, there's a good chance that those parts have already been restored to full.
Another option is the Repair Station, which can be unlocked and built much later in the campaign. It automatically regenerates the lost HP of car parts, so you won't have to worry about any hassles in between runs.
Acquire the Liberator to replace parts while on the go
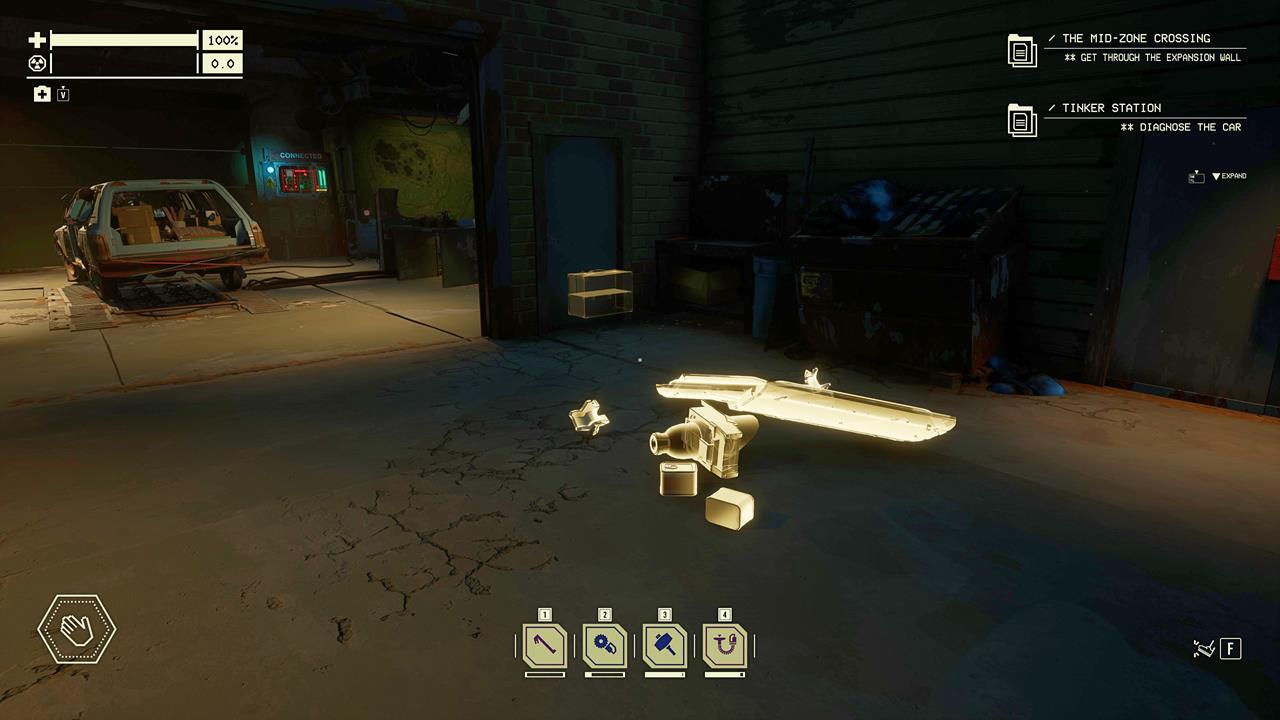
More often than not, the only way you could replace parts while you're out driving is if you actually brought a spare in your trunk or if you managed to find one in a container. Similarly, an early-game tool, the Scrapper, only lets you dismantle the parts of abandoned vehicles, turning them into Scrap Metal or other resources.
However, once you've unlocked and crafted the Liberator, you can use it to detach entire parts of abandoned vehicles (i.e. Steel Panels, Armored Doors, and more). This tool lets you remove unwanted, low-tier, or heavily damaged segments of your car, so you can replace them with better components.
Upgrade to higher-end alloys
Lastly, remember that your car might take a lot of damage early on because you're using only crude parts (i.e. Crude Panels or Crude Doors). Later in the game, you should consider unlocking the blueprints of advanced alloys. These tend to have higher HP and impact resistance. In short: The better the car parts, the more damage they can take before you may need to repair them.
In any case, this is how you repair your car in Pacific Drive. If you're set on the long road ahead, don't forget to read our beginner's guide, as well as our tips on how to get more fuel and how to craft headlights and flashlights.
Pacific Drive takes you on a harrowing journey through the northwestern United States, where eerie forests, fetid marshes, and deadly anomalies await. If you want to survive for as long as possible, we encourage you to check out our guides hub.
Got a news tip or want to contact us directly? Email news@gamespot.com
Join the conversation