How To Kill Charlie And Fia Together In Deathloop: Afternoon Delight Guide
These two volatile lovebirds can be killed with a single figurative stone.
In Deathloop, it can be difficult rounding up all of the Visionaries when trying to kill them in a single day. As best we can tell, there's no way to get all seven to the same place at the same time. However, you can get some of them grouped together, such as Charlie and Fia. If you're wondering how to find this secretive pair in one room, here's all you need to know. Be warned: The Afternoon Delight mission is more--let's call it complex--than most others.
Deathloop: How to kill Charlie and Fia at the same time
Obviously, consider this guide to have story spoilers. Last chance to back out. Still here? Okay. So, Charlie and Fia are maintaining a secret relationship in Deathloop. This is something you can find out for yourself by taking part in Charlie's LARP, Condition Detachment, on Updaam. However, this is only where you pick up this lead, and if you're here, you maybe already got that far--plus you can just skip that part anyway.
Where you'll really want to start is on Fristad Rock in the afternoon. Head toward Fia's bunker, which sits inside the mountain you see below, then walk all the way around it to the right, along the waterfront. Be careful not to fall in, or else you'll lose health or even drown instantly.
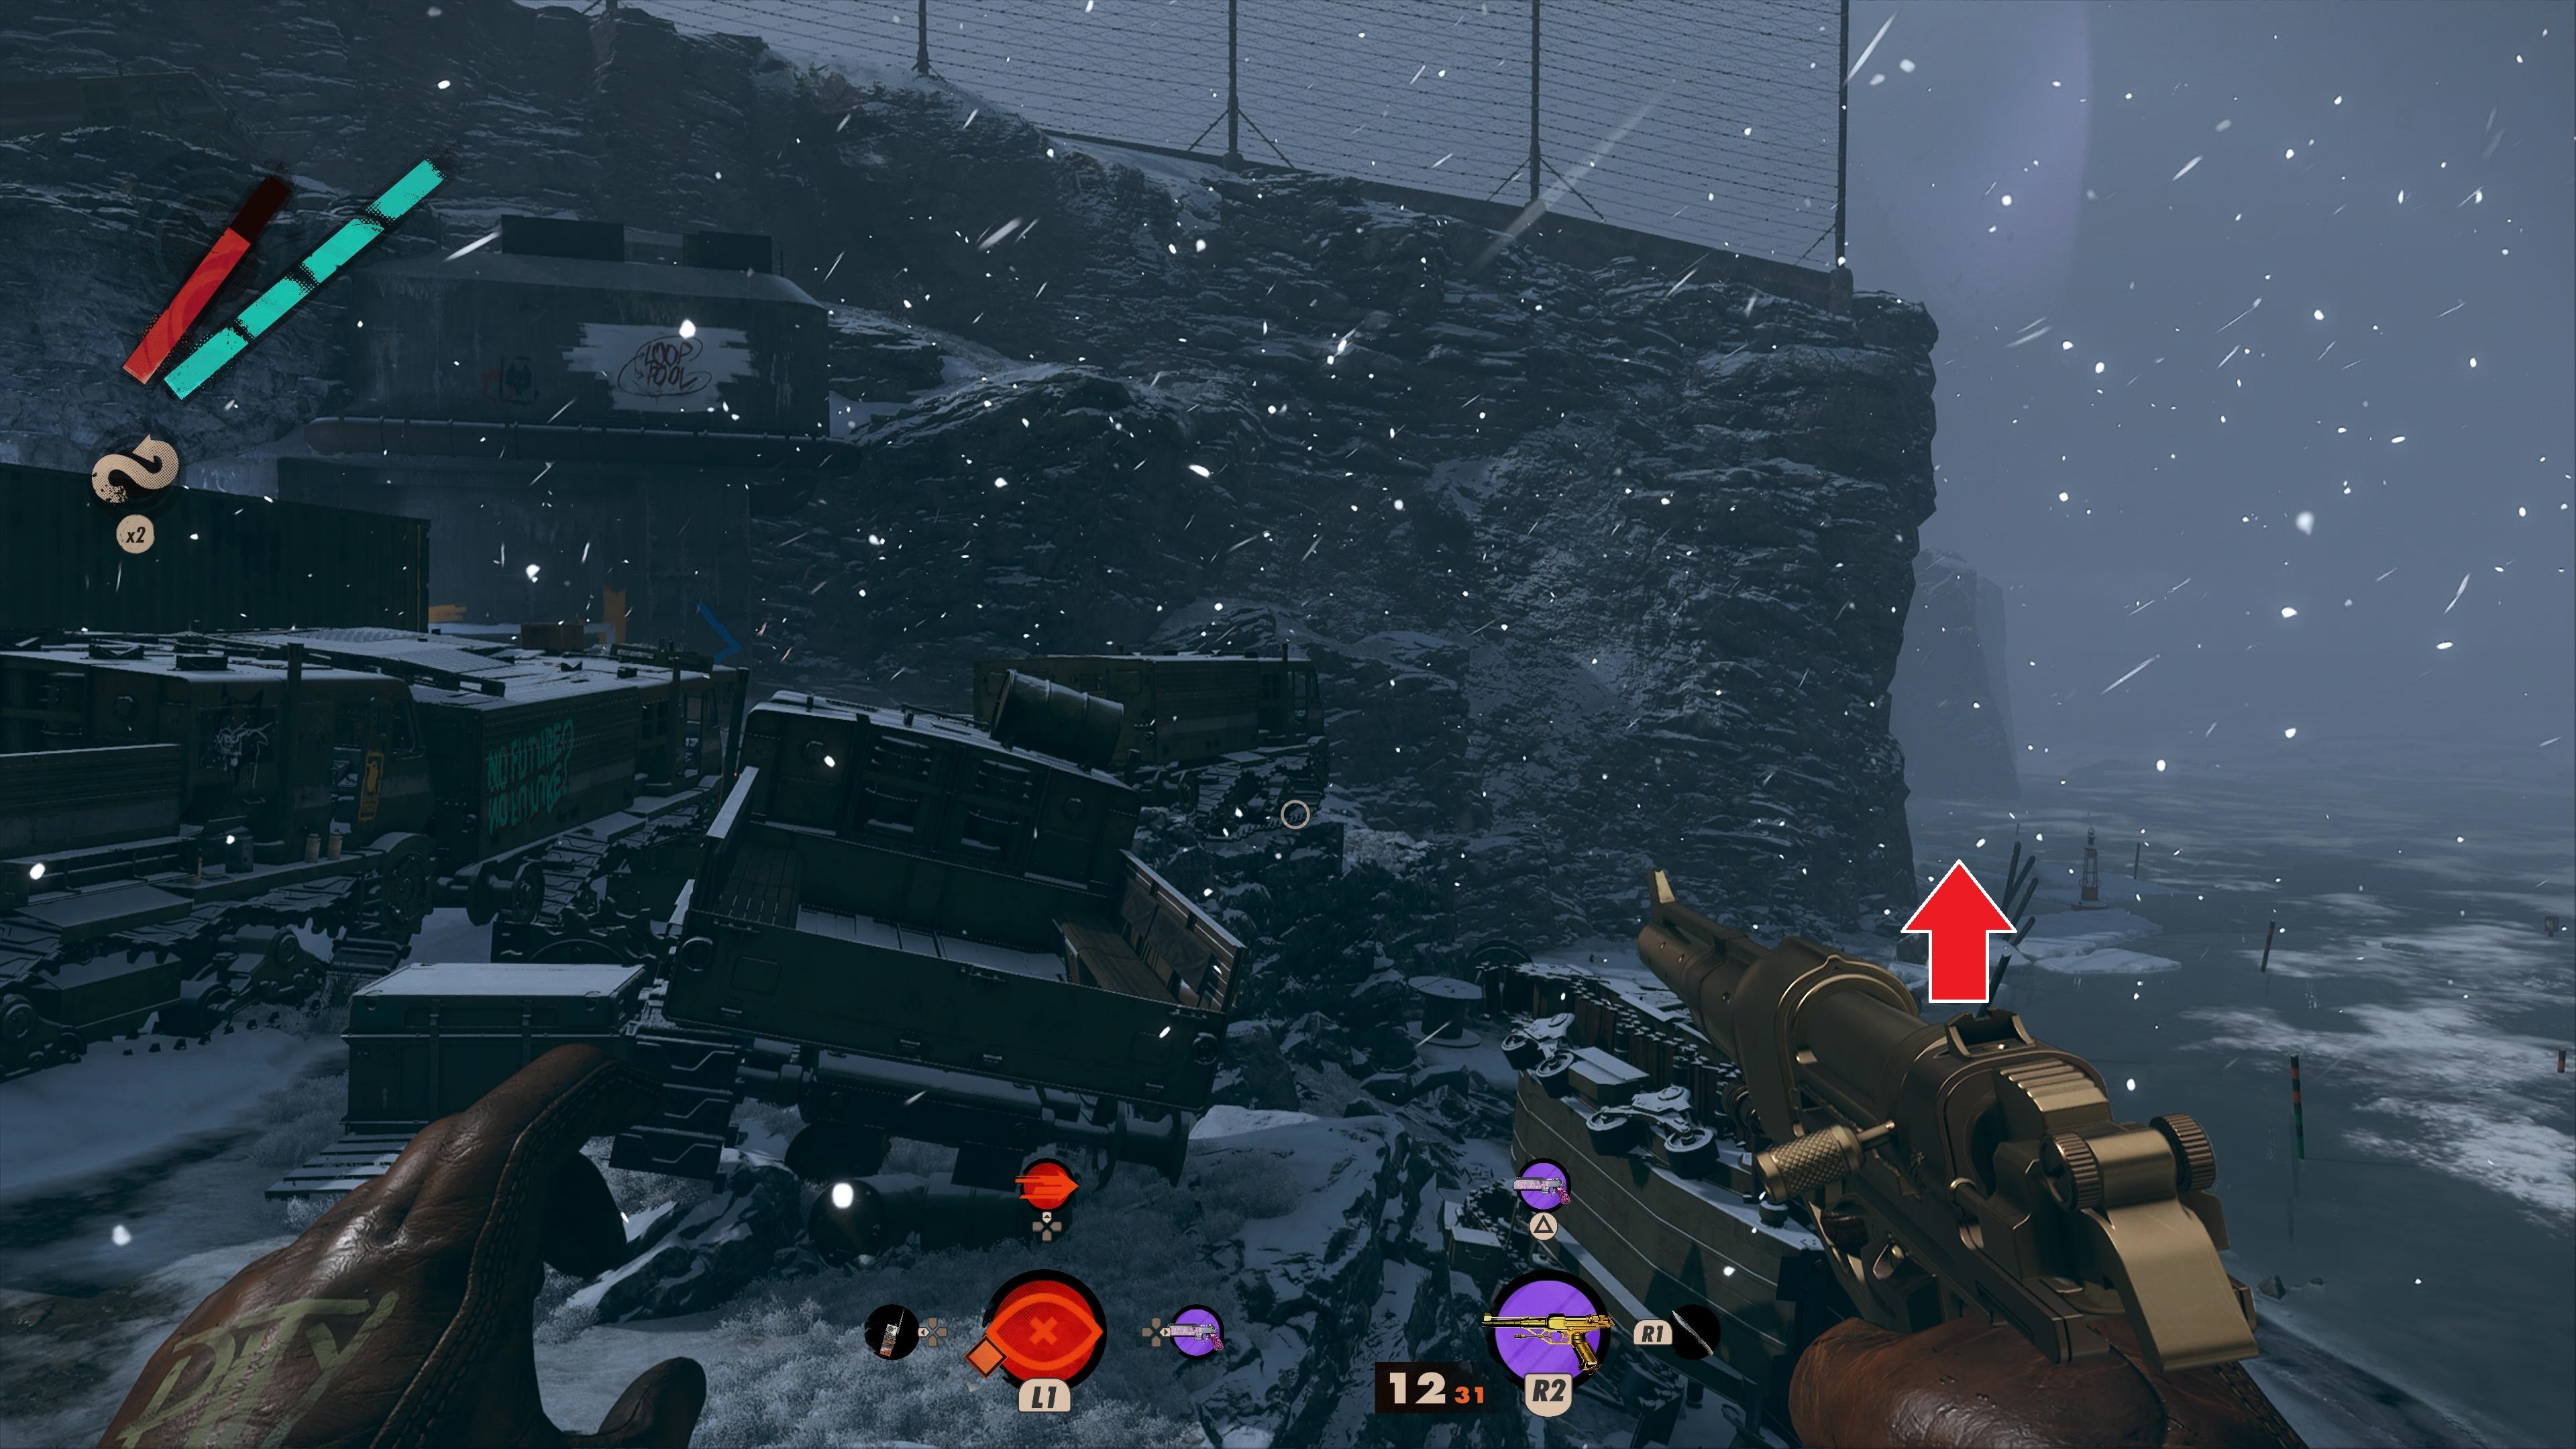
Once you get around the rock formation, you'll discover a secret bunker numbered 9 on the outside wall. It'll be open, but you can't go much farther as you'll come to a room with a strange computer and multiple monitors.
Look for the available audio memos and notes to learn that this device belongs to Charlie. The room is locked as a way to allow him and Fia to enjoy private moments together down the shaft of the tunnel that lies on the other side of a locked door. You'll need a passcode, and you sadly won't have it yet. You'll get a four-digit code to a safe instead.

The notes will reveal where to use this passcode: Head to Karl's Bay at any time of day, so going there even as your very next level works. Once there, look for the building decorated in mystical imagery just outside of where you begin the level.
Enter it and look for the locked safe. Depending on the door you use, it may be right in front of you as you open the door. The passcode you picked up in Fristad Rock will be used here, so enter the code and retrieve the cryptic love letter from Fia inside.

Her weird wording is actually a cipher for an environmental puzzle back in Fristad Rock. You'll need to head back there at noon in a subsequent loop and return to the mountain, this time entering her bunker. Be careful not to set her off, as she is walking around with a killswitch that can foil your investigation. Take her out silently or just avoid setting off the Eternalists' alarms.
Meanwhile, look for the large painted red symbols around the bunker, usually displayed on the walls or floors. Though there are about a dozen of these paintings, four of them hold the pertinent information you're looking for. This part may be randomized (much of the game is), so use her word-puzzle clues to find the right images around the bunker in your case, or you can just do as I did and try and find all of them until you've discovered the correct foursome.
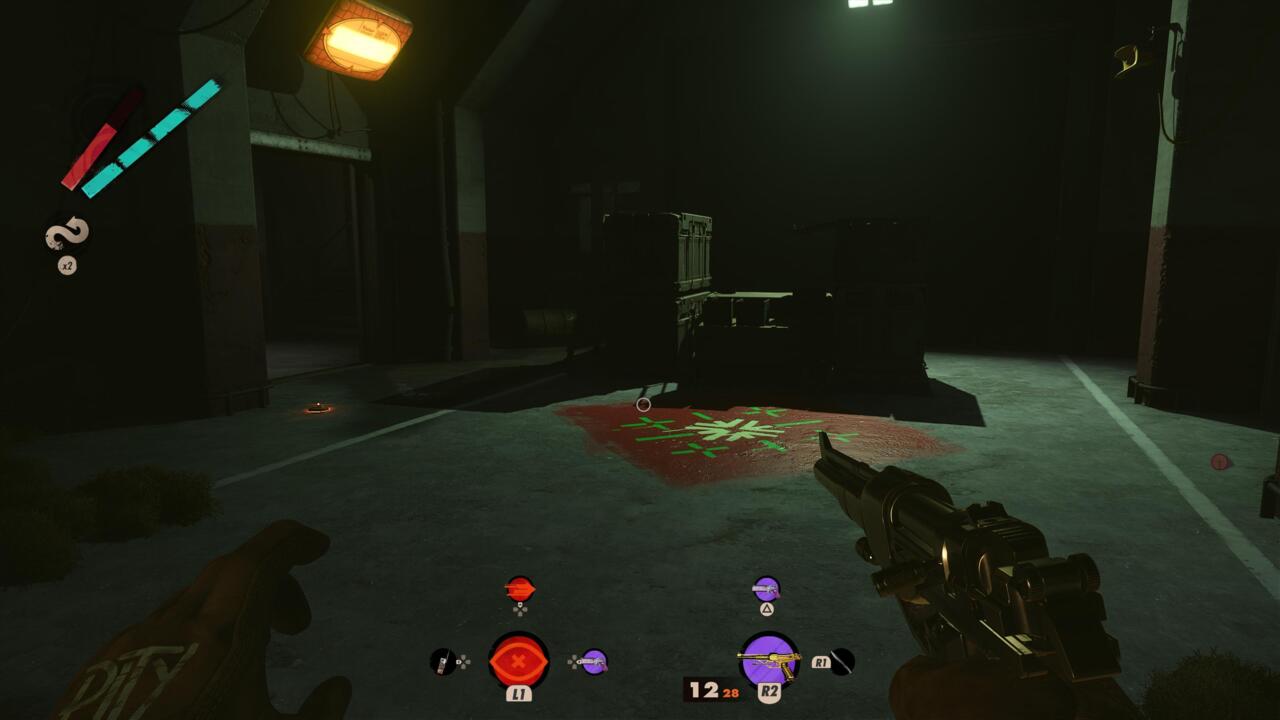
Once you have found all four, you'll automatically unravel Fia's cipher and be given four individual numbers, each being one or two digits long. Now you have the passcode to unlock Charlie and Fia's romantic hideout.
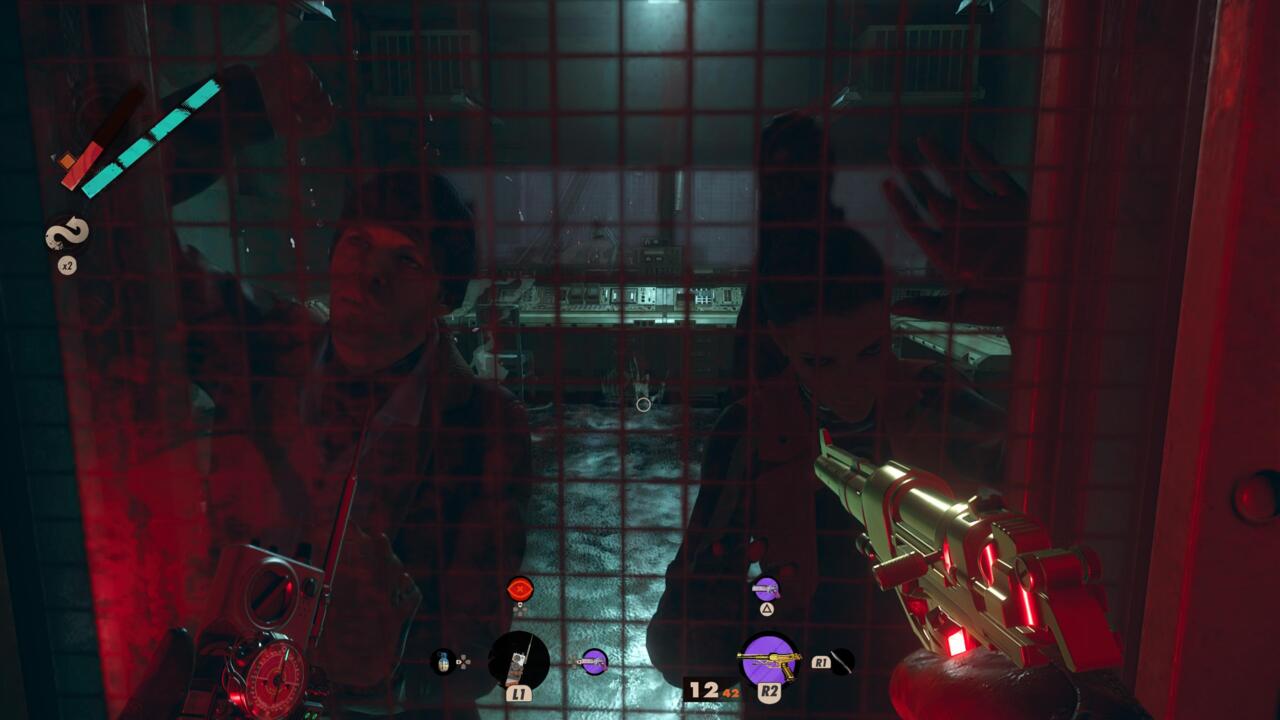
With this, you'll have everything you need to kill Charlie and Fia at the same time in any loop of your choosing. The code will never change, so you can throw out all of those prior steps and search and destroy on Fristad Rock in the afternoon. Head back to their secret bunker, enter the code, descend the pumping station tunnel, then sneak past them during their, uh, lovers' quarrel and look for the all-important lever. Pull it, and observe the ensuing chaos.
Now, this part is tricky, but it doesn't have to be. If you aren't on your last life in that particular level, you can just watch as the room rather quickly fills up with water. Fia and Charlie will unavoidably drown, but so will you--though you'll also get to see an interesting moment between them as they take their last breaths.
If you'd rather escape with your life (and your Residuum), you'll just want to book it out of the tunnel as soon as you pull that lever. Go back out the way you came and ascend the shaft you previously came down through. There's even a shortcut on the level where you pulled the red lever. Go the long way around the control room and look for the room with the red light. Hack the door to unlock it. That way, you won't need to go down before climbing all the way back up, which buys you a few extra seconds to beat the rushing waters.
Once you get to the top, you'll be back in the room with the strange computer, well above where the water rises to. Fia and Charlie won't be so lucky. Killing the pair this way is the best way we know of if you're hoping to kill all seven Visionaries in one day.
Got a news tip or want to contact us directly? Email news@gamespot.com
Join the conversation