Inscryption Slide Puzzle Guide - How The Cabin Drawer Puzzles Work
You can get some extremely useful cards (and other things) by investigating the locked drawers in the cabin in Inscryption--but you'll need to understand the rules of the card game to open them.
When you first start Inscryption, you find yourself locked in a cabin, playing a card game against a shadowy figure with ill intentions. The game can be confusing at first, but you'll soon find there's more to it than just its deck-building roguelike gameplay. You can stand up and walk around the cabin, using your first-person perspective to seek out clues, solve puzzles, and work to find a way to escape your fate.
Early in your time in the cabin, you'll find a chest with several drawers set against a wall. Getting into them is tricky, though--they're locked using puzzles governed by the same rules as the card game. The sliding tiles each represent cards, and you need to arrange them to create a certain outcome. We'll give a quick explanation of how the slide puzzles work below, so you can solve them yourself if you like. If you'd rather have the solutions, though, we've got those too.
You might also want to check our Inscryption tips for beginners, which can help you find your way through the cabin and unravel the mysteries at the heart of the game.
How To Find The Slide Puzzle Drawers
Working your way through the cabin is actually a chain of puzzles, with the solutions for each one leading to the beginning of the next. The slide puzzle drawers are hidden in a chest near the safe, and you'll need to open that in order to get the key that gets you into the chest. That puzzle is fairly easy to solve, but if you need a hand, check out our quick rundown on how to open the safe.
Inside the safe is the key that unlocks the chest, where you'll find four drawers, each with a puzzle on the front. The puzzles get more complex as you go, and if you're stuck, you might want to consult the rule book next to your seat at the table to help you find the right path.
How The Slide Puzzles Work

Each of the slide puzzles is a representation of the card game you've been playing at the table. The metal squares each represent a card, and you can slide them up and down to move them from your side of the table to your opponent's. The idea here is that you're trying to create a situation with the available cards where, following the rules of the game, you score five points in one round. To see how many points your card configuration is scoring, you can hit the bell button on the left side of the puzzle.
The trick to the slide puzzle is configuring the cards according to their rules and sigils. Since you can't see how the rules will shake out like you normally do in the card game, you have to use your imagination, anticipating how sigils interact with each other. For instance, if you have a card with the Flying sigil on one side of the board, it'll score points on the other even if there's a card blocking it. If the blocking card has the Mighty Leap sigil, however, the Flying card will get blocked and the points won't go through. To solve that problem, you'll need to move the cards back and forth on the slides.
Most of the time, the trick to these puzzles is to either move blockers out of the way or find ways to destroy them so that other cards can score their points. Remember that when cards do their damage, it's assessed from left to right--so if a card on the left side of the board has a sigil like Bifurcation, which causes its attack to go one lane to the side, you can use it to kill a blocker in front of the card on its right. With the blocker theoretically dead, the card to the right will then be clear to score its points. You can brute-force your way through these puzzles because there are only so many solutions, but it's quicker if you learn and pay attention to the rules, and that knowledge will serve you more as you try to advance through the card game.
Slide Puzzle Hints And Solutions
Puzzle 1: The Easy One
The first puzzle just sets the stage for you. Align the cards so that they're all on your side with no blockers and the combination should score an easy five points. That'll earn you the Skink card.
Puzzle 2: Dealing With Skinks

In the second puzzle, you'll see a bunch of the card you just earned, the Skink. The sigil on the Skink card is called Loose Tail: when the Skink is damaged, it moves to the right to get out of the way of the attack and leaves a Tail card behind in its place, which functions as a blocker. So in this puzzle, if you've got cards that are damaging Skink cards, they're creating additional blockers. You won't see those cards in the puzzle, but you'll have to imagine they're there.
Solution
Your rewards for completing the second puzzle are the Worker Ant and Ant Queen cards, and you'll want to learn how they work now. Like the Skink, they're relevant to your next puzzle.
Puzzle 3: This Is How You Get Ants
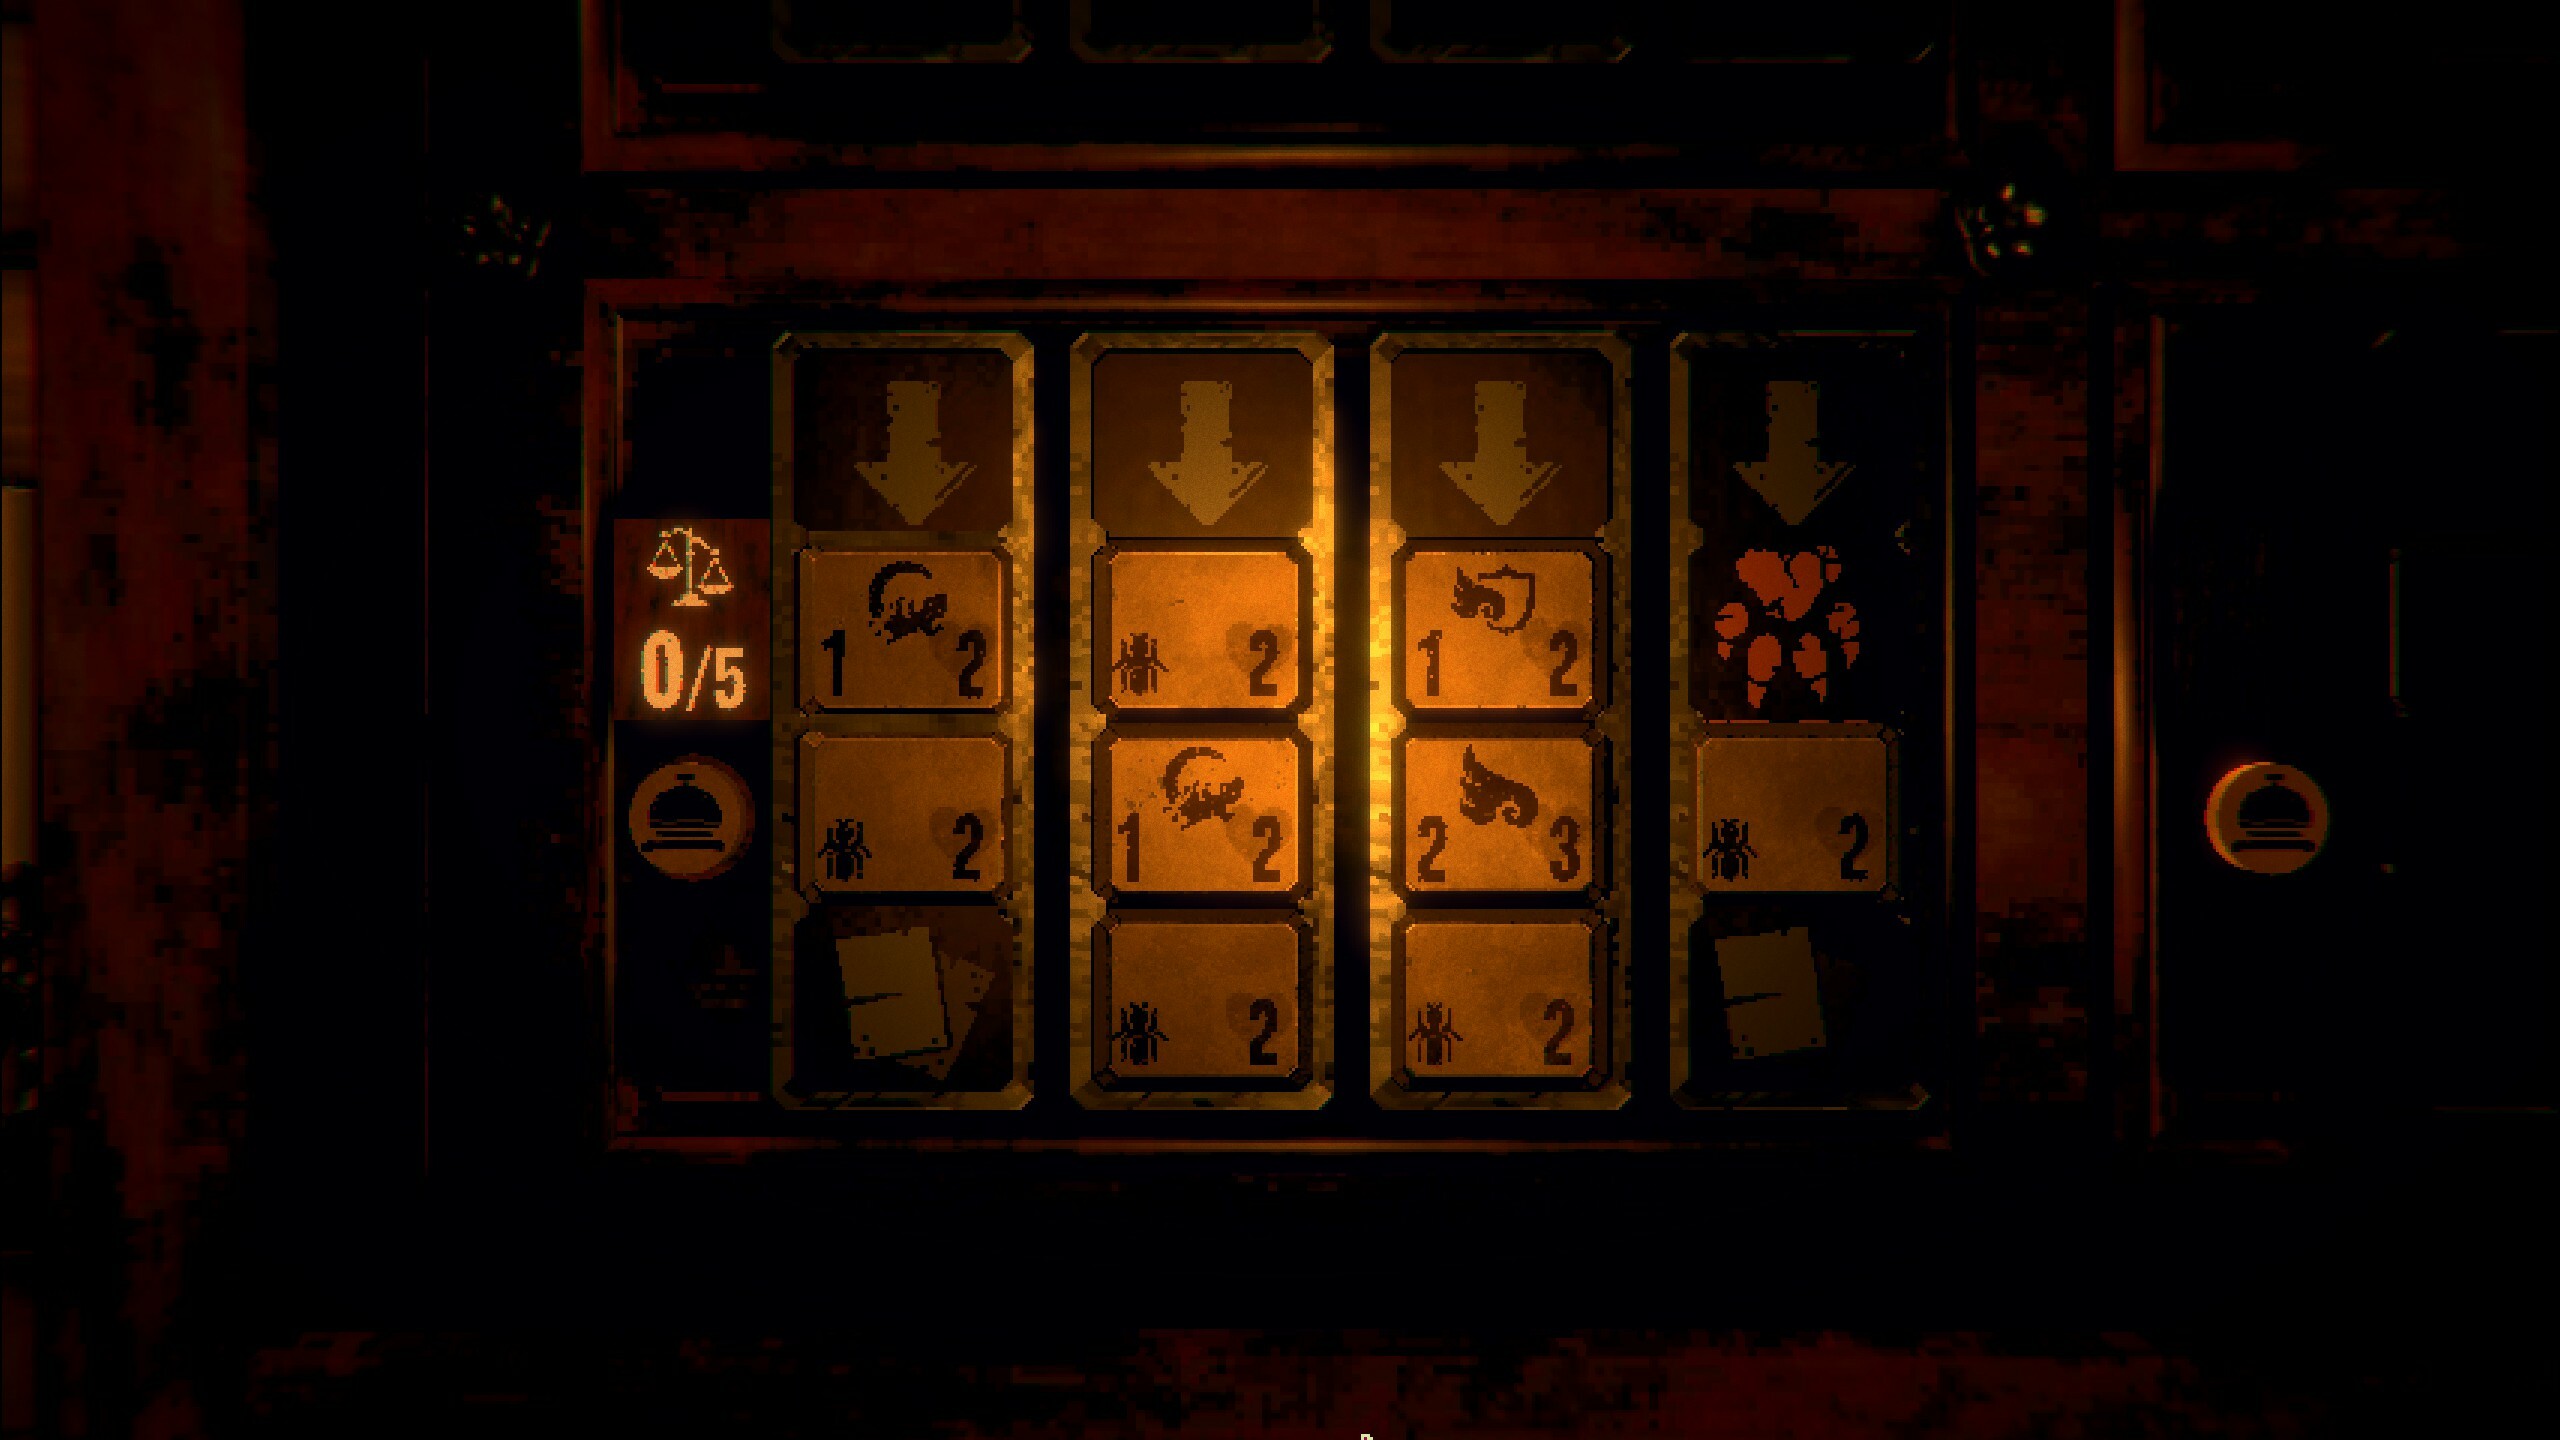
Yup, the third puzzle has a ton of Ant cards in it. The cool wrinkle with Ants is the bug marker in the place of the Power number on the card. The more Ant cards in play, the higher the Power number is. Therefore, you need to not only think about the blockers in this puzzle, but how many Ants you're employing on the attack line.
Skinks are also in play here, so the second part of this puzzle is related to positioning. Skinks move to the right and generate a Tail card in their place, but only if there's space for them to move. Keep that in mind as you're figuring out where to place each tile.
Solution
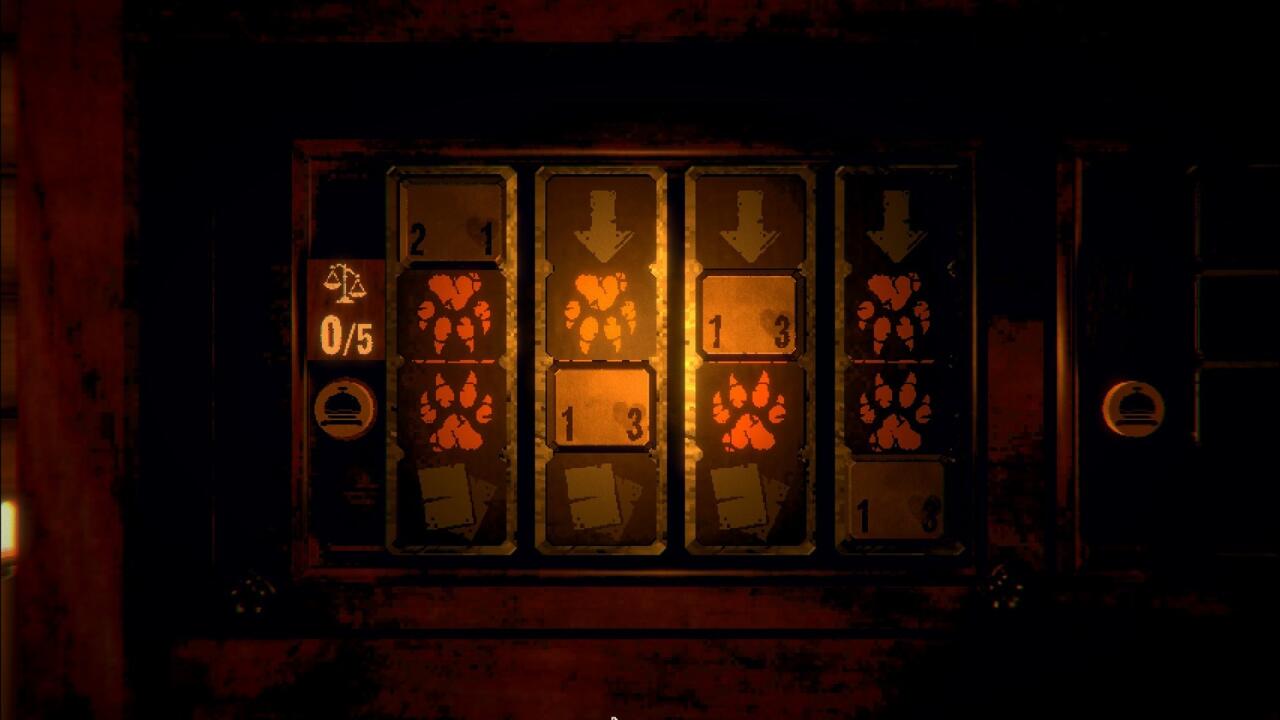
Opening the third drawer gets you the Caged Wolf card, which you'll need for further puzzle-solving.
Puzzle 4: Bifurcated Strikes

The last puzzle adds two more elements that are a good primer for what you'll see in later card games: the Bifurcation sigil and the Sharp Quills sigil. Bifurcation allows a card to attack the lanes on either side of it, giving it two attacks. Sharp Quills deals damage to the attacking card when a card with the sigil blocks. Both are very useful, but this puzzle is mostly about using Bifurcation to make room to score points.
Remember here that attacks happen from left to right across the board. If a card with Bifurcation attacks, it'll strike a card to its left and right--and you might be able to kill that on the right card before it has a chance to block a card in a different lane, allowing points to go through. The Sharp Quills sigil means that attacking cards die, as well.
Solution
Solving this last puzzle gets you a very valuable item: the Squirrel totem head. Visit the Woodcarver while you're playing the card game and you can make some totems that can seriously amp up your Squirrels, making them much more useful in combat.
Got a news tip or want to contact us directly? Email news@gamespot.com
Join the conversation