Last Of Us 2 Walkthrough Part 5: Seattle Day 3 (All Collectibles, Spoiler-Free)
Scavenge your way through the Flooded City in the fifth part of our spoiler-free walkthrough of The Last of Us Part 2, covering Seattle Day 3.
Warning: We've ensured that our walkthrough contains minimal spoilers so you can still enjoy the game even if you need help finding collectibles. However, if you want to know nothing about the game before playing, you should stop reading now. You can always consult this walkthrough when you play the game a second time and want to find everything.
Our spoiler-free walkthrough for The Last of Us Part 2 continues below into Seattle Day 3. Below we'll help you discover every collectible, upgrade, story item, and weapon--without spoiling the story or any encounters. Everything you need to know is below, but note that we're skipping any discussions of locations or details that won't help you find things you might miss, to avoid spoilers.
There's tons of more coverage of The Last of Us Part 2 for your enjoyment now that the game is out. For more parts of the walkthrough, be sure to check the list below. Also check out our The Last of Us Part II guide roundup, which we'll keep updated with the latest walkthroughs and guides as they get posted. Be mindful of the spoiler block text in the list below, as the names for Parts 6 through 9 can be considered spoilers for early players.
- Part 1: Jackson
- Part 2: Part 2: Seattle Day 1 - Downtown
- Part 3: Seattle Day 1 - Capitol Hill
- Part 4: Seattle Day 2
- Part 6: The Park, Seattle Day 1
- Part 7: Seattle Day 2
- Part 8: Seattle Day 3
- Part 9: Santa Barbara
Seattle Day 3 - Road to the Aquarium
Back in the theater, head toward the curtain to leave backstage but don't go through. Instead, turn left and check on the crate near the mannequins to find the Esquire Trading Card.
After leaving, keep moving forward until your path diverts you into a storefront. You'll open a door into the back hallways of the building. Look for a doorway that's blocked on the right, but which you can crawl under, to find a Workbench. On the other side of the room is the Tormentra Trading Card.
After swimming a bit, you'll find a passageway into a flooded garage. Clear the area and push to the back, under the ramp, to find a way up to a body that has the Garage Note artifact and some other supplies.
Bookstore
Drop down into the bookstore and continue to the bottom, where it's flooded. Look under the platform you just jumped down from. You should see bookshelves with the Tanager Trading Card.

Head to the children's section in one corner of the area to find a Journal Entry. On the table you can grab the Bookstore Note artifact. When you drop down to leave the bookstore, check the area behind the exit for some supplements.
The next area is full of wolves. Check the two-story building with scaffolding out front to find the Textile Note artifact pinned to the wall near the windows. There are also supplements in the back corner.
Your path toward the bridge between buildings will put you on the upper story of the department store. When you get high enough, turn around and make for the offices behind you to find a Workbench.
On the far side of the covered bridge, you'll drop down into a room where Ellie remarks, "This place is wrecked." Before you push debris out of the way to clear the doorway, look for a low wooden shelf that contains the Tatuaje Trading Card.

The Flooded City
Obtaining the boat will let you leave the mall and drive until you hit a dead end. When you get out to find a way through, climb to the upper floor and stop by the window for a Journal Entry. By the body in the corner, you'll find the Stash Note artifact. Move the cart on the other side of the room to reveal a hole in the rubble. That'll take you to the caged area back down by the boat, where you'll find a safe: the code is 70-12-64. You'll find supplements and other supplies inside.
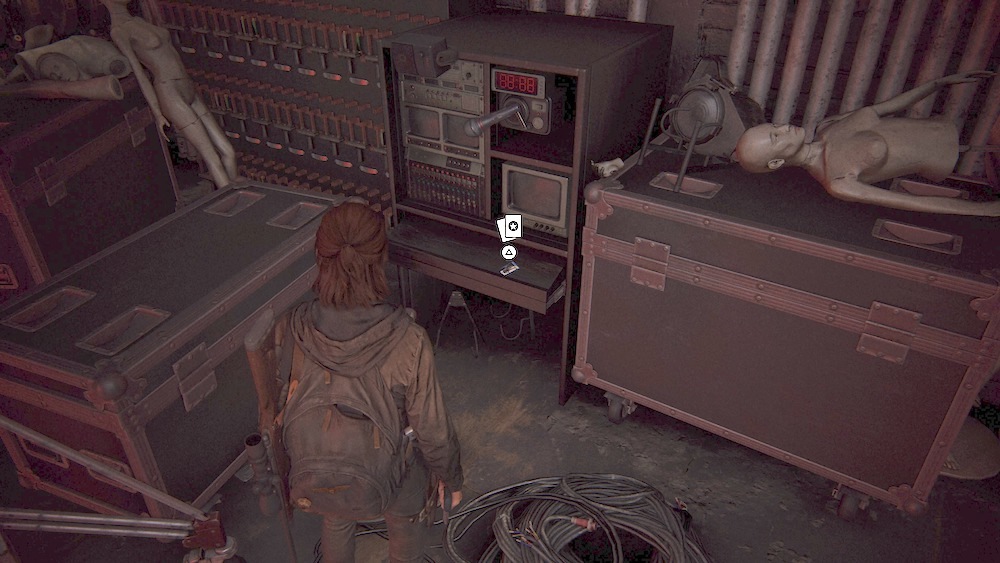
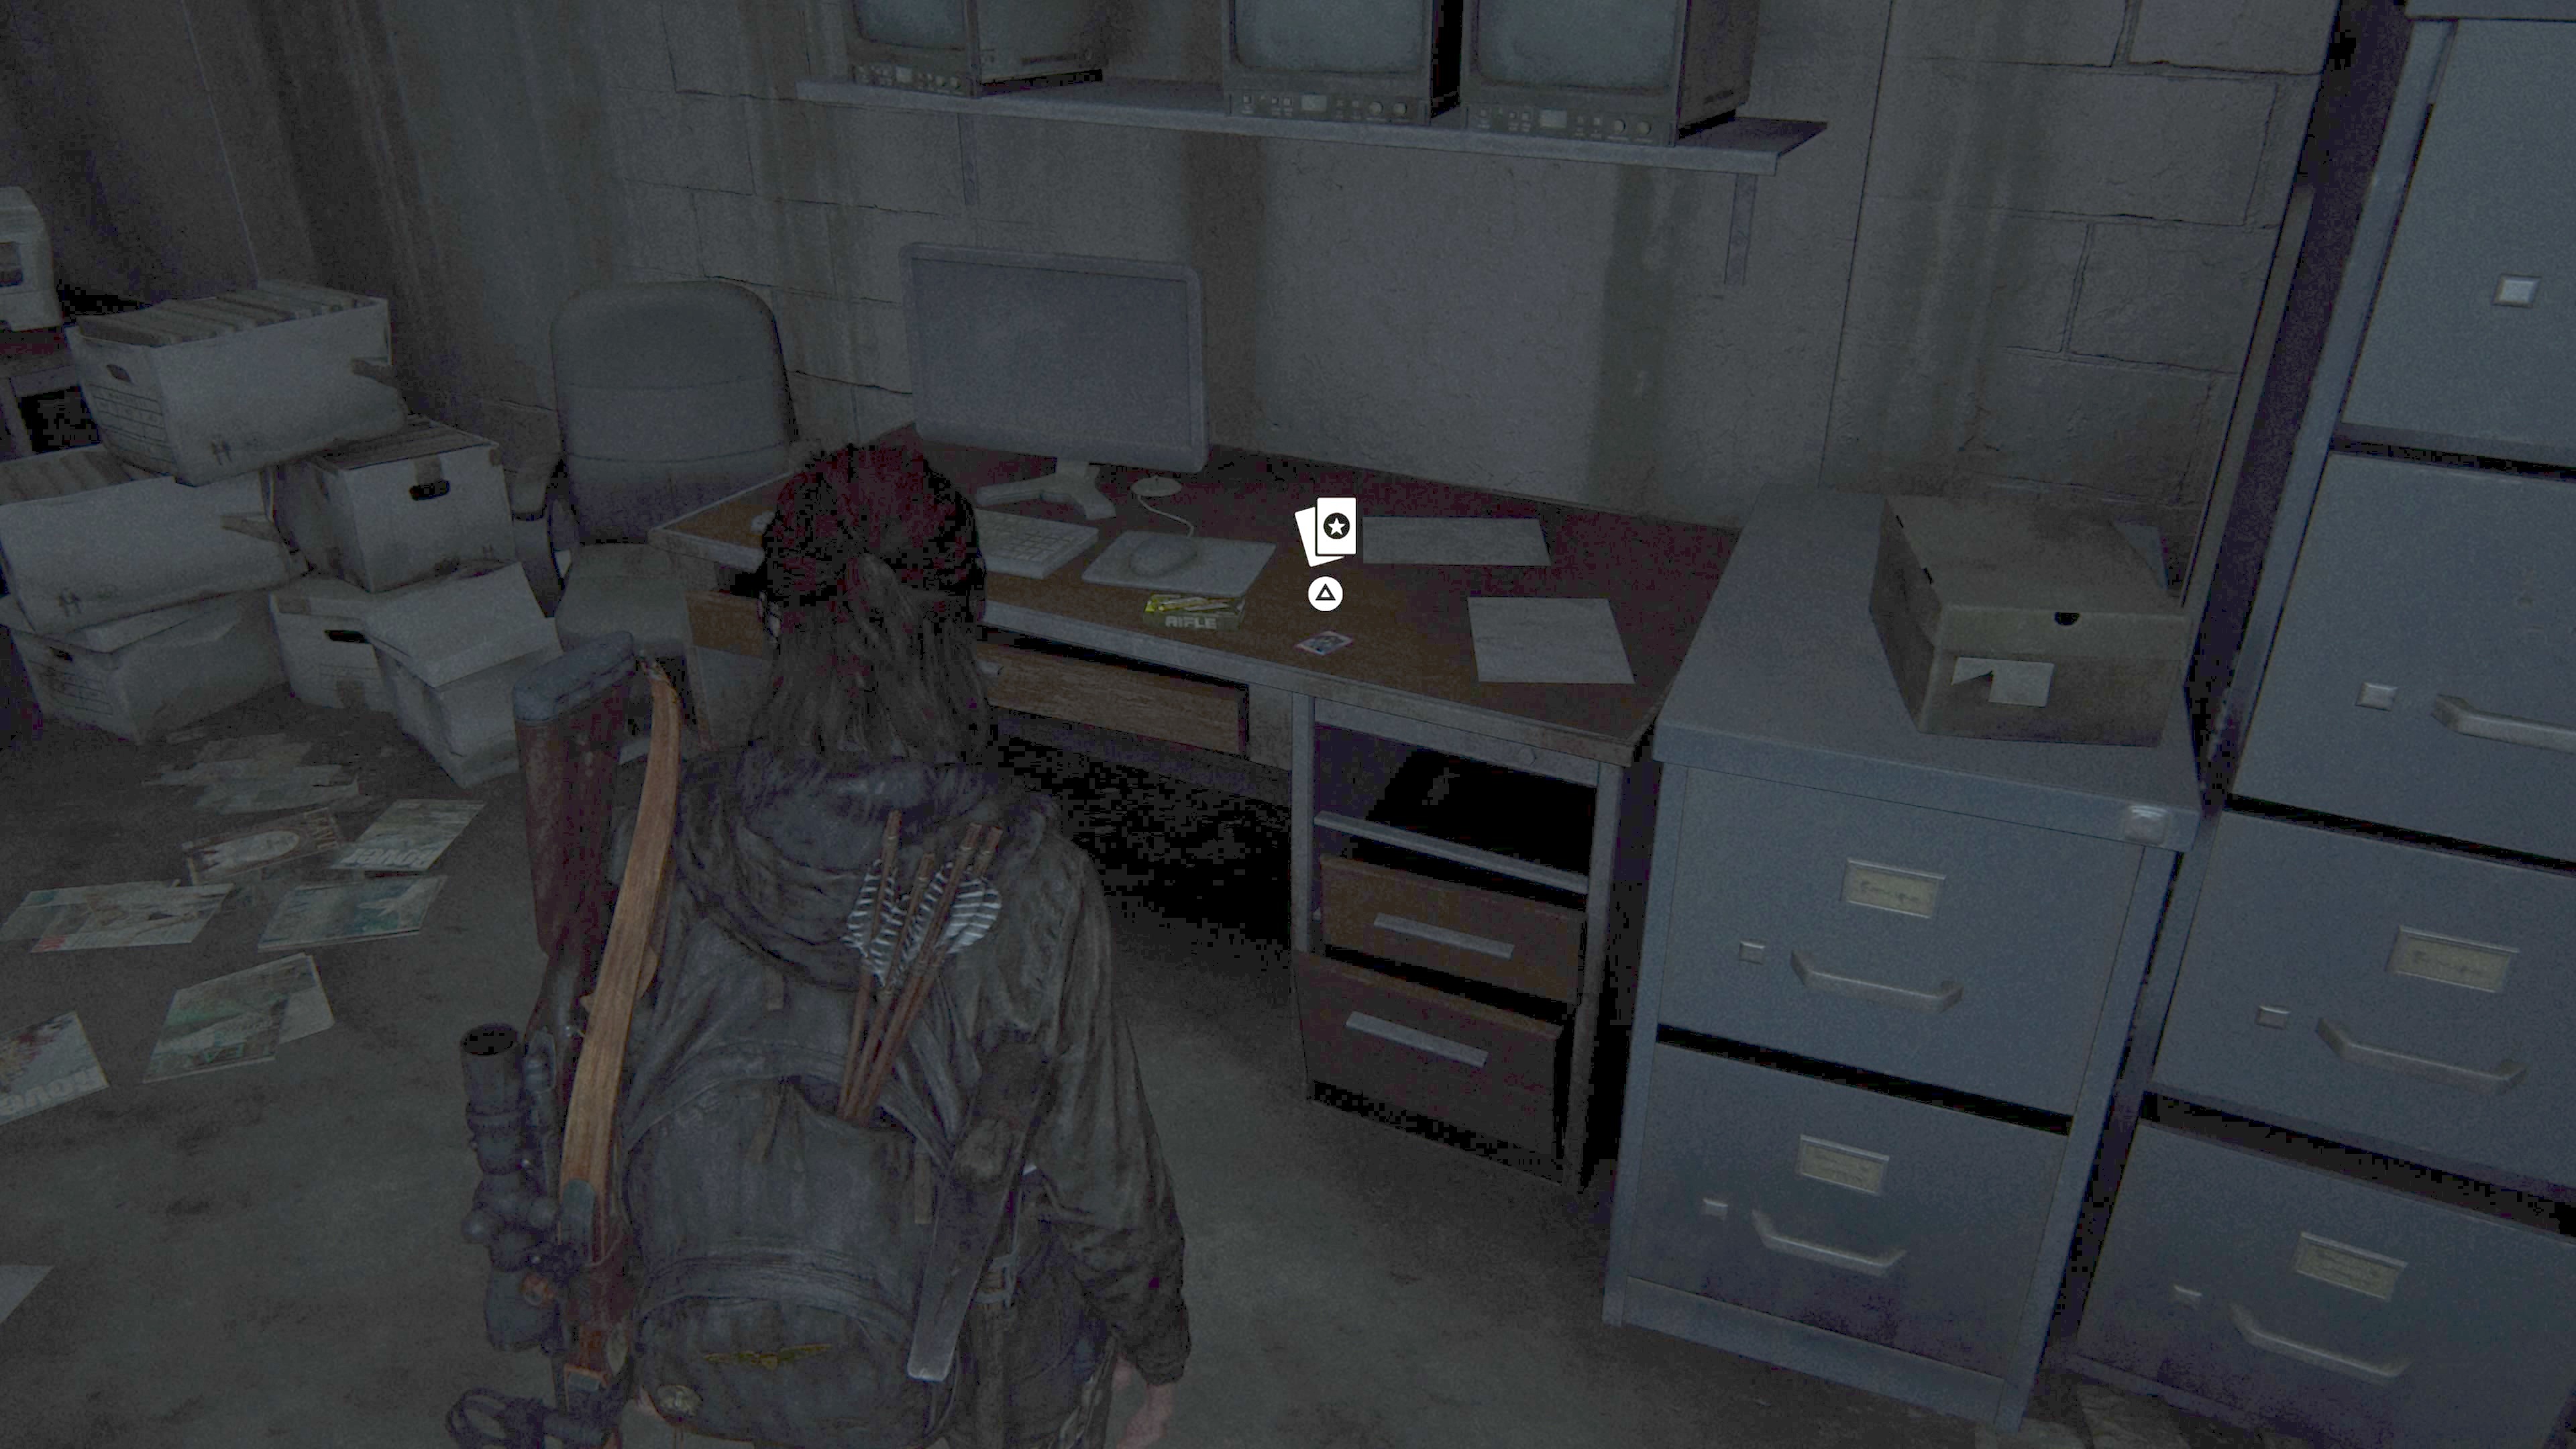
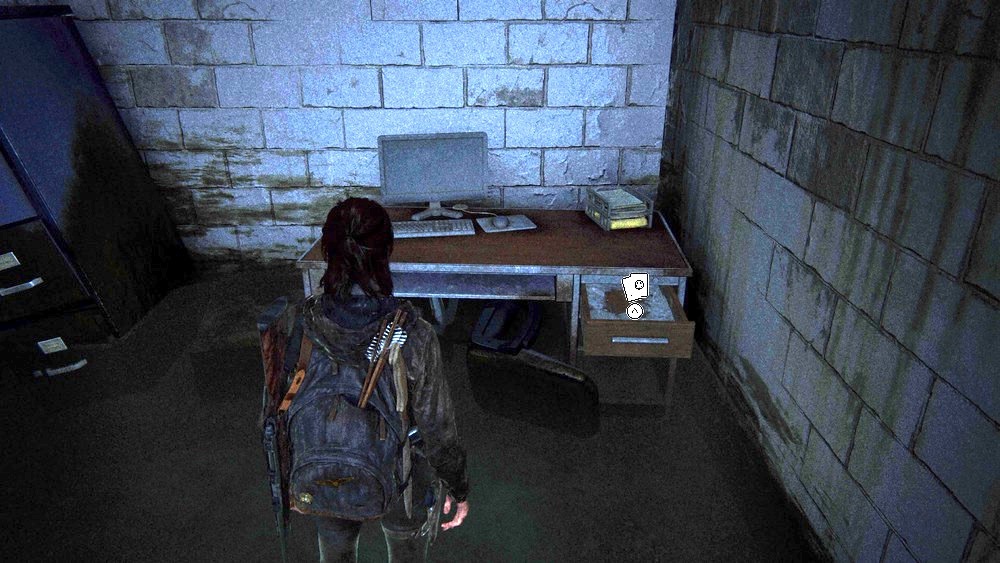
Before you leave, check the office to the right of the area with the cage. The drawer in the back of the room contains the Seff-L'ho'pahd Trading Card.
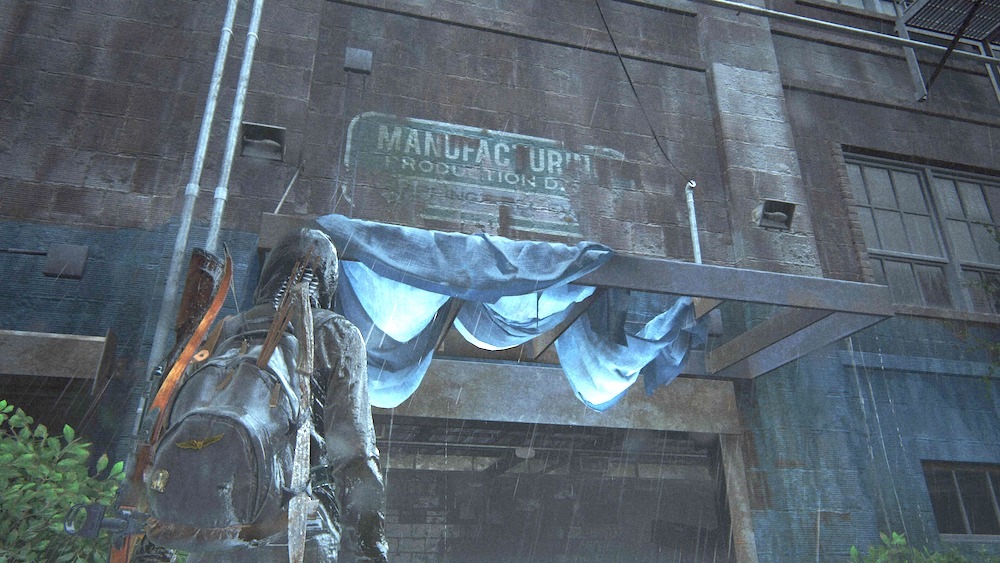
Continue on until you go down a series of rapids and Ellie has to restart the boat. Check the building with the blue awning and a worn "Manufacturing" sign to find a Workbench.
Further on, drive into the Carthy Hotel to find the Shambler Note artifact. Beyond that, you'll see a more open area with a wrecked train car and a destroyed building with fires. Drive over to the train and you can climb inside. After using the rope to swing over to the last car, grab the Sniper's Note artifact and some supplements. As the note suggests, this is a good place from which to take down the Scars with your rifle.
Check the second floor of the Scars' building, near the Bloom and Baer sign, to find the Encampment Note artifact pinned to the wall.
Next you'll enter a barcade. Look in the kitchen behind the bar for supplements and grab the Arcade Flyer artifact off a table. Upstairs is a Workbench.
Boss Fight: Bloater
You won't run into many boss fights in The Last of Us Part 2, but this is a tough one. The Bloater has two major attacks: Charging straight at you and throwing explosive spores at you. In both cases, you'll want to quickly get out of the way to avoid taking damage.
It's also worth noting that you can't let the Bloater close the distance and grab you--it can kill you if it gets hold of you, so keep your distance. Sprint to the far end of the room as it gets close to give yourself a lot of space to maneuver. If you've got explosives you can spare, either arrows or trap mines, this is a good time to use them. A few explosive arrows can handle the Bloater pretty quickly; it's even better if you can catch additional enemies in the blast, if you're a little bit patient.
The Bloater itself is dangerous but huge, fairly slow, and easy to spot. What can get you into trouble in this fight are the runners who will periodically show up to mess with you. These guys will drop down from the upper levels in certain places, and can sometimes wind up behind you. Getting tangled up with a runner can allow the Bloater to get in close and finish you off, so you'll want to prioritize dealing with the runners whenever you've got some distance. Sound can be essential here, as you'll often hear runners before you see them. But a good way to deal with them is with explosive traps, which you can leave around to clean them up without having to worry as much, or shotgun blasts, which can drop them immediately.
You'll need to put a fair amount of damage into the Bloater to kill it, but there's ammo scattered around the room if you need it. Remember to keep moving and to use hit-and-run tactics as much as possible, and you'll make it through.
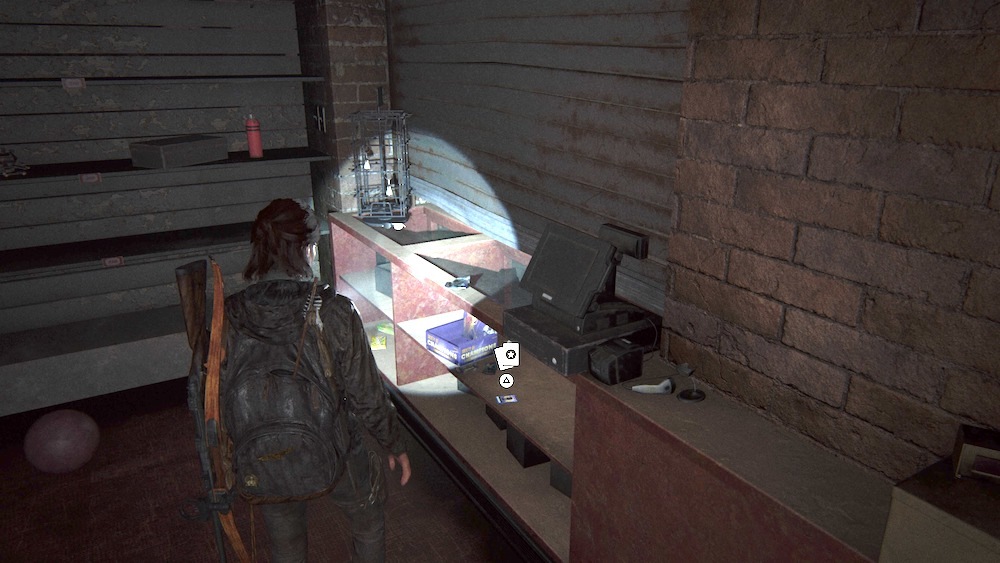
Once you're done, lift up the gate to get into the prize area and check the shelf on the right for the Khazakh Bright Trading Card.
When the stairs take you back up, look behind the red bar for supplements. Go to the back of the bar to the LAN party room and grab the Arcade Note artifact off the left-side wall next to the door.
Aquarium - Infiltration
After passing through the ventilation duct, drop by the room with the lantern. Look for a WLF bag in the back of the room to find a Journal Entry.
Continue to Part 6.
The Last of Us 2 News
Got a news tip or want to contact us directly? Email news@gamespot.com
Join the conversation