Resident Evil Village Treasure Chests Guide - Every Marked Treasure, Weapon, And Upgrade On The Map
Early in Resident Evil Village, the Duke marks a bunch of key items to find on your map--here's what they are and how to get them.
Not long into your adventure into Resident Evil Village, you meet a traveling merchant known as the Duke who sells a variety of items. The friendly salesman soon also provides you with a map of special treasure chests scattered throughout the area that take a little extra effort to unlock. These chests have some of the most valuable items in the game, including weapons and key upgrade items for your guns, and some contain a few of the most valuable treasures in the game, which you can sell to the Duke for cash.
Unlocking all the treasure chests in the game takes a little extra effort as you explore, you should definitely make that effort. You'll find two of the game's most powerful weapons in these chests--the magnum and the grenade launcher. You'll also uncover a key upgrade for the sniper rifle and several treasures that you can use to fill up your wallet. Here's where (and when) you can get to each of the chests, what they contain, and how to nab them.
We've got lots more Resident Evil Village coverage, so check out our full spoiler-free walkthrough, our full slate of guides, and our Resident Evil Village review.
Maestro's Collection - Sniper Rifle High-Capacity Magazine
This treasure becomes available only after you've completed the Beneviento section of the game. After leaving the Beneviento house, explore the area just out front of it. Look for a section of the map marked "Garden" and check out the house there. Inside you'll find the Beneviento ball maze toy near the door and a typewriter in the next room. To the right of the typewriter is the Luthier's Key, which has a cello keychain on it. That's a hint about where to take it.
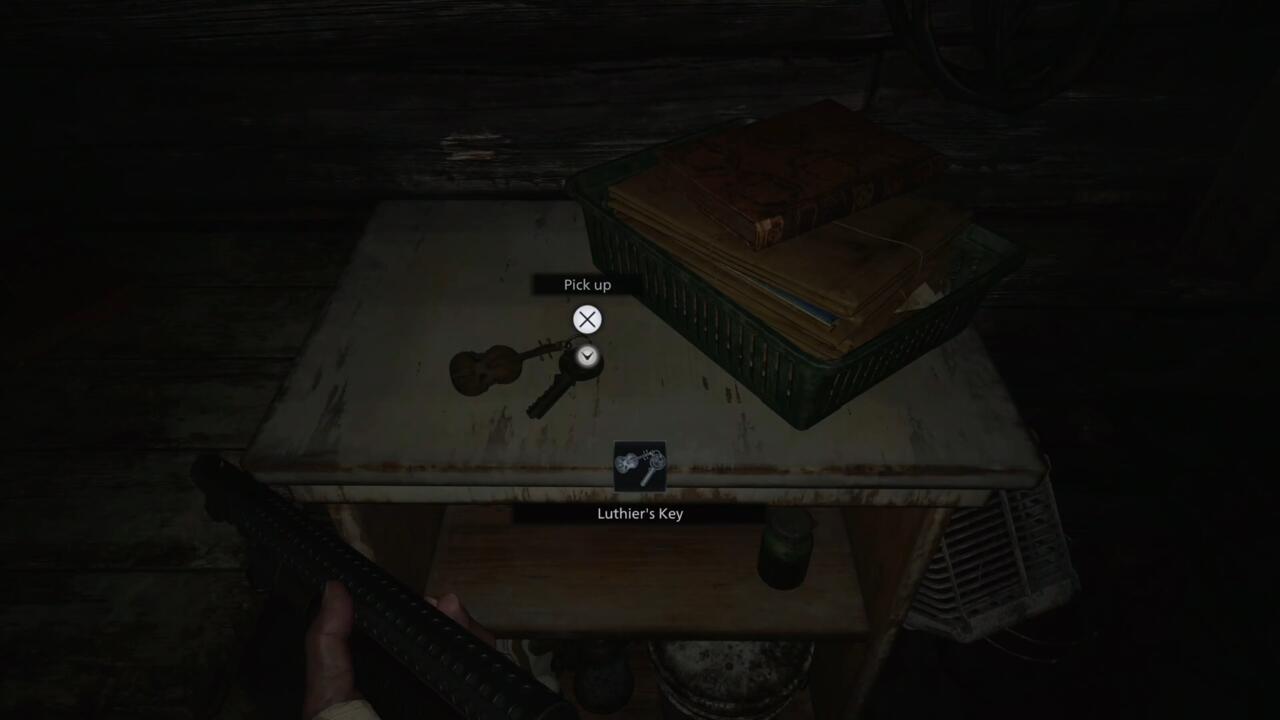
Return to the village and head to the Maestro's House on the south side of the middle section. You might have seen this house earlier when you were investigating the house with the red chimney; it has what looks like a violin on the door. Use the Luthier's Key on the door to open it. In the back of the house, you'll find an armoire with a combination padlock on it. Scour the house to discover the combination on your own, or just enter 27-09-17 to open it.
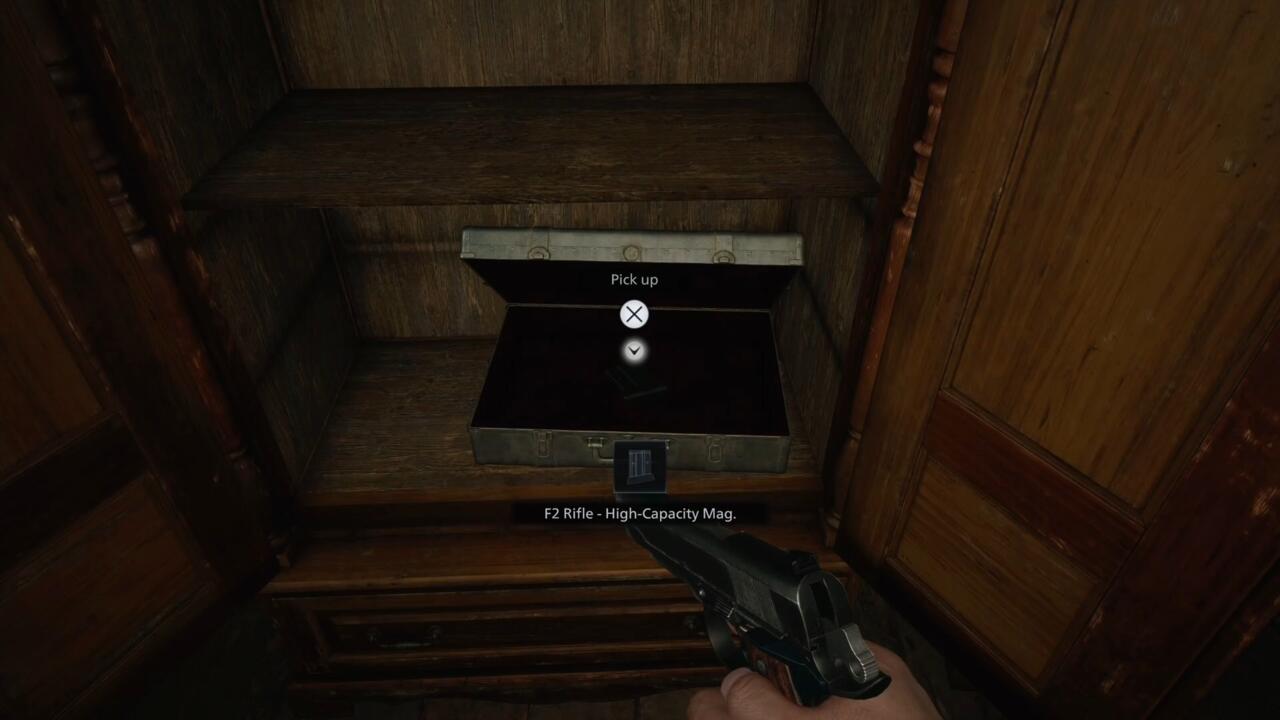
Inside is the Maestro's Collection treasure, which consists of the F2 Sniper Rifle's High-Capacity Magazine--a significant upgrade to the gun--and the Steel Hraesvelgr statue, which you can sell to the Duke for a significant sum of Lei.
Beneviento's Treasure - Berengario's Chalice Treasure
This treasure is also in the area just outside the Beneviento house, but only accessible after you've been inside. On the path to the house but just before it is a grave covered in dolls. If you inspect it, you'll see that part of the headstone is missing, cutting off part of the name of the person interred there. You'll need to find the other chunk of the headstone to get to the treasure.
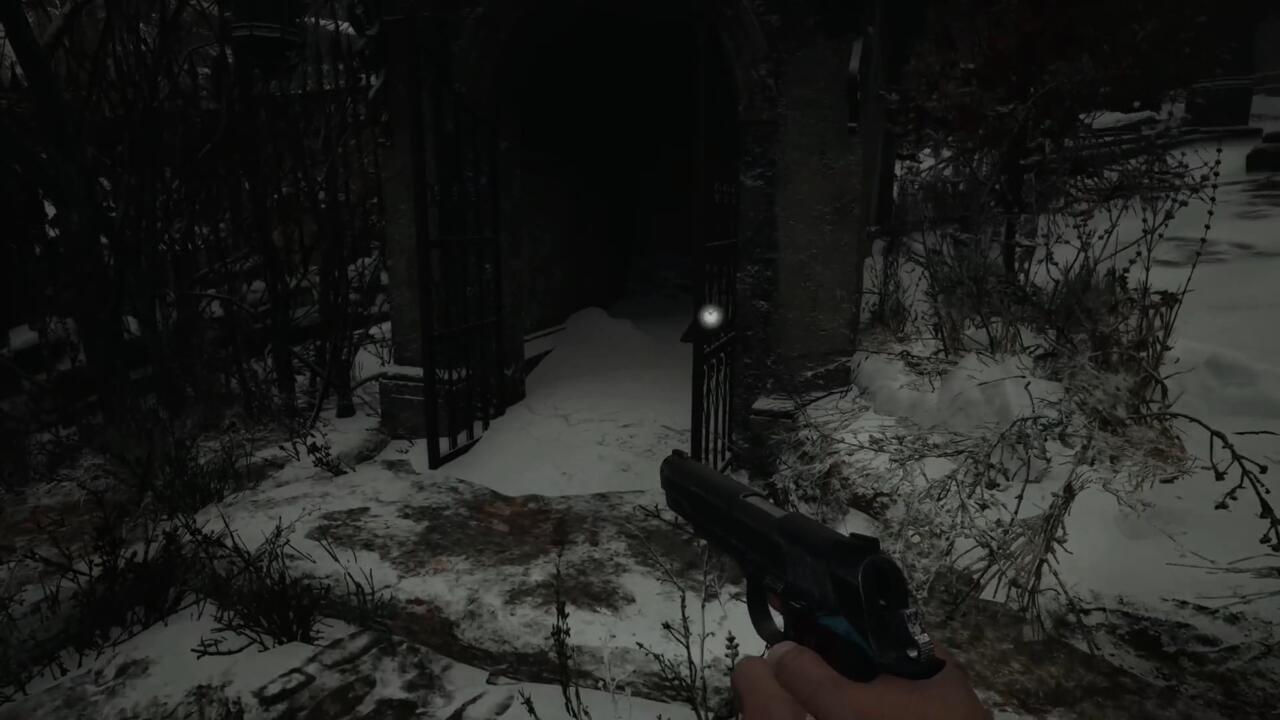
Head back to the village proper and go to the graveyard near the gate to Castle Dimitrescu. You should find that a small crypt that was previously locked is now open. Look inside to find the Broken Slab item; the other half of the name from the Beneviento grave.
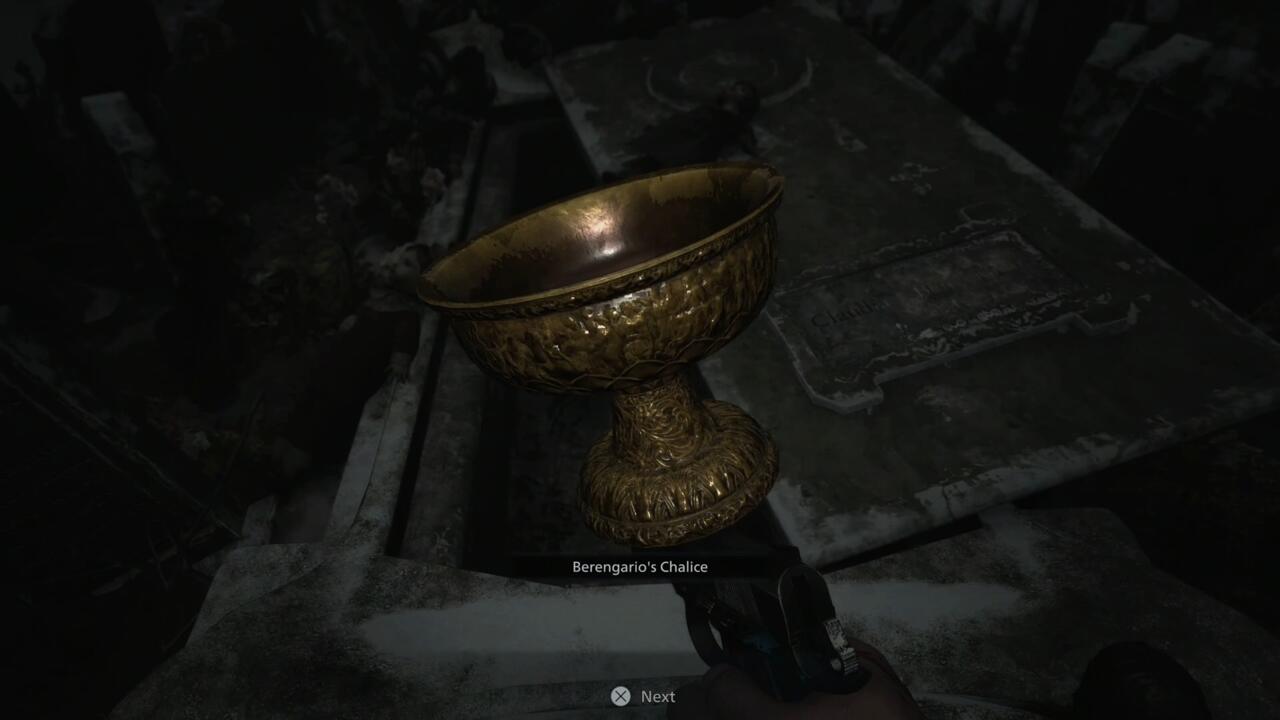
Return to the grave near the Beneviento house, but note that you won't be alone when you arrive. Use the Broken Slab on it and it'll open, revealing Berengario's Chalice, a treasure you can sell to the Duke.
Luiza's Heirloom - Cesare's Goblet Treasure
You can also get this item after the Beneviento house. Back in the village, head up to Luiza's through the Fallow Field. The house has burned down, but on the steps out front is a small box you can open to reveal Luiza's Necklace. Snag it, but you're not done yet.

Examine the necklace to reveal a crystal set into the little skull that you can remove (and, later, sell). Beneath that is another surprise you can find while examining--Luiza's Key. Grab it and then head back to the Altar location where you found the Duke. Head west toward the ceremony site. Along the way on the left and right sides of the path are caves with frescoes painted inside.
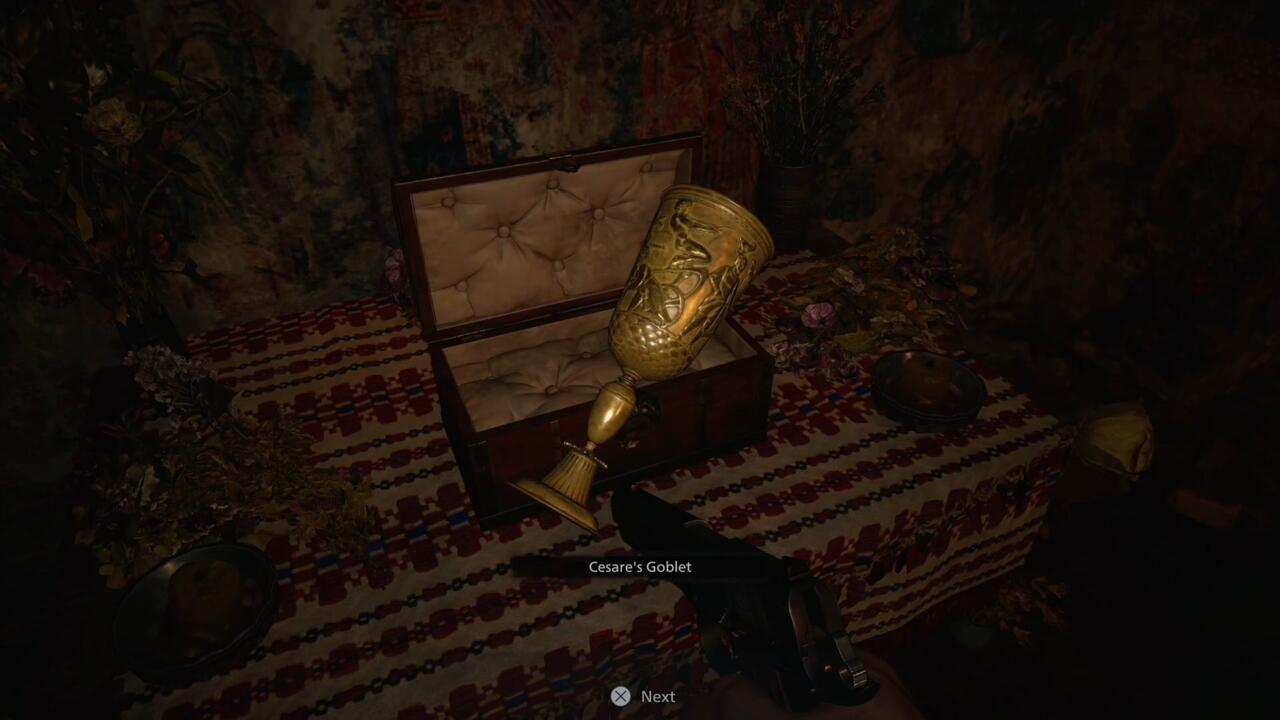
Check the one on the left for a small box and use Luiza's Key to open it. Inside is Cesare's Goblet, another treasure you can unload with the Duke.
Waterwheel Weapon - Grenade Launcher
This weapon actually isn't too tough to come by. You'll find it pretty naturally on your way to Moreau's Reservoir, although it's possible to miss it altogether. Head to the Altar and unlock the door that leads to East Old Town to head toward Moreau's.
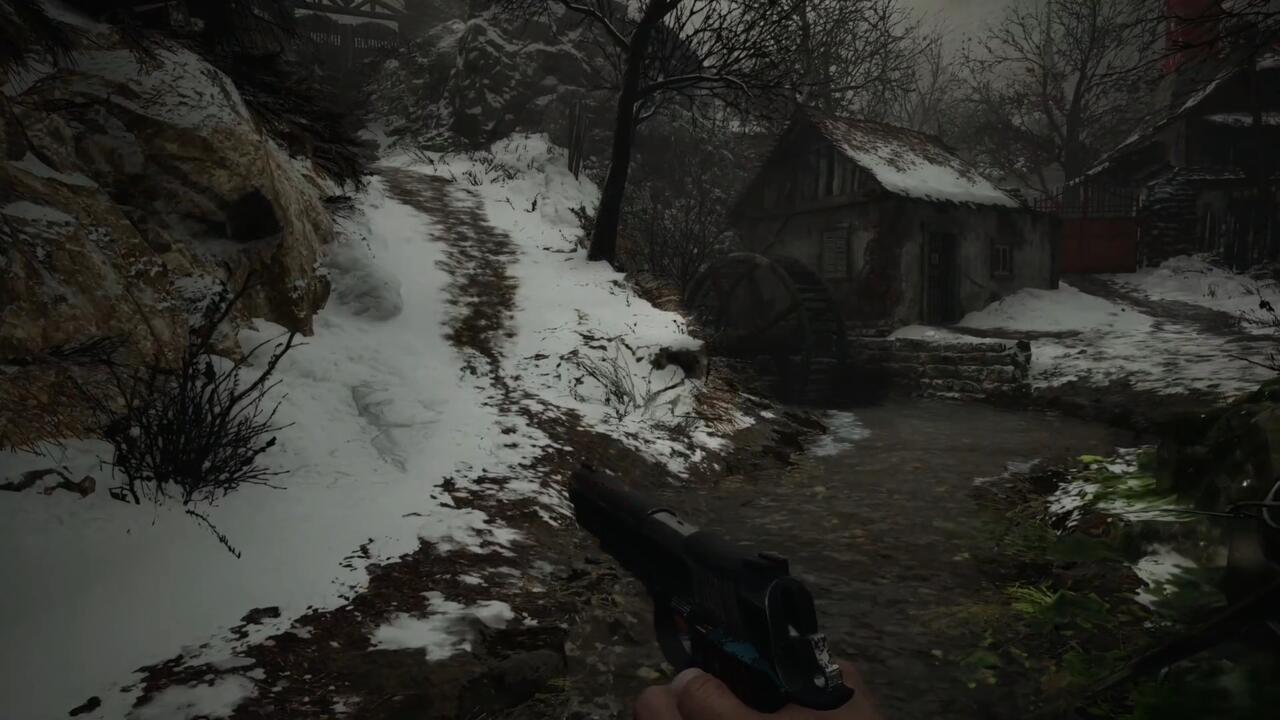
As you're making your way through this area, you'll see the creek running through this section of the town. You'll need to make your way down to it and head left, following the water north toward the building with the water wheel. It's locked, but you can open it with the Iron Insignia Key you got inside Castle Dimitrescu. You should have found it by completing the piano puzzle.
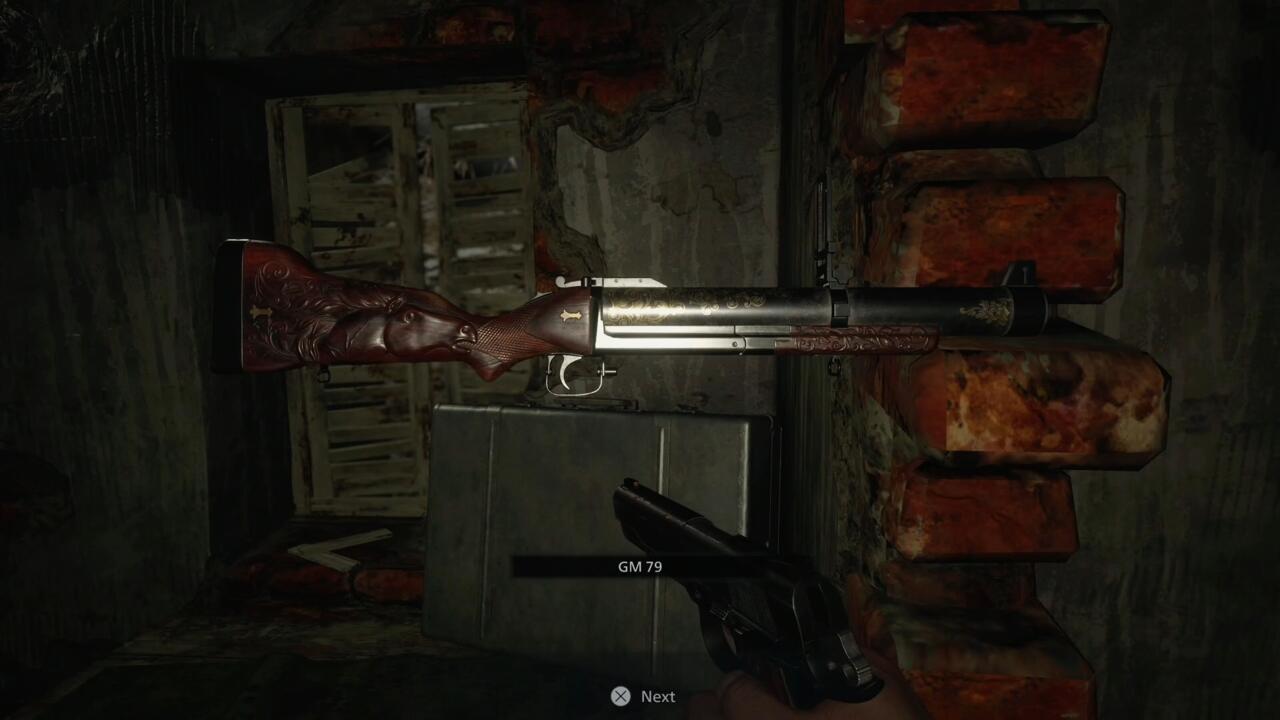
The tough part about reaching this treasure isn't figuring out a puzzle, but dealing with the creature that guards it. Try to sneak past it using stealth and get to the waterwheel house. Inside, you'll find the Grenade Launcher--perfect for dispatching a large, nigh-unstoppable wolf.
Moreau's Hidden Weapon - M1851 Wolfsbane Magnum
Once you've been through Moreau's Reservoir, you'll exit where you started, coming out of an elevator to a small courtyard. On one side is a gate marked "Moreau's Lab," which you can only open with the crank you got in the reservoir. Once you're through the gate, you'll enter a small side section with a few buildings and various enemies.
Follow the path to the end and you'll find the most intact building in the area up a small hill. It's locked, but you can slip through a small hole in the back to get inside. Kill the lycan you find there and open up the treasure chest to find one of the best weapons in the game, the M1851 Wolfsbane Magnum.
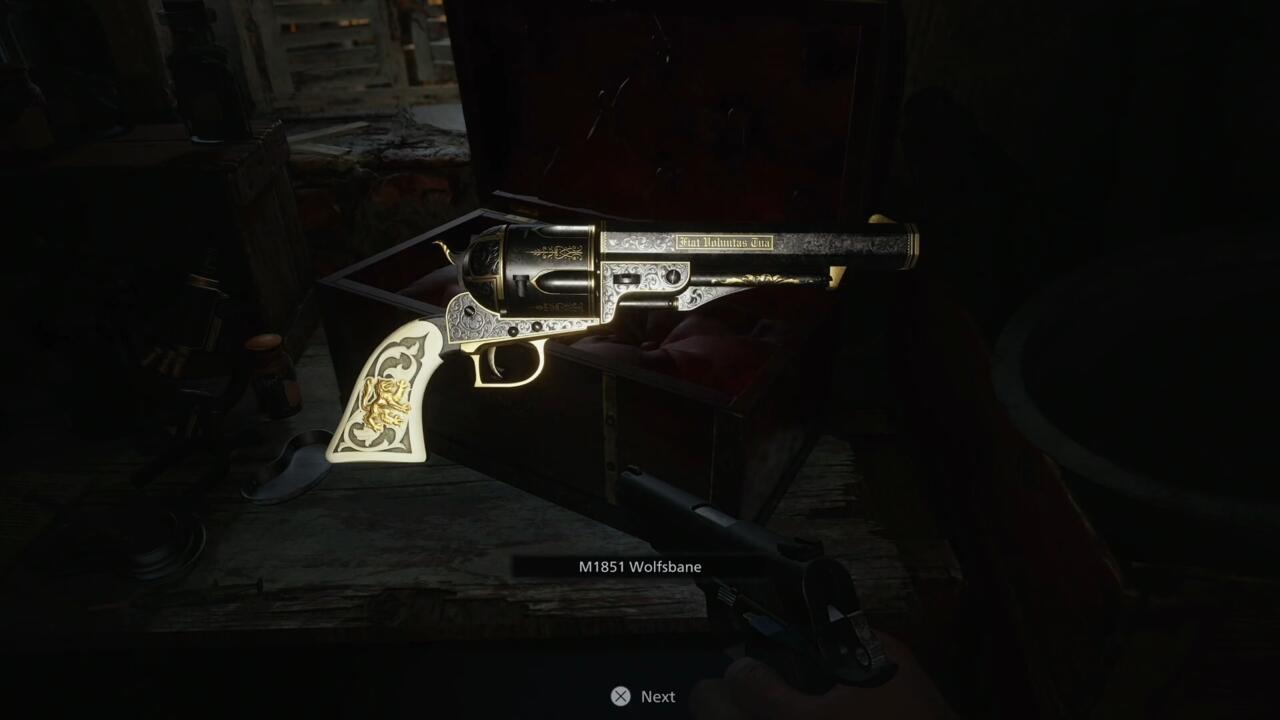
Good news: You'll have occasion to try it out as soon as you find it.
Riverbank Treasure House - Golden Lady Statue Treasure
With the crank from Moreau's Reservoir, you can also finally access this treasure. Return to the Altar in the village and go west toward the Ceremony Site, but hang a right at the river and go down to the raised drawbridge you find there. Use the crank to lower the bridge so you can cross the river and get to the boat jetty on the bank.

Take the river north. You'll hit another dock before long, which puts you in front of a big door that leads back under Castle Dimitrescu. Follow the path until you're in a room with another of those lantern puzzles, where you have to swing a brazier to light two other torches. Use your gun to make the swings pretty easy, opening first the left door and then the right to plunder everything. You'll see one more torch in the next room, however, that you can't reach by swinging the brazier.
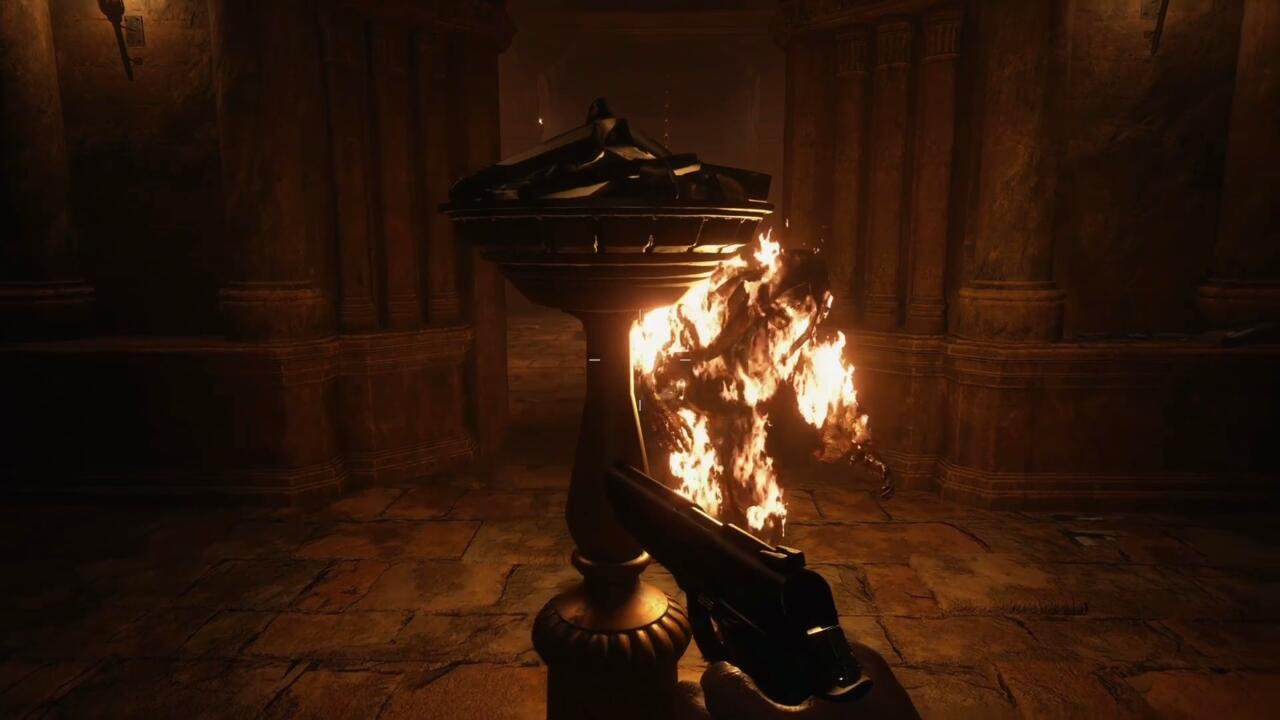
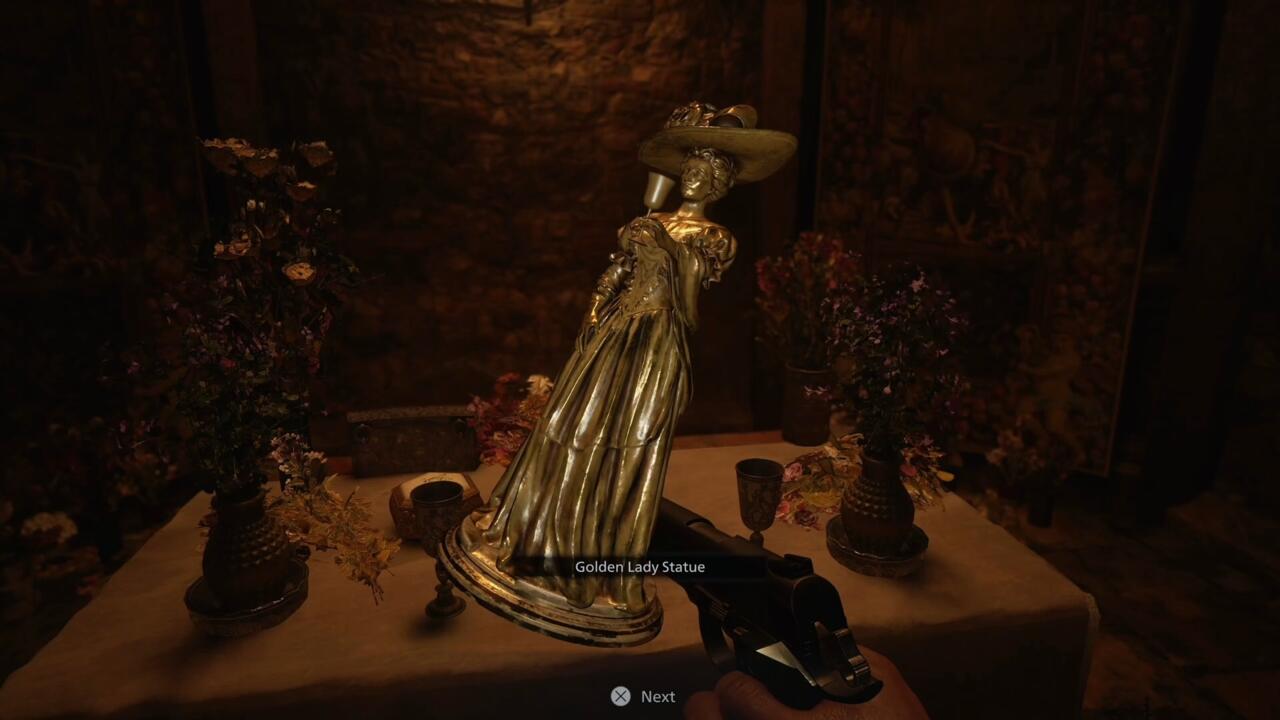
Luckily, an endless supply of ghouls will crawl into the area from the room on the right. Lure one out into the main area and nail it with the brazier to light it on fire. Then goad it into following you into the next room and trick it into running into the torch there. That'll light the torch and open the door beyond, which lets you snag the Golden Lady Statue treasure, which you can then sell to the Duke.
Cannibal's Plunder - Father Nichola's Angel Treasure
On your return from Moreau's Reservoir, you'll start to see signs directing you through the village to your next objective. Follow them until you see one that says "Good luck!" while directing you into a tunnel. Instead, turn left and follow the path up to a stream and a structure called Otto's Mill.
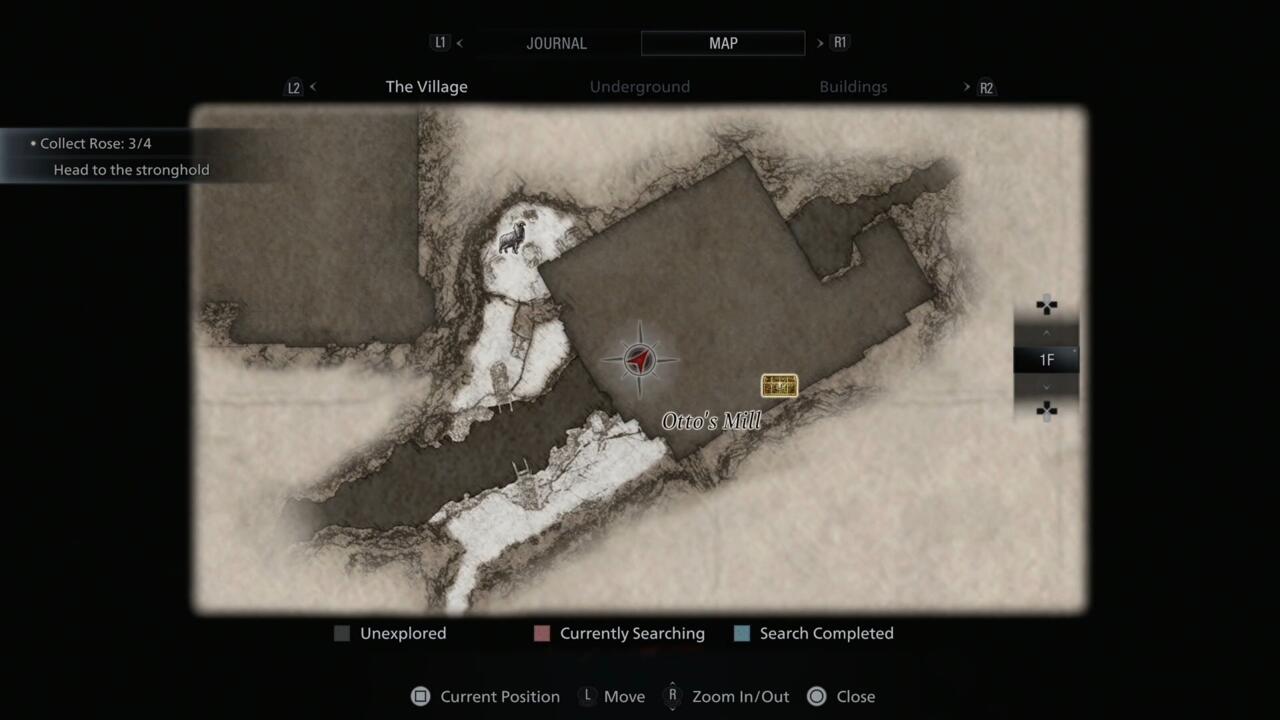
Cross the stream, break open the lock on the gate, and continue inside. You'll have a fight on your hands in the mill proper, but once you've completed it, you can ransack the place. Shoot the three locks off the big red door and you'll find a room filled with a huge amount of spare meat, which you can cart off to the Duke for a decent price if you don't need it for cooking.
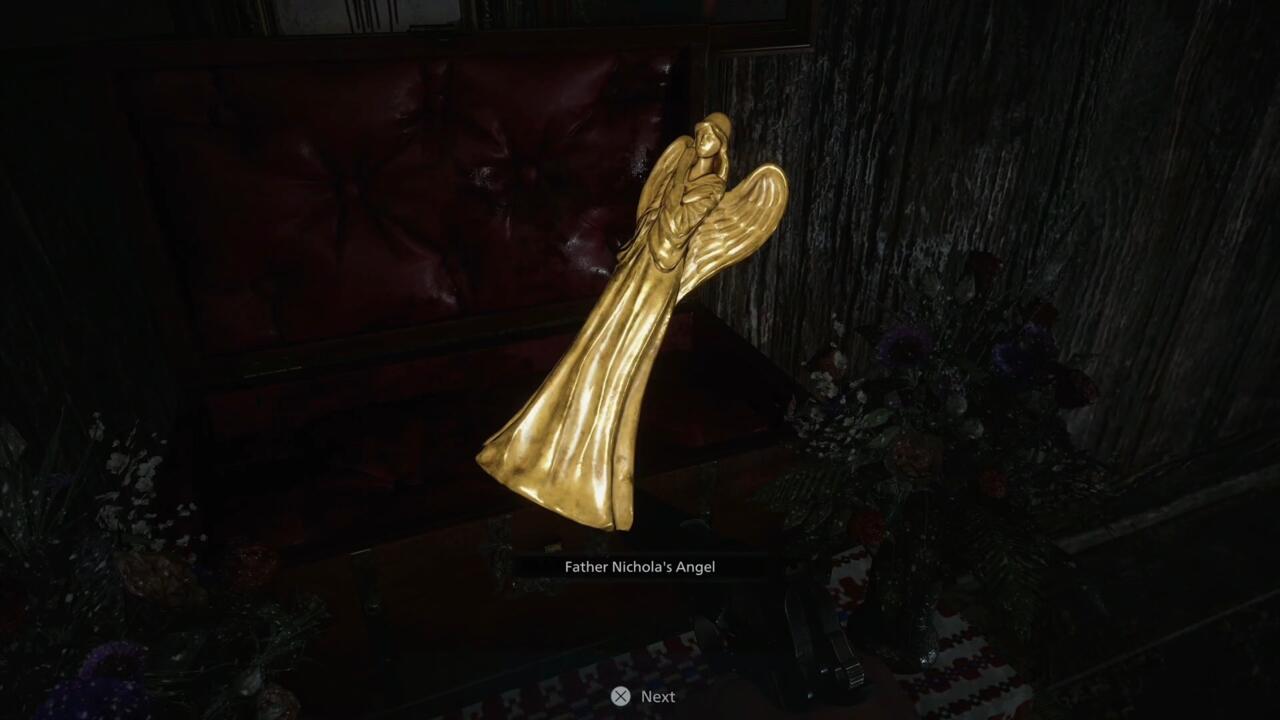
Keep following the path through the building and you'll eventually come across a small atlar with a treasure chest on it, which contains the Father Nichola's Angel treasure for you to sell to the Duke.
Treasure Under The Stronghold - Guglielmo's Plate Treasure
The final treasure is actually the easiest to get, in a sense. Follow the big signs after Moreau's Reservoir and they'll lead you to the Stronghold, which is where all the lycans in town live. This big fight is part of the story, so work your way through the Stronghold and down to its lowest levels. You'll know you're in the right place when you hit a mine shaft filled with crystals.
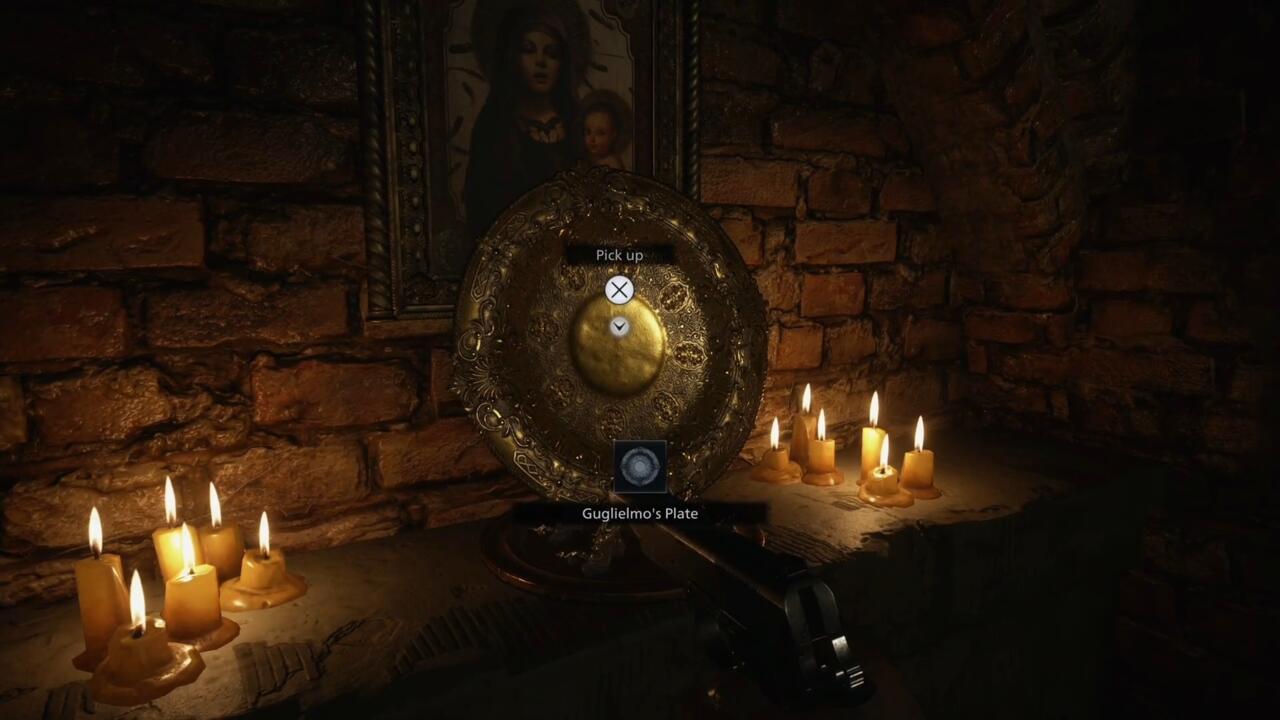
Just beyond the crystals is the final treasure, Guglielmo's Plate--another one to sell to the Duke for a hefty profit.
Resident Evil Guides & News
Got a news tip or want to contact us directly? Email news@gamespot.com
Join the conversation