The Last Of Us 2 Downtown Seattle Collectibles Guide - Where To Find Everything
Here's where to locate every optional location in Seattle Day 1, complete with every collectible, Training Manual, and weapon.
Warning: This guide minimizes spoilers to help keep the story fresh for you, even if you need help tracking down all the collectibles and items hidden throughout The Last of Us Part 2. However, if you want to know nothing about the game before playing, you should stop reading now.
Like Uncharted: The Lost Legacy, The Last of Us Part 2 has an open-ended area where you can take your time gathering resources and uncovering secrets in optional locations. To ensure you get the most out of this section, we've detailed below everything you can find, so you don't miss a thing!
There's tons of more coverage of The Last of Us Part 2 for your enjoyment now that the game is out, including the first part of this walkthrough. You can check out the rest of the walkthrough, as well as a suite of other guides in our huge The Last of Us Part II guide roundup--which also includes some essential tips you should know. If you're curious about how the game stacks up, check out our The Last of Us Part II review.
Downtown Seattle
This section of Seattle is a large, open area you can explore at your leisure. You'll need to visit the dome building and the courthouse to advance the story, but everything else is optional. That said, it's worth checking everything--you'll find a number of collectibles, notes, weapons, and upgrade materials hidden throughout the area, as well as tons of supplies. We've marked areas based on their locations on the map and their cross streets, in most cases. Ellie will also mark up the map as you go, both when you find notes that indicate potential stashes, and when you clear areas out.
We've found that some items in downtown are dynamic; if you take a different path than we did through the area, you might find some of them in different places than we did. The major locations will stay the same on the map, and while you might locate different objects at some of them, you should still find something at each spot we've marked.
Westlake Bank (5th and James)
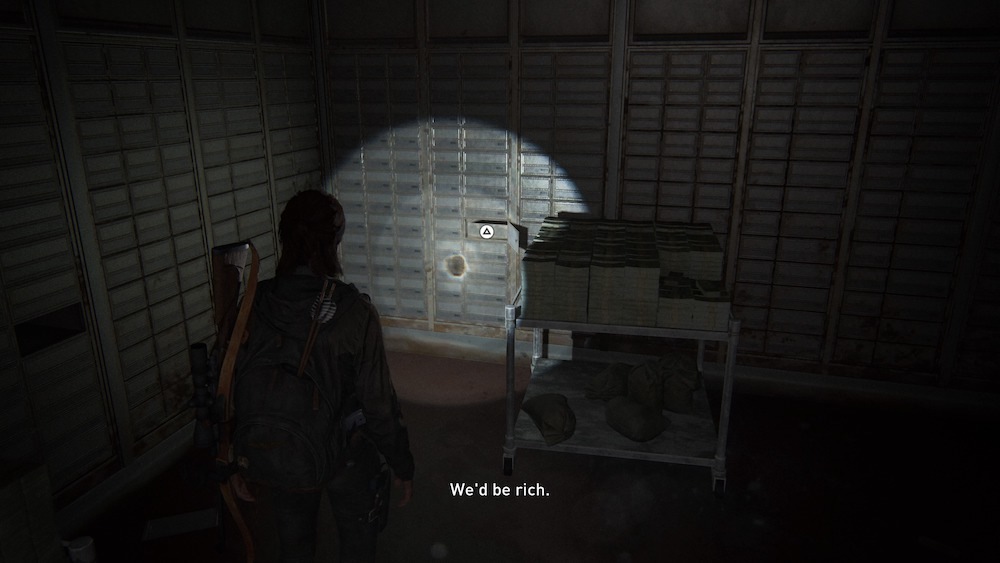
Check the Safe Deposit Box Room for a bag on the floor near a body. You'll find the Bank Heist Plans artifact with the vault code. The vault safe is on the left wall and opens to the code 60-23-06.

Inside you'll find the Pump Action Shotgun weapon on a body. To the right of the body is the Bank Robber Letter artifact. Check the corner for a safety deposit box that holds the Antique Ring artifact, which will unlock the So Great And Small Trophy.
6th and Marion St.
Look for a staircase around the back of the destroyed wall of the building. Climb it and throw a brick through the window to get outside. Continue to the top and open the cases you find there to discover some supplements and the Doctor Uckmann Trading Card.
6th and Spring (under the highway)
Look inside the FEDRA truck spray painted "FASCISTS". You'll find the Note to Informant artifact inside.
6th and Spring (across from the Courthouse)
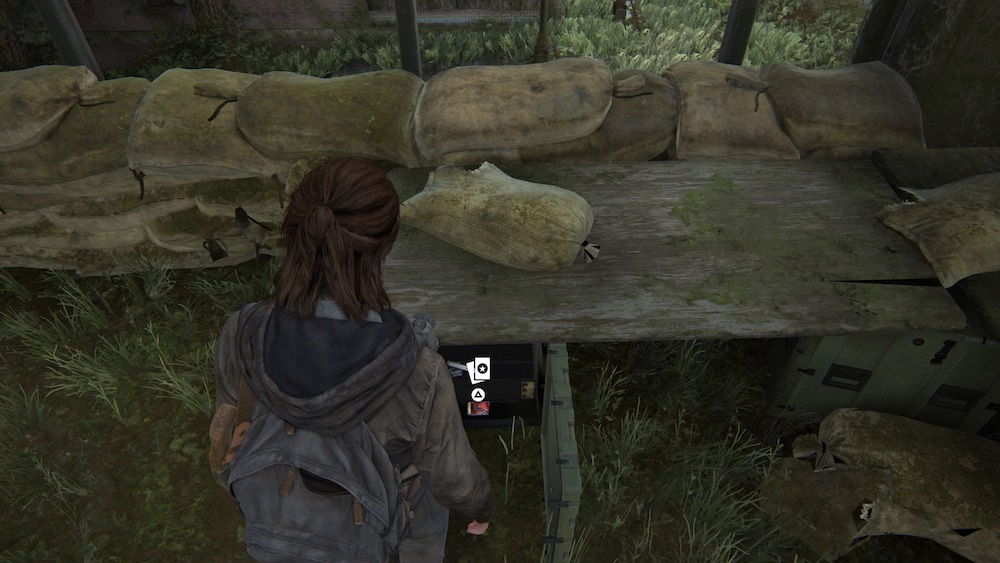
Head to the south side of the courthouse, to the building across the street at 5th and Madison. You'll see stairs; go up and open a bag on the ground to find the WLF Community Supply Chest Note artifact, which will give you a line on a nearby supply cache.
West Gate 2 (Madison between 5th and 6th)
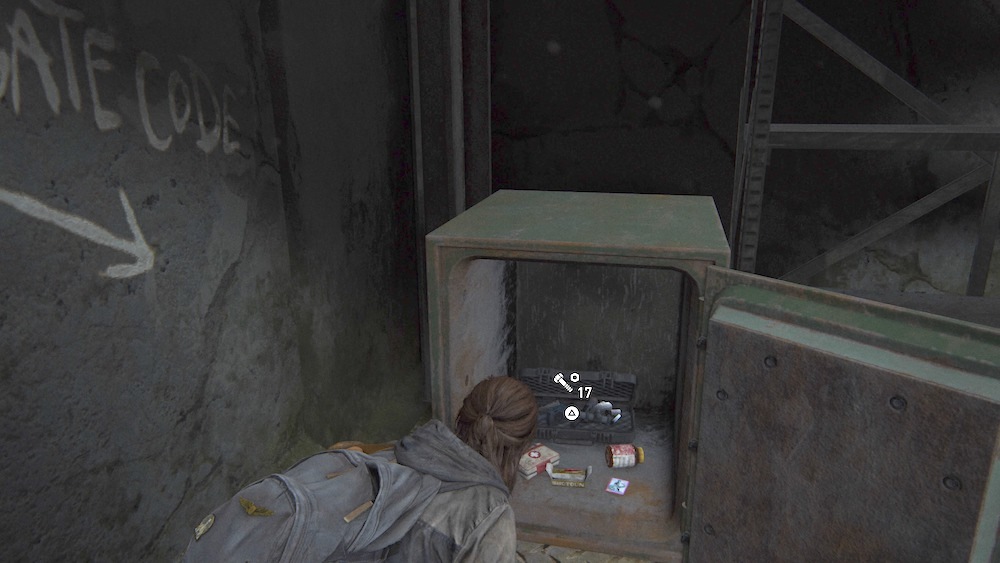
Head south from the courthouse and slip through the fence at West Gate 2. Around the back, you'll find a safe. Open it with the West Gate 2 gate code: 0451. Inside is a mess of useful supplies, including ammo, supplements, and the Flo Trading Card.
5th and Marion (Checkpoint, Music Shop)
Near West Gate 2, climb the ladder to get onto the checkpoint wall. Head around to the side to find some tents. You'll find some parts and, most usefully, a Workbench.
On the bridge that leads to the music shop from the workbench, look in the guard tower for the Street Drawing artifact. You'll also trigger a Journal Entry right afterward if you stay in the lookout tower for a second.
Climb back up the wall and head to the left. A walkway will take you to an open window where you can enter a Music Shop. Look for a guitar case in the back room to trigger a cutscene. Downstairs, look in a drawer behind the clerk's counter for the Das Wort Trading Card.
5th and Columbia
Not much here except a piece of destroyed wall near Westlake Bank. Look for a bag near a skeleton that contains the Cache Hunter's Note artifact, pointing you toward Westlake Bank.
6th and Columbia (Plaza with Tank)
Look for a skeleton west of the tank with a bag beside it, containing the Letter from Isaac artifact that mentions WLF tunnels.
Highway Overpass (6th and Marion)
Approaching from Marion street, you'll see some collapsed roads and a fire engine. Ride to where the military trucks are parked, get out, and climb the one closest to the edge near the fire engine. You can jump across from that one to the other overpass. Check the fire engine for a fire ax melee weapon. Go around the right side of the engine to find a rope you can use to repel down over the edge of the overpass. Swing down to the chunk of broken highway below to get inside a cargo crate. Inside is a Training Manual and some supplements.

5th and Spring North Corner (Coffee Shop)
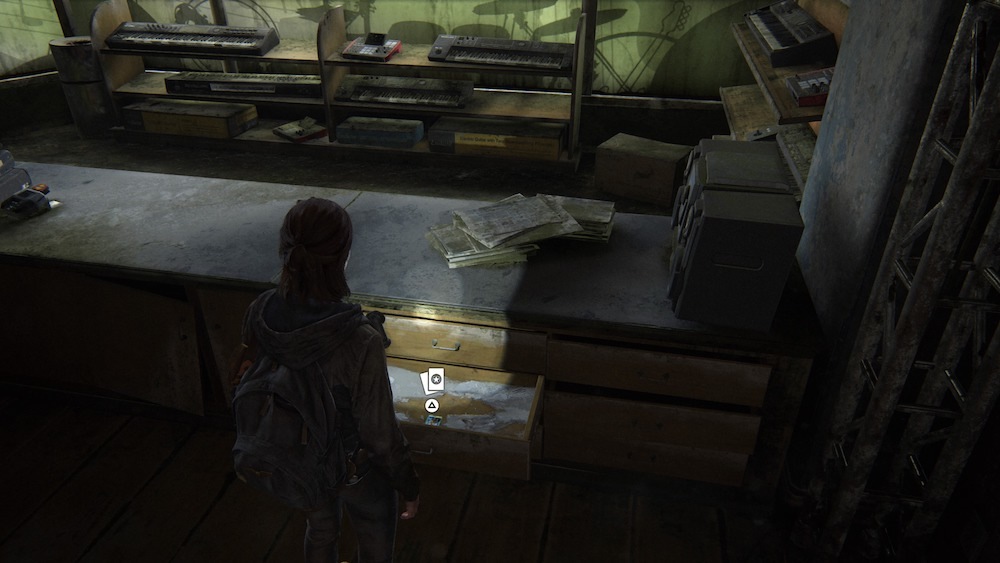
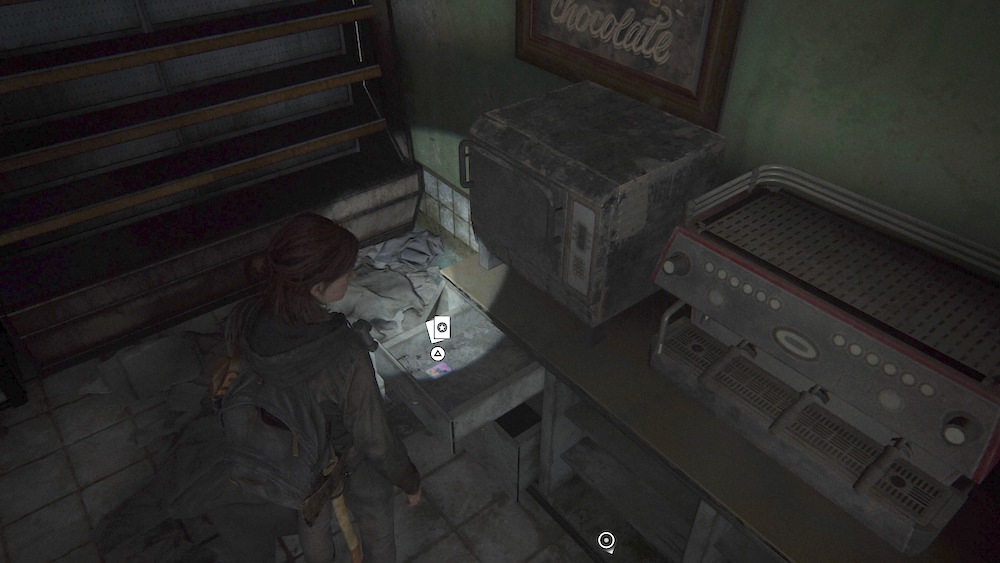
Break the window to get inside the coffee shop. Get the WLF Safe House Supply Note artifact off the counter, as well as ammo and parts. Check the drawer in the back corner for the Big Blue Trading Card.
Head into the bathroom and look on the baby changing table for the key to Barko's at 900 Marion and 6th.
Barko's (Marion and 6th)
Just inside, check the copier for the Join WLF Note artifact. You can also activate an optional conversation after you inspect it. Get supplements from the shelf ahead on the left. Find a Stun Bomb on the table past the whiteboard, which unlocks a new crafting recipe. In the back room, grab a Long Gun Holster off the counter to make it easier to switch between your weapons.
Dome Synagogue (5th and Marion)
Look for a ladder on the left side of the building's facade to get up to the upper level. Check the guard booth on the wall for the Emergency Protocols Memo artifact in a drawer. To get in, go around the left side of the building, to a lower area where you can slip through a chained gate.
Inside, you can scavenge quite a bit from the lower floor. Use the rolling crate from near the gas tank to reach the upper floor, boosting yourself up by the exit gate. Continually talk to Dina in the offices to access a Journal Entry. After swinging on the cable, open the rabbi's office before you leave and check the desk drawer to find the Rabbi Saunders' Letter artifact.
Courthouse (6th and Spring)
After clearing the infected on the first floor, look for supplements in the room just past the courtroom, with the computers inside.
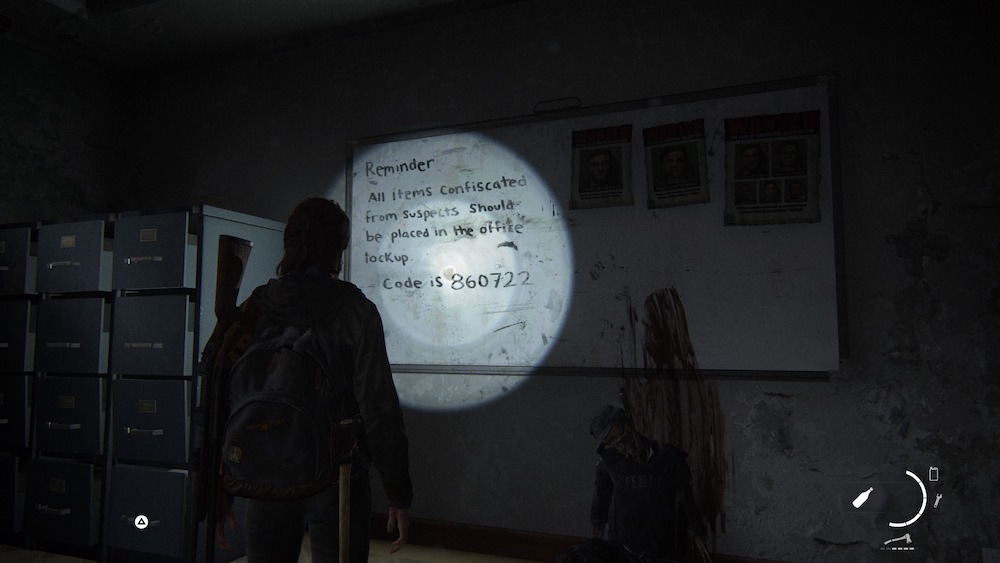
When you go down the stairs, check the FEDRA bodies for the Plea to a Friend Letter artifact. Break the nearby window and jump through to find a body with a machete in it and Lt. Torres' Final Memorandum artifact. The file cabinet holds the List of Known WLF Agitators artifact.
Check under the desk beneath the window for a safe. The code is 86-07-22.
Gate
Return to East Gate 2 and use the gas to power the generator and open it. The code is 5345.
The Last of Us 2 News
Got a news tip or want to contact us directly? Email news@gamespot.com
Join the conversation