Ratchet & Clank: Rift Apart Beginner's Guide - Essential Tips For New Players
Here are some handy tips to help you prepare you for the adventure ahead in Ratchet & Clank: Rift Apart for PS5.
Ratchet & Clank: Rift Apart has finally arrived, making it one of the latest big new releases to come out from Sony and Insomniac Games, and one of the first true PS5 exclusives. Much like its predecessors, there's a little bit more going on under the hood than its light-hearted platformer appearance may preclude. To help you best position yourself for the adventure that's ahead, we've compiled below some essential tips to get you started.
For more about our thoughts on the game, be sure to read our Ratchet & Clank: Rift Apart review. Otherwise, read on for everything you need to know before starting the game.
The Best And Worst Features Of PlayStation Consoles Guilty Gear -Strive- Slayer Exclusive Gameplay Guilty Gear -Strive- Slayer Guide Hellblade 2: Graphics vs Gameplay Call of Duty: Warzone & Modern Warfare III Season 4 BlackCell Battle Pass Trailer DRAGON BALL XENOVERSE 2 – WHO IS “FU” Official Trailer Genshin Impact Version 4.7 An Everlasting Dream Intertwined Events Overview Trailer Genshin Impact Natlan Preview Teaser Trailer Genshin Impact Version 4.7 An Everlasting Dream Intertwined Official Trailer Genshin Impact The Road Not Taken Short The Alters Is An Ambitious Genre Blending Survival Game Fortnite Battle Royale Chapter 5 Season 3 Wrecked Launch Trailer
Please enter your date of birth to view this video
By clicking 'enter', you agree to GameSpot's
Terms of Use and Privacy Policy
Diversify Your Weapon Usage
If you're familiar with the Ratchet & Clank series, it shouldn't surprise you that Rift Apart has quite the arsenal of weapons. Each one has its own unique functionality that helps quell the hordes of enemies you'll encounter in a firefight. Some weapons are better for short-range, like the Shatterbomb and The Enforcer, while others, like Negatron Collider and Mr. Fungi, are better for long-range or supporting fire.
The more you play, the more you'll notice that multiple weapons fill out near-identical roles in battle, which can make it easy to pigeonhole yourself into only using the same two or three weapons instead of investing in others. While we understand the impulse to stick to what you're comfortable with, try diversifying your weapon use instead.
Something you'll learn early on is that your weapons level up the more you use them. Each maxes out at level five, which essentially upgrades it to its best version, adding a powerful new perk that further enhances its power/effectiveness. But you might ask: "Why should I care about this if I don't want to use the weapon to start with?" You never know how a weapon might turn out by level five. Something like the Negatron Collider may not seem all that great at first, but once it achieves its max level, it gains the ability to trigger an explosion at the end of every use. That's a great perk to have when there's a ton of enemies coming at you.
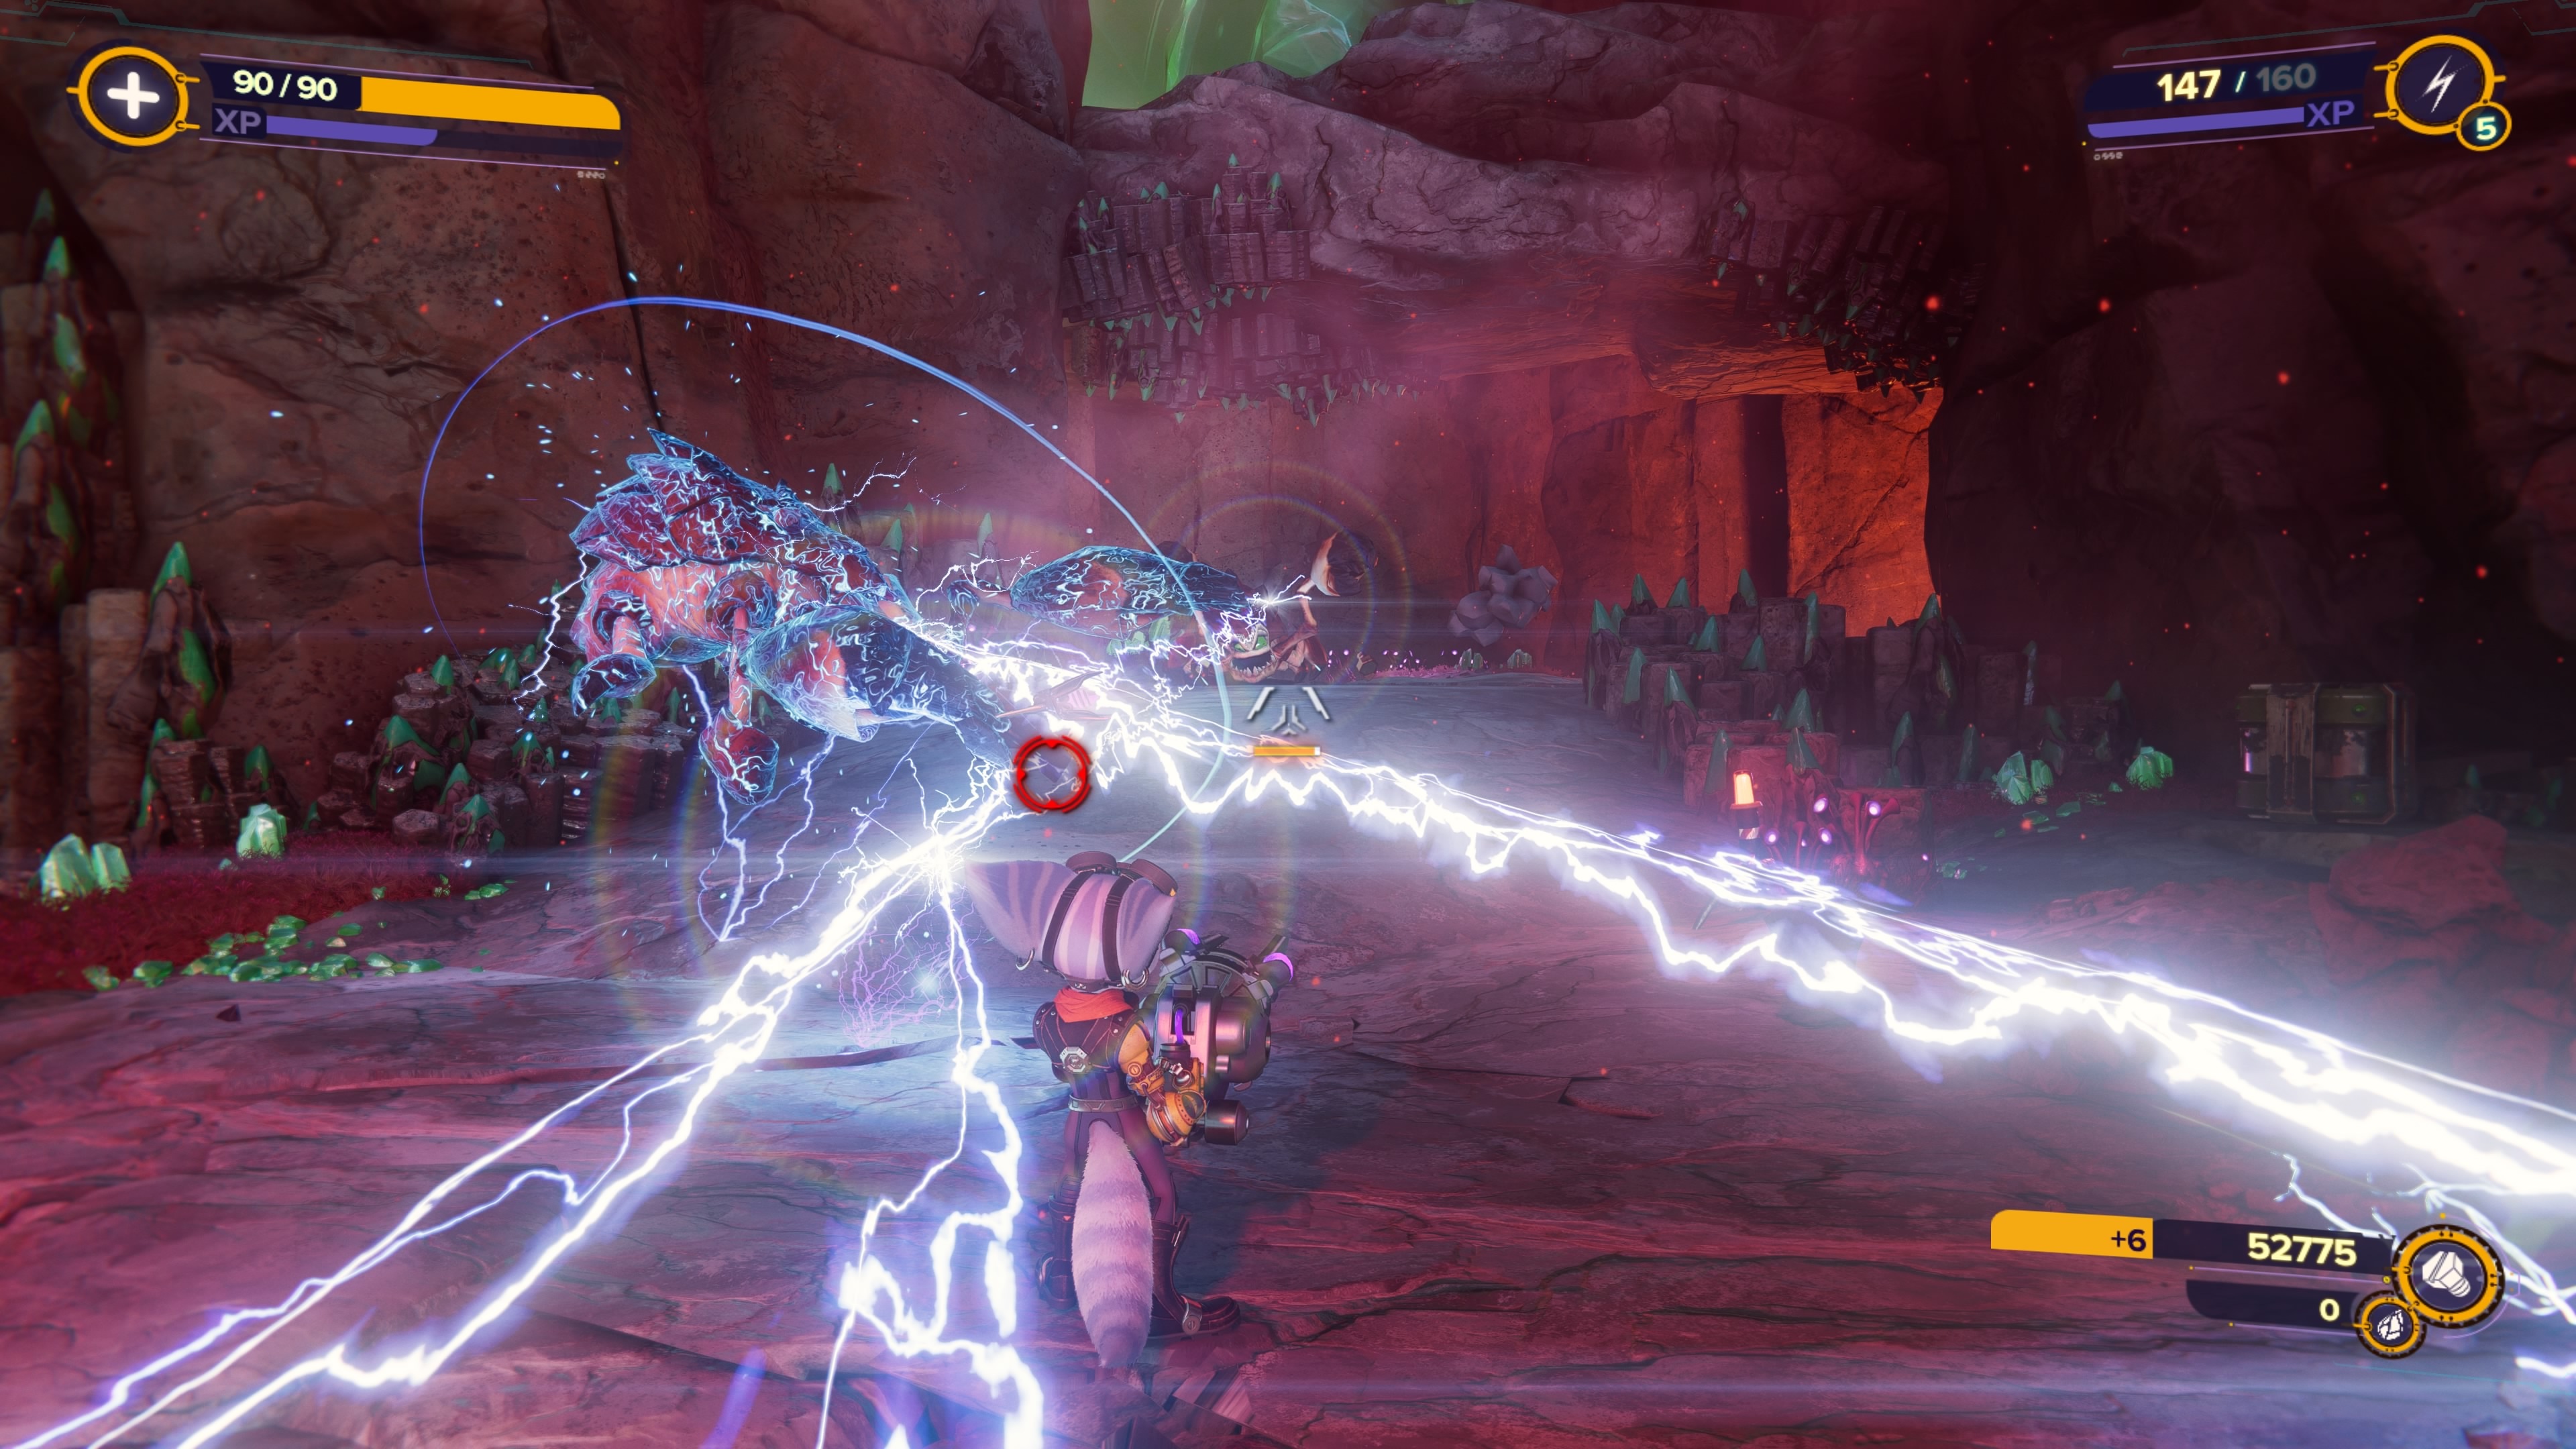
Diversifying your weapon use is also important because you might find that some weapons fit combat situations better than others--or that you might prefer one over another. For example, a rapid-fire type weapon like the Lightning Rod is actually a nice alternative to the Blast Pistol because it can leave behind shock trails that damage nearby enemies, which is arguably more effective at bringing the hurt onto groups. Every weapon ultimately has its own distinct strengths, even if some are similar to others. But there's a nuance to each that's worth discovering--if only to help you perform that much better, or to simply increase your enjoyment in a chaotic gunfight.
Frequently Throw Out Your Supports
When enemies start to surround you at the start of a fight, your first impulse is to likely go all-out guns blazing. But if you're an old-time Ratchet & Clank player, you know that's not always the best way to start. Usually, when bullets start flying in your general direction, it's best to set up a solid defense with your support weapons first. In Rift Apart, these are Mr. Fungi, Glove of Doom, Bombadier, Cold Snap, and the Topiary Sprinkler--all weapons that are designed to either provide supporting fire, divert attention, or immobilize enemies.
At the start of a fight, you'll generally want to throw out your assist weapons, like Mr. Fungi or the Glove of Doom's robots, to even the odds a bit. It's worth noting that you can throw multiple of each onto the field, so if you desperately need the help against a ruthless wave of enemies, you can never go wrong throwing out two or even three of each. Though, this does not apply to the Bombadier, unfortunately.

If you need some breathing room, it's a good idea to use either the Topiary Sprinkler or Cold Snap to stop incoming enemies in their tracks--we prefer the former as its "set it and forget it" functionality makes for fewer headaches. However, the Cold Snap can be fired en masse and quickly incapacitate enemies more intentionally.
Support weapons are some of the most useful in the game, as they help take the heat off you, especially against bosses, giving ample opportunity to unleash heavy damage onto foes while they're distracted. Never forget to utilize these handy weapons at the start of every fight and frequently thereafter.
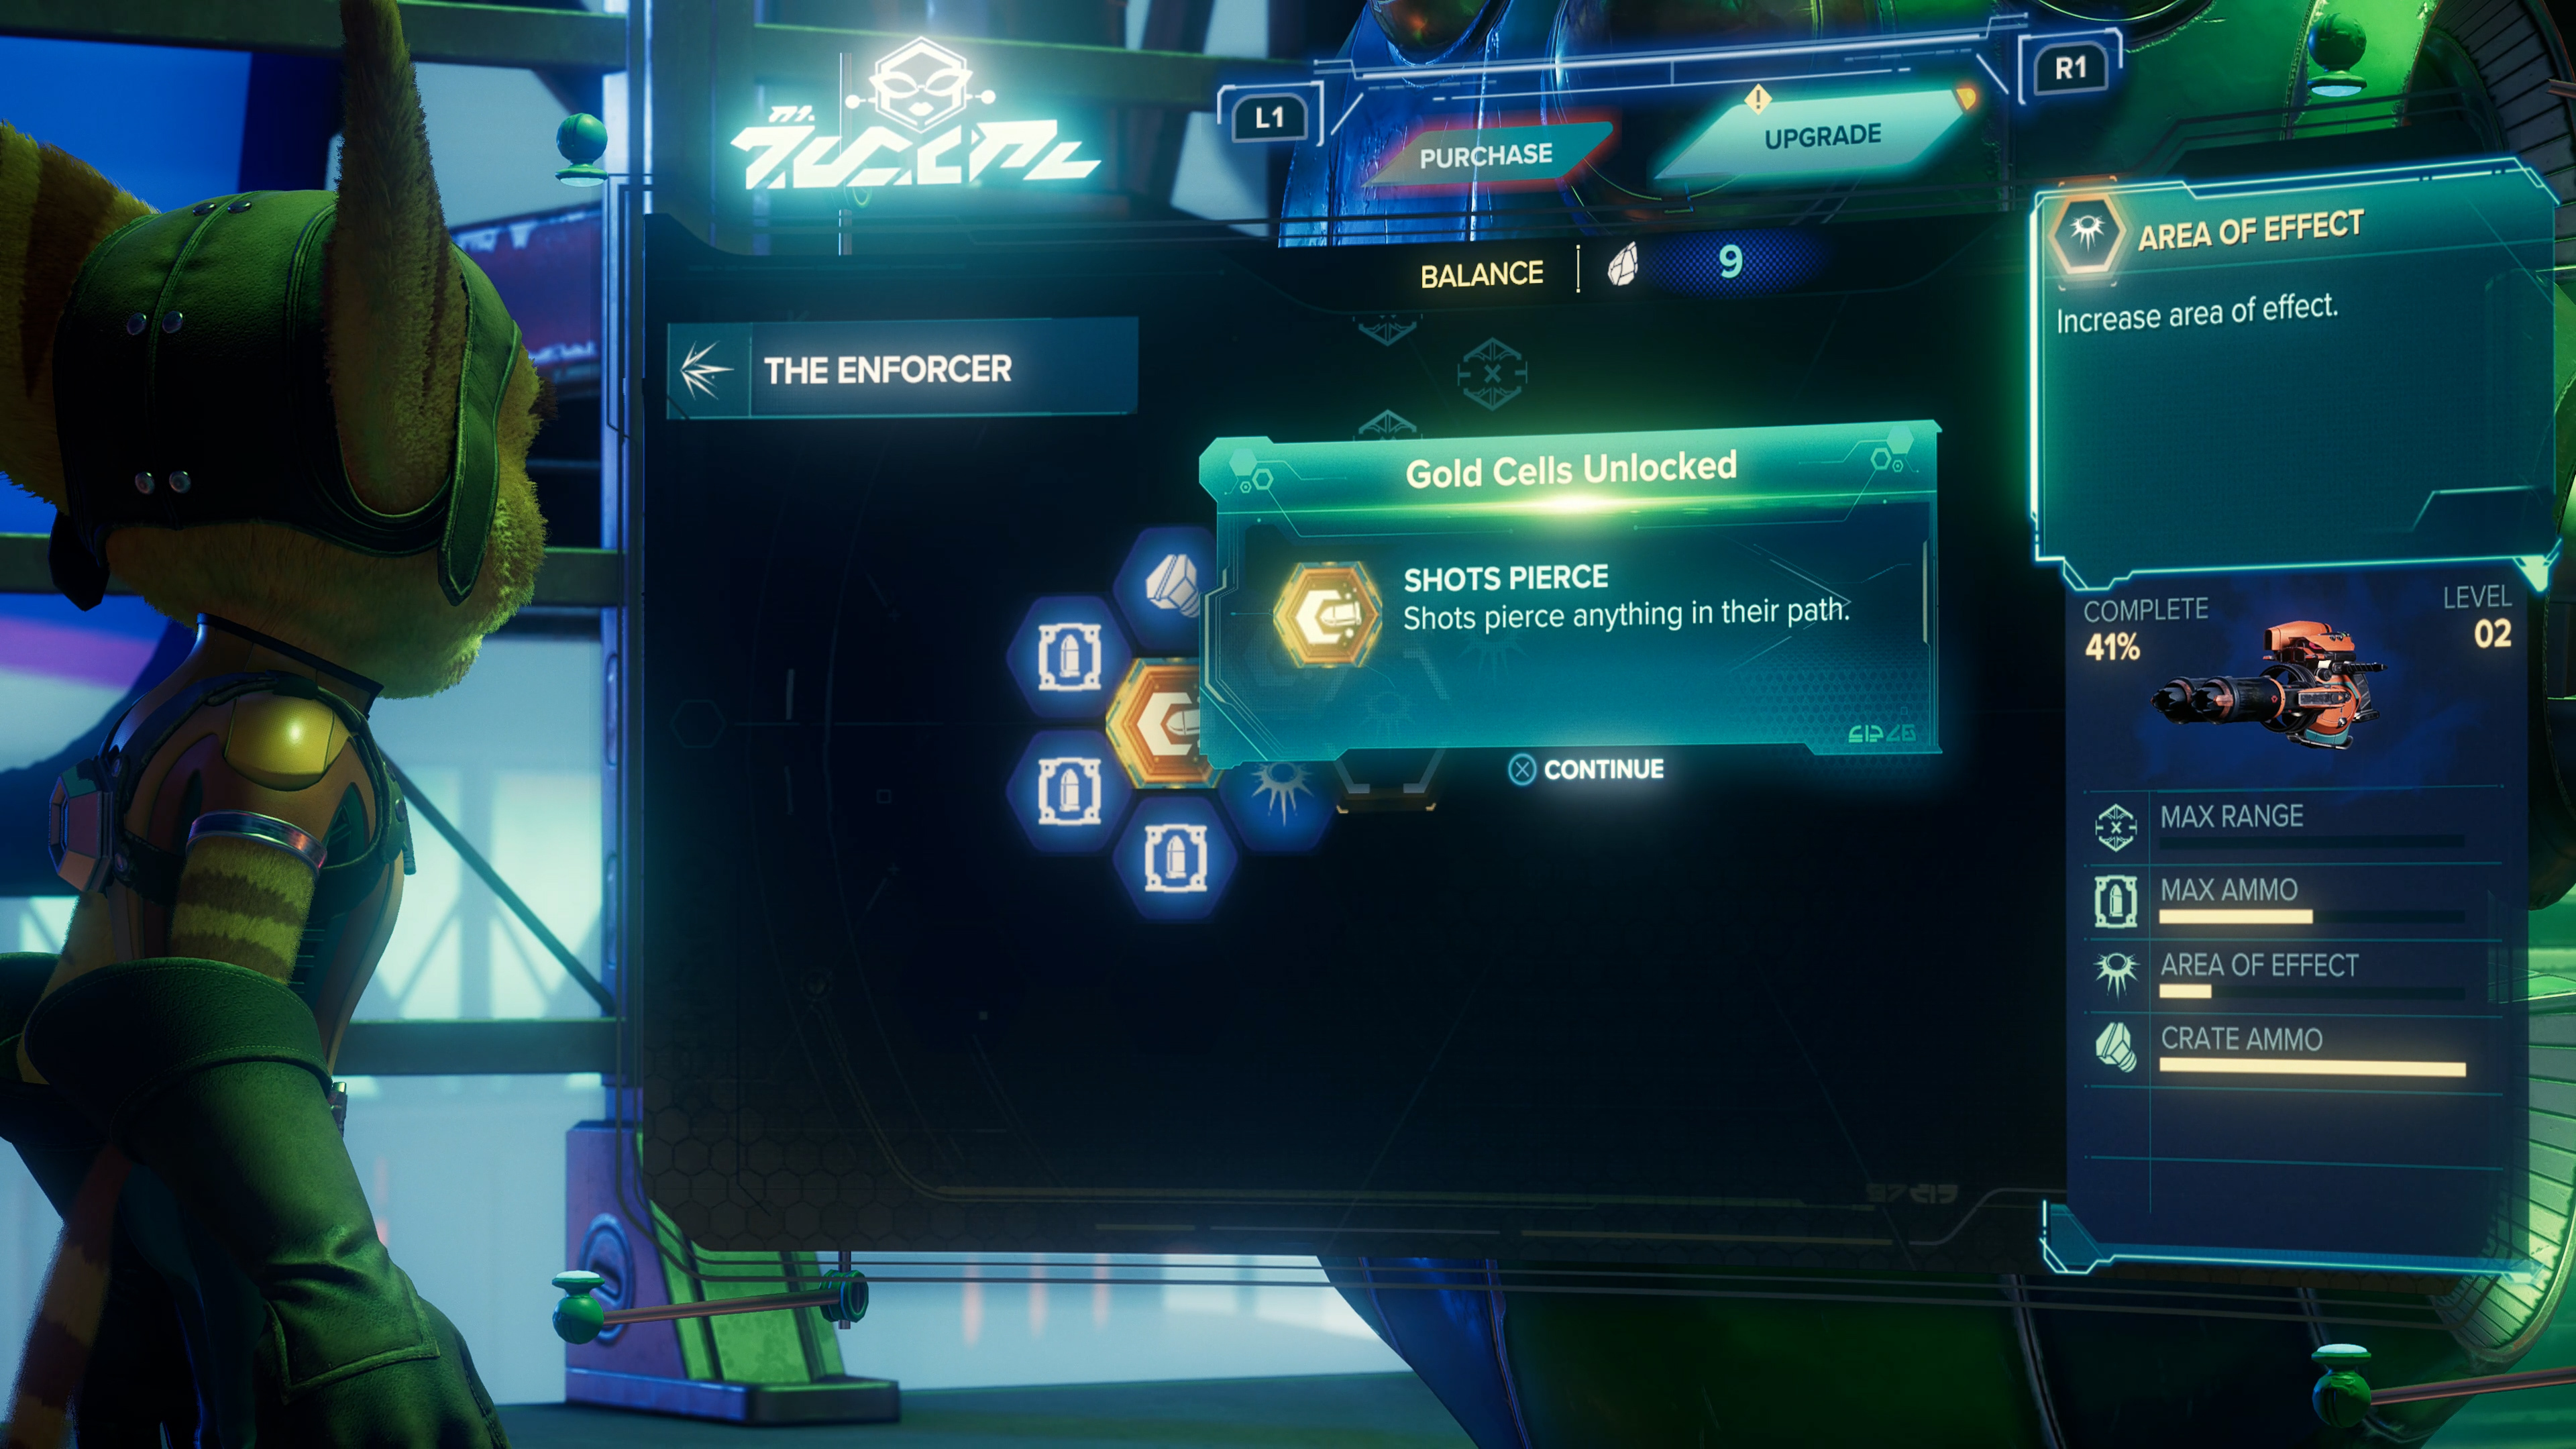
Prioritize Leveling Weapons To Open Up Gold Cells
Try not to spend your Raritanium recklessly, as it's the game's only limited commodity--at least on a per-playthrough basis. If you have weapons you particularly like and want to invest in, focus on leveling them up first to open up their Gold Cell pathways in the upgrade tree. As you'll note from the game's tutorial on the subject, these special perk bonuses enhance weapons in incredibly useful ways, so it's better to save your Raritanium for unlocking these slots first and foremost instead of upgrading every available node.
Since Raritanium is limited during a single playthrough, you might want to consider upgrading a single weapon as early as possible if you're looking to unlock the There's Even a Cupholder Trophy.
D-Pad Quick Swap
Your weapon wheel is a quick go-to way to access all your weapons, but you can actually use the d-pad to switch weapons too. Granted, it can only map a total of four weapons, so you'll generally want to ensure your favorite weapons are mapped to each direction. To change your d-pad quick swap settings, simply bring up the weapon wheel, highlight a weapon and press the corresponding d-pad direction to map it.

Buy New Weapons Instead Of Hoarding Bolts
While we understand the desire to horde your bolts, you should never hesitate to fork them over to buy any and all new weapons that are available at Ms. Zurkon's shop. Definitely prioritize buying the ones you think are most beneficial to you first, of course, but even then, clearing a new level or two will frequently supply you with more than enough bolts to buy any weapons you didn't get.

It's worth pointing out that Ms. Zurkon will frequently list new weapons she has coming in stock ahead of time. These usually become available upon starting up a new planet, so if you've got a lot of bolts on you and are about to finish up a level, it's sometimes best to wait until the next planet to give yourself a more optimal selection. Ultimately, there's no reason to hold onto your riches, so spend, spend, spend!
Take Advantage of Rifts In Battle
It can be pretty easy to stick to one area of a battle arena, strafing left and right, as you pick off enemies coming at you, but that's an easy way to get yourself surrounded. Whenever you enter a new area, always take note of the Rifts since they can be incredibly useful for avoiding enemy fire or running away if a fight gets out of hand. If you're ever in danger, pull into a Rift to keep yourself moving because you know what they say: "A moving target is harder to hit than a stationary one!" Well, in this case, it's more like: "A target that jumps through an interdimensional portal is harder to hit than a stationary one!"
Getting Stumped On The Puzzles? Skip Them! (We Won't Judge)
Much like A Crack In Time, Clank's Rift sections can be rather perplexing if you're not as keen a puzzle-solver. They take some outside-the-box thinking that shouldn't take you too long to solve, but if you're struggling, there is the option to skip these sections entirely. Pause the game, and you'll see an option for it, letting you forego the section entirely to continue the story.

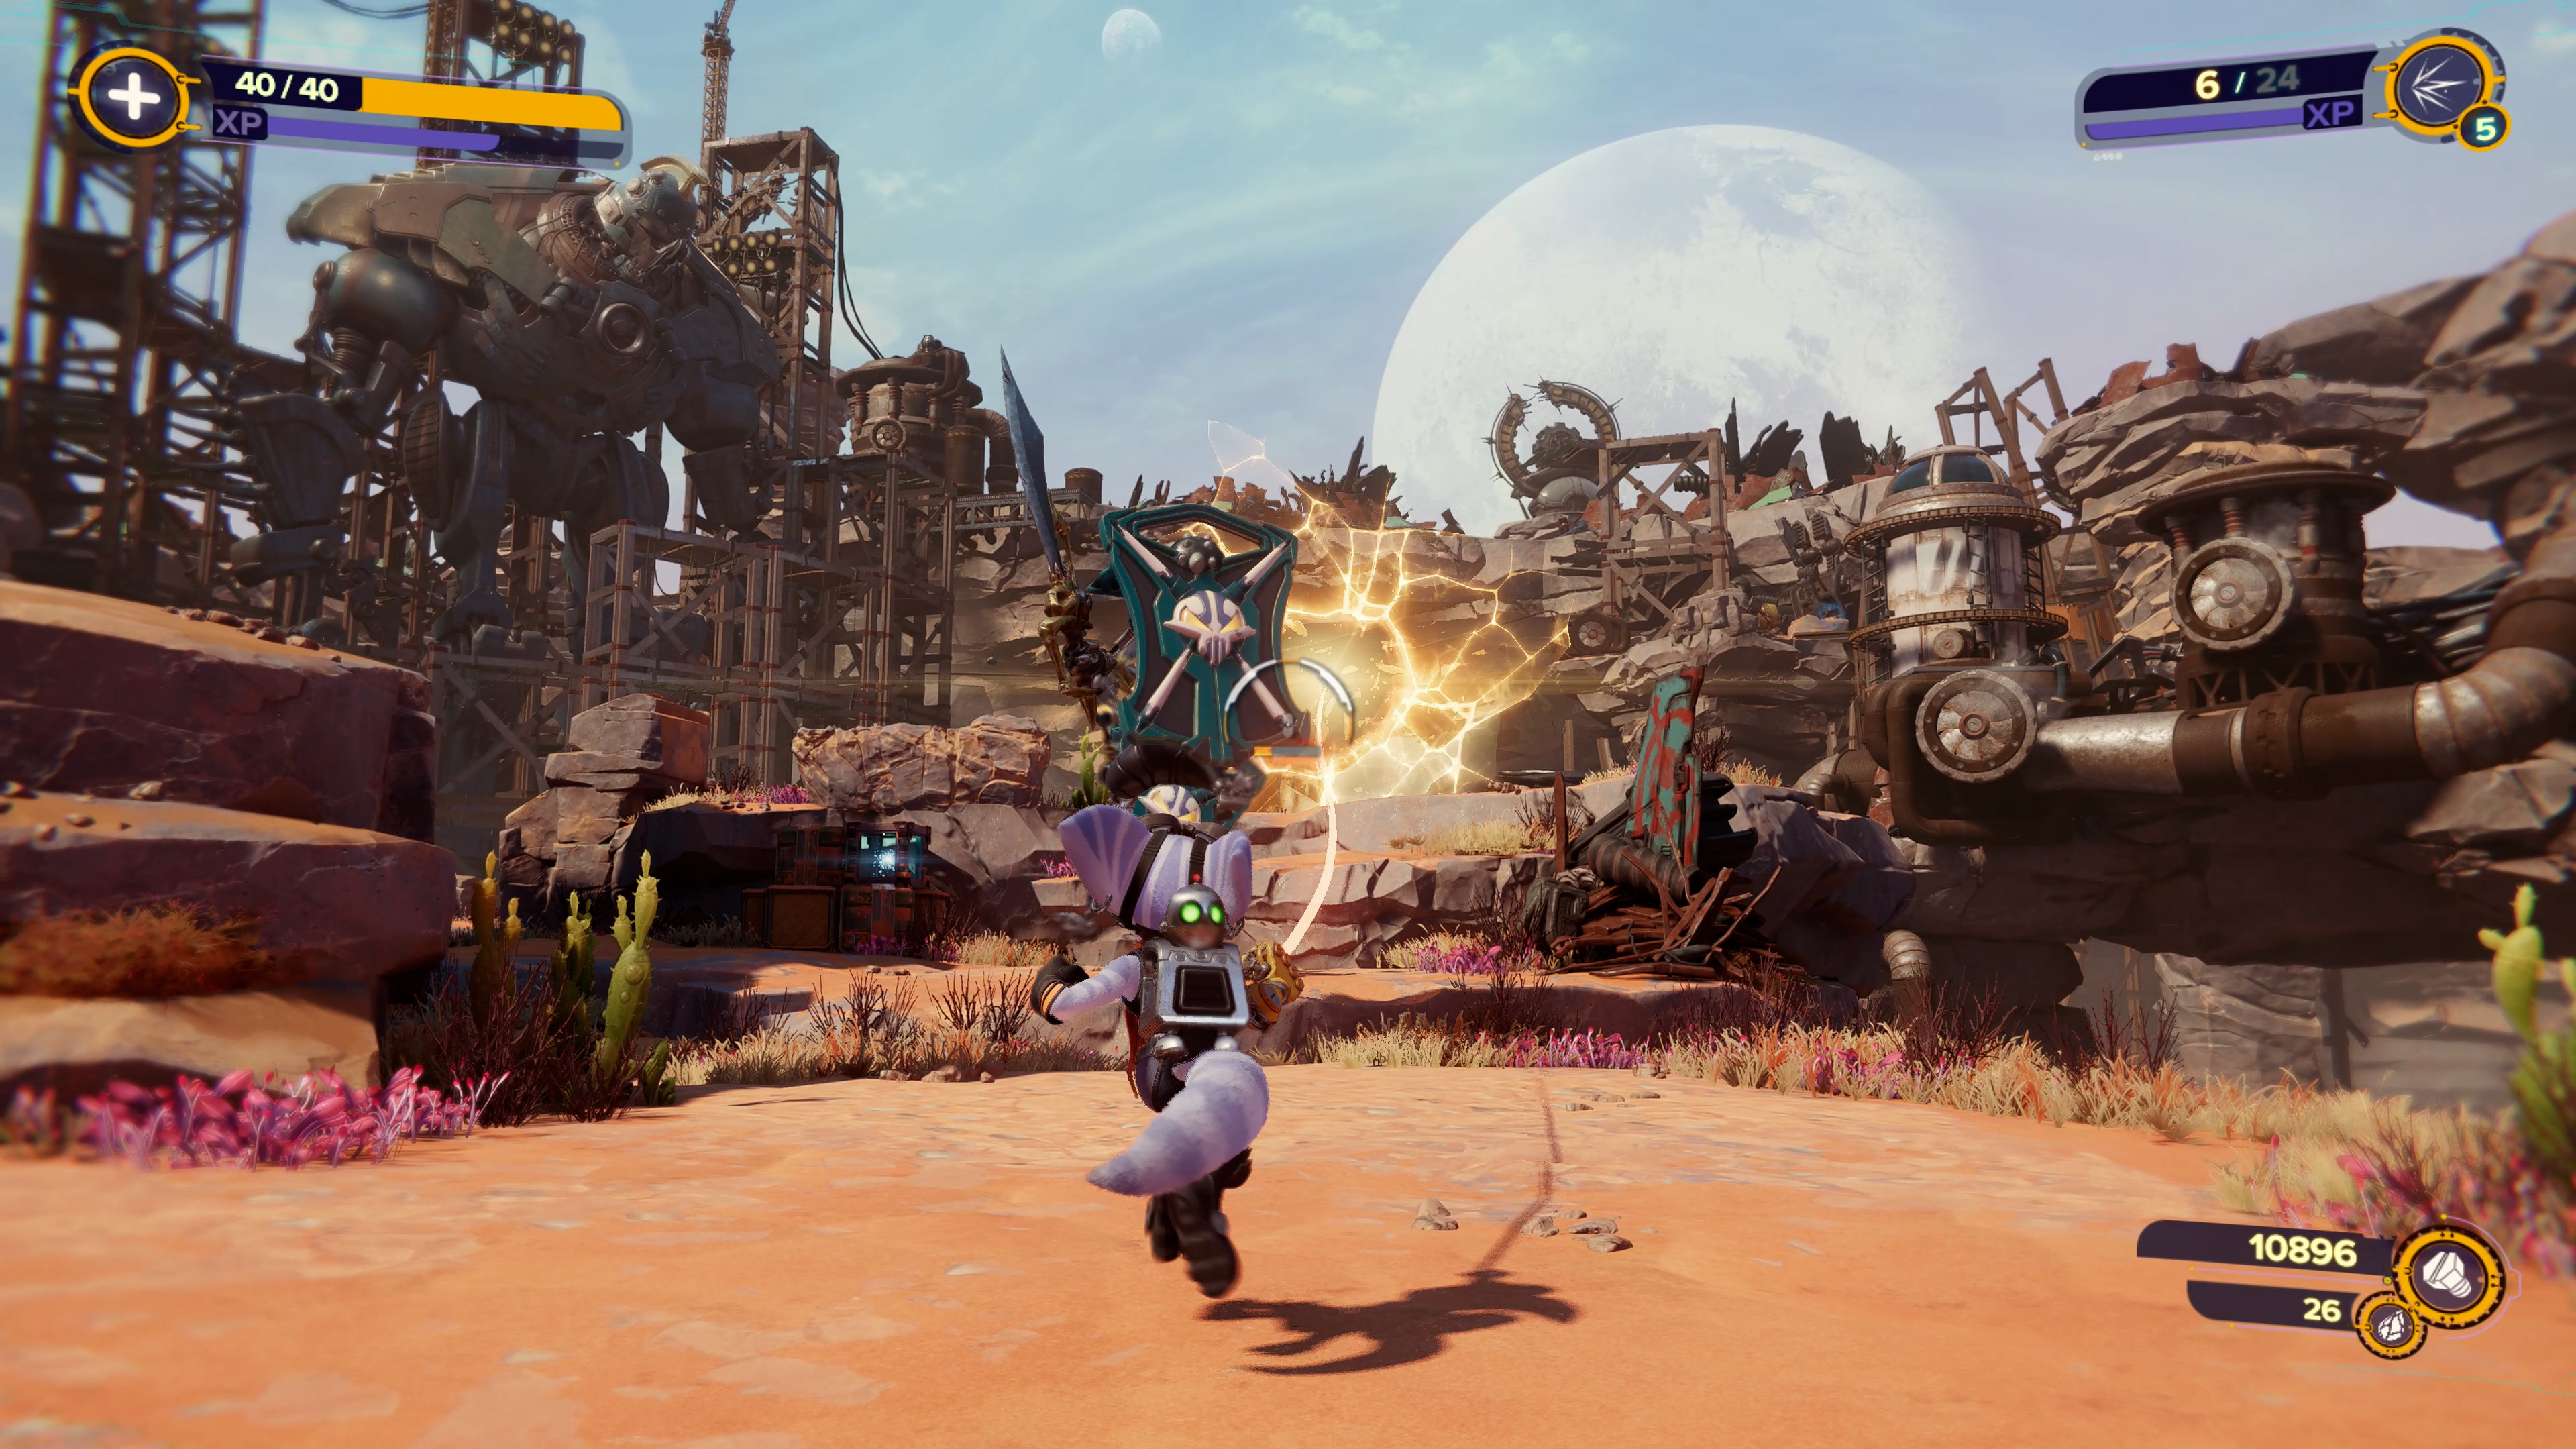
Go Off The Beaten Path And Explore
Despite appearing fairly linear, Rift Apart's levels are quite sprawling. Often there are forks in the road you can take that'll lead you to resources and collectibles, such as Raritanium, which you'll never want to miss. Other times, there are even side objectives in a level that'll reward you with some of the game's most valuable collectibles, such as Spybots, which, when you collect them all, unlock one of the most powerful weapons in the game. Don't hesitate to go off the beaten path and explore; you'll never know what you'll find!

Check Your Map Often For Collectibles
Speaking of collectibles, if you're a collectible-hunting monster like us, then Rift Apart is bound to satisfy the part of you that yearns to spend hundreds of hours rampaging through a level, looking for all its shiny valuables. We get it; it fulfills that void in your heart that just wants to feel something. But to make that job easier for yourself, we recommend checking the map screen often as you explore.
Rift Apart's level maps have a semi-fog of war quality to them, meaning you don't know where any collectibles are (at least the ones you can't readily see yourself) until you get close to them--in which case the game will mark where it is on the map. As you navigate a level's various twists and turns, check the map screen often to see what it has marked because chances are that you missed a valuable box of Raritanium or a Gold Bolt tucked away in a corner you neglected to scour.

Don't sweat it if you can't get all of a level's collectibles on the first go; some levels don't even allow you to get everything at first. When there's an area that seems outside your capability to reach, then chances are you need to wait until you get a new gadget or wait for a new objective to open up that clears the way forward.
You Don't Need To Wear Armor To Get The Passive Buffs
Another collectible you'll get are armor pieces that you can equip onto Ratchet and Rivet. As you steadily gather pieces, you'll notice that each armor set offers a special buff, such as increasing your melee damage or reducing damage from pirates. However, something you might not realize is that you don't actually need to wear any of the armor pieces to reap the benefits of these buffs. They're all automatically applied to you, so you don't have to worry about changing out armor suits during specific instances. Essentially, armor is entirely cosmetic, but you should prioritize collecting them all because those buffs will come in handy the further along you get.
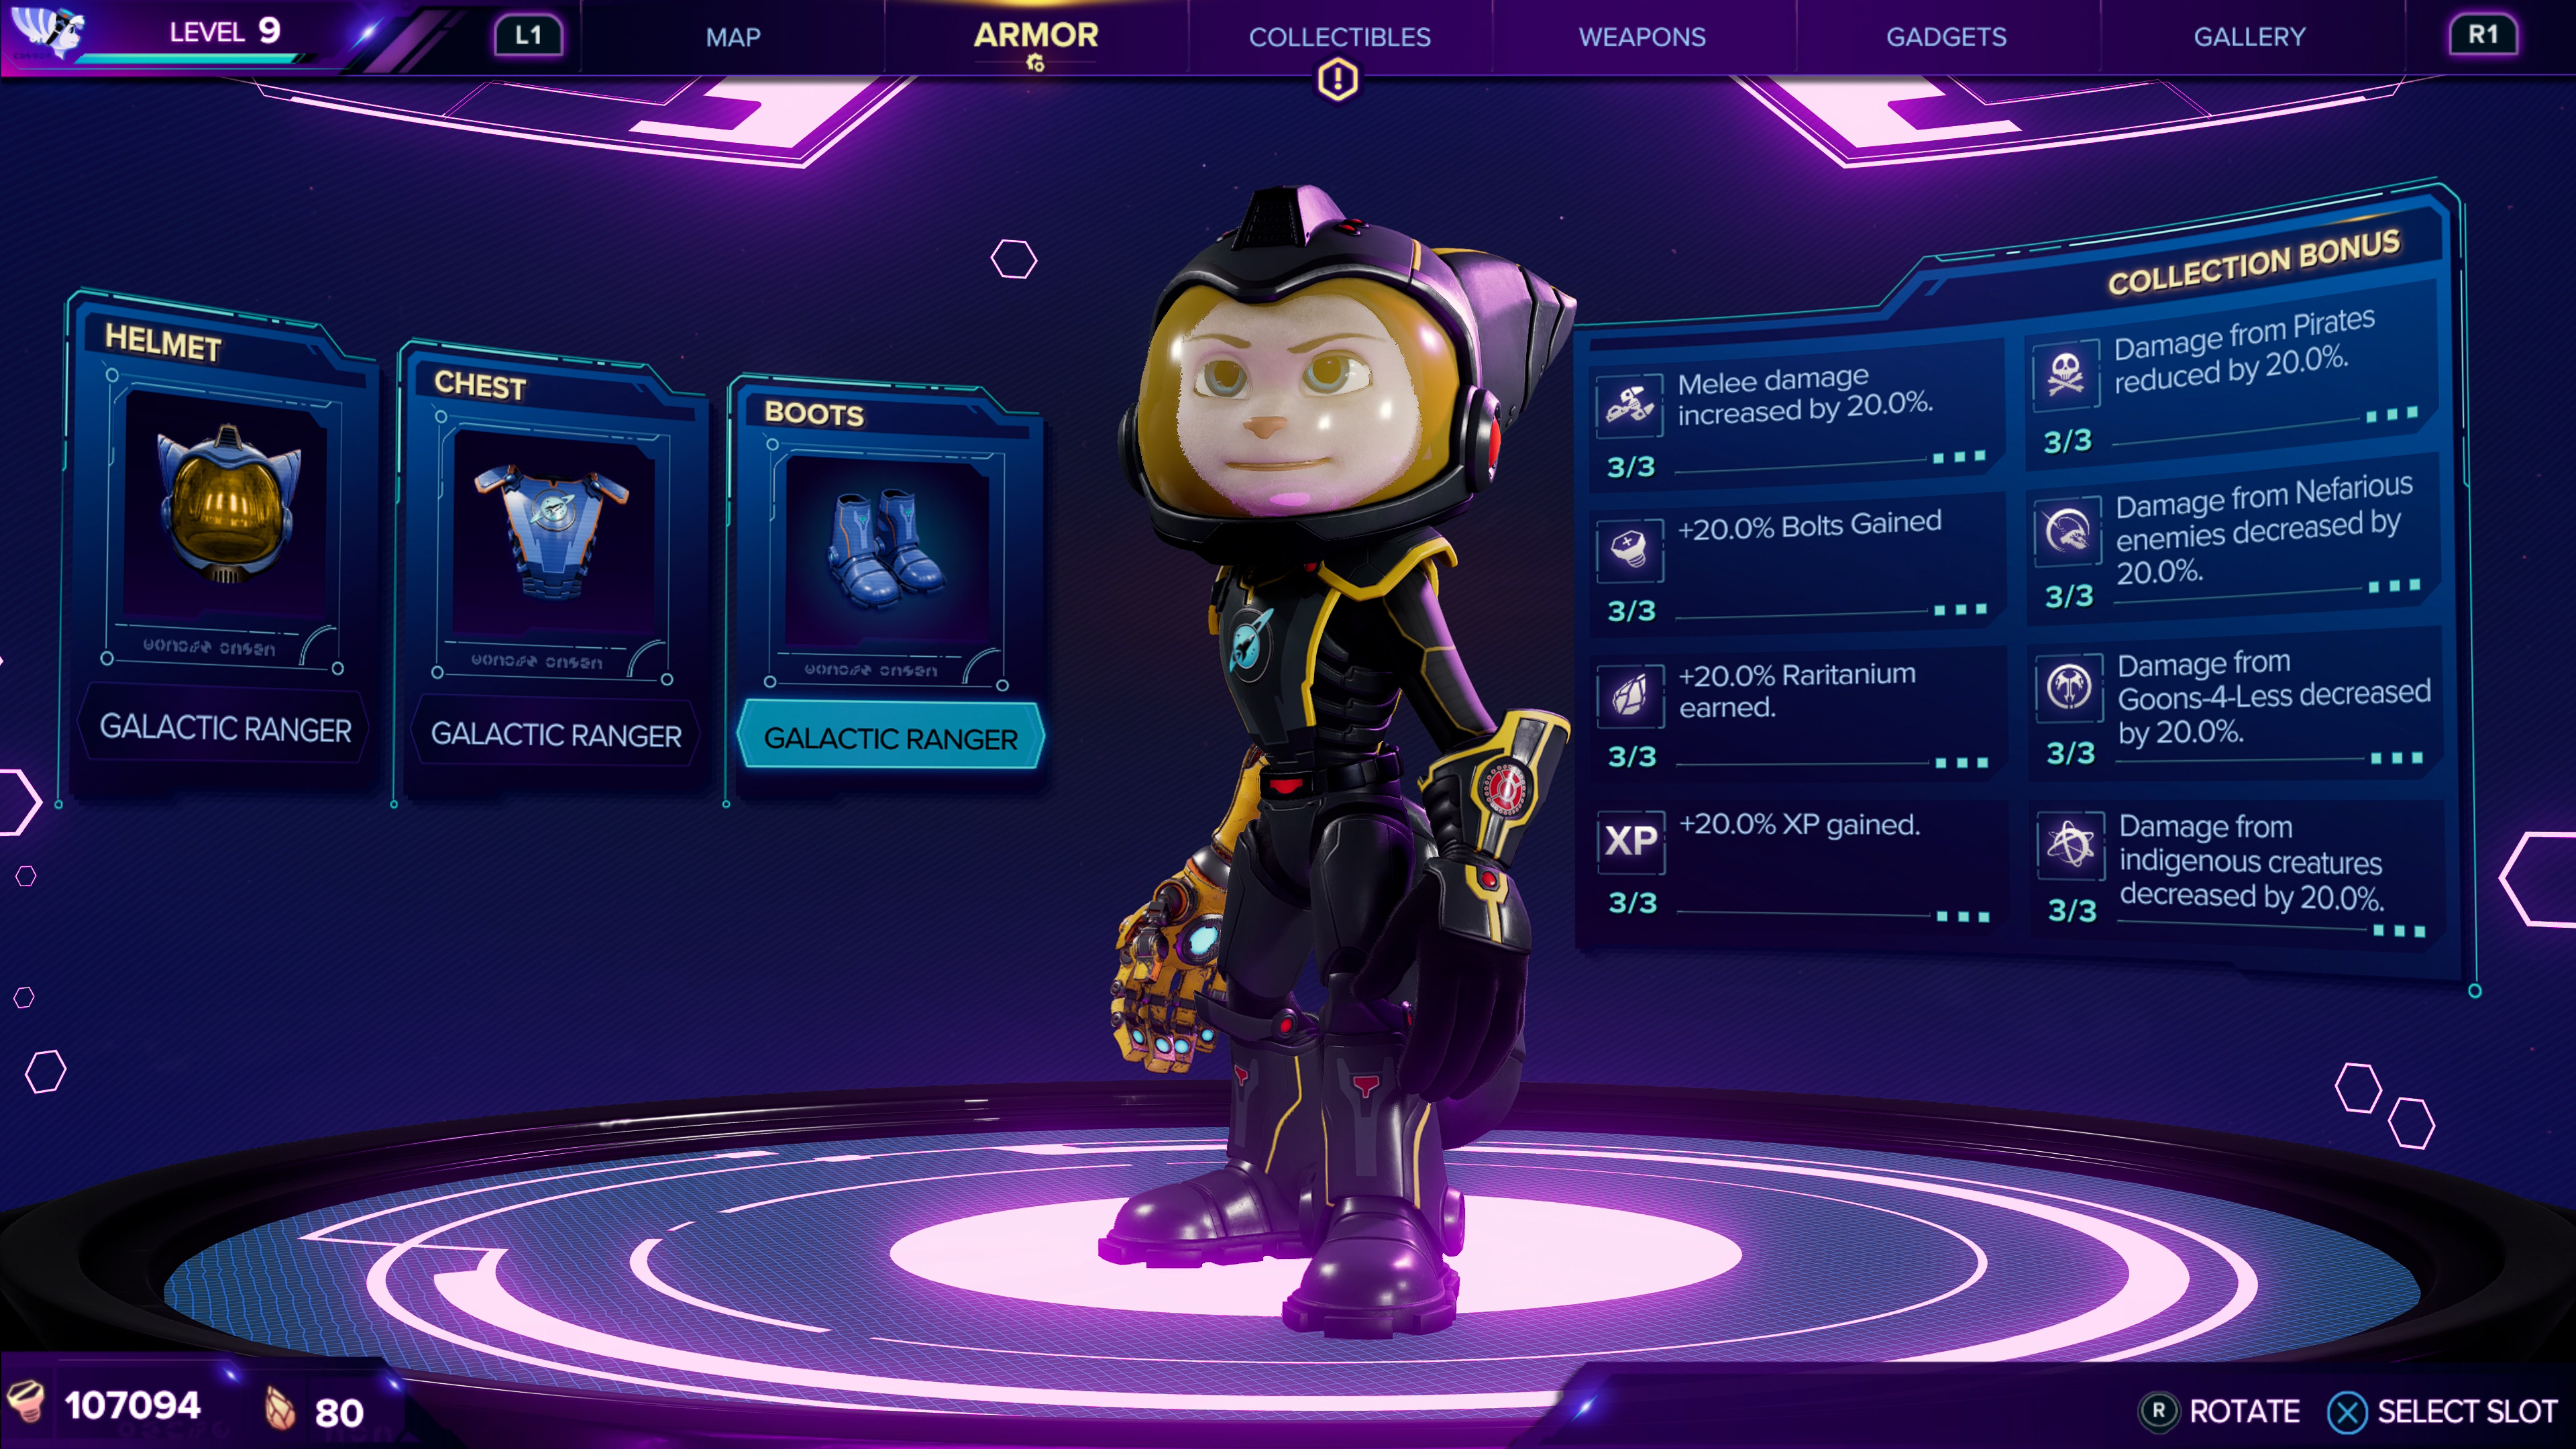
One more thing: You can edit the color of any armor piece as soon as you equip it by pressing square and selecting from the various palette options. So if you want that Galactic Ranger helmet to be a fine jet black with sick yellow accents, you're welcome to it!
Do The Side Mission On Ardolis
Fortunately, Rift Apart does eventually offer collectible-hunters a break. If you do the Treasure Hunt optional quest on Ardolis, you're rewarded with an item that highlights the icon of nearly every remaining collectible in the game on your map. Unfortunately, it won't mark Craiggerbears, a secret collectible type that you get to unlock a few of the game's trophies.

Ratchet & Clank: Rift Apart Guides & News
- Ratchet & Clank: Rift Apart PSA - What The Game Doesn't Tell You About The Zurpstone Quest
- Ratchet & Clank: Rift Apart - Tips And Tricks Roundup
- Ratchet & Clank: Rift Apart Gold Bolt Locations - How To Unlock Cheats
- + Show More Ratchet & Clank: Rift Apart Guides & News Links (4)
- Ratchet & Clank: Rift Apart Amor Locations - How To Find Every Piece
- Ratchet & Clank: Rift Apart Spybot Locations
- Ratchet & Clank: Rift Apart CraiggerBear Locations - How To Find These Secret Collectibles
- Ratchet & Clank: Rift Apart Beginner's Guide - Essential Tips For New Players
Got a news tip or want to contact us directly? Email news@gamespot.com
Join the conversation